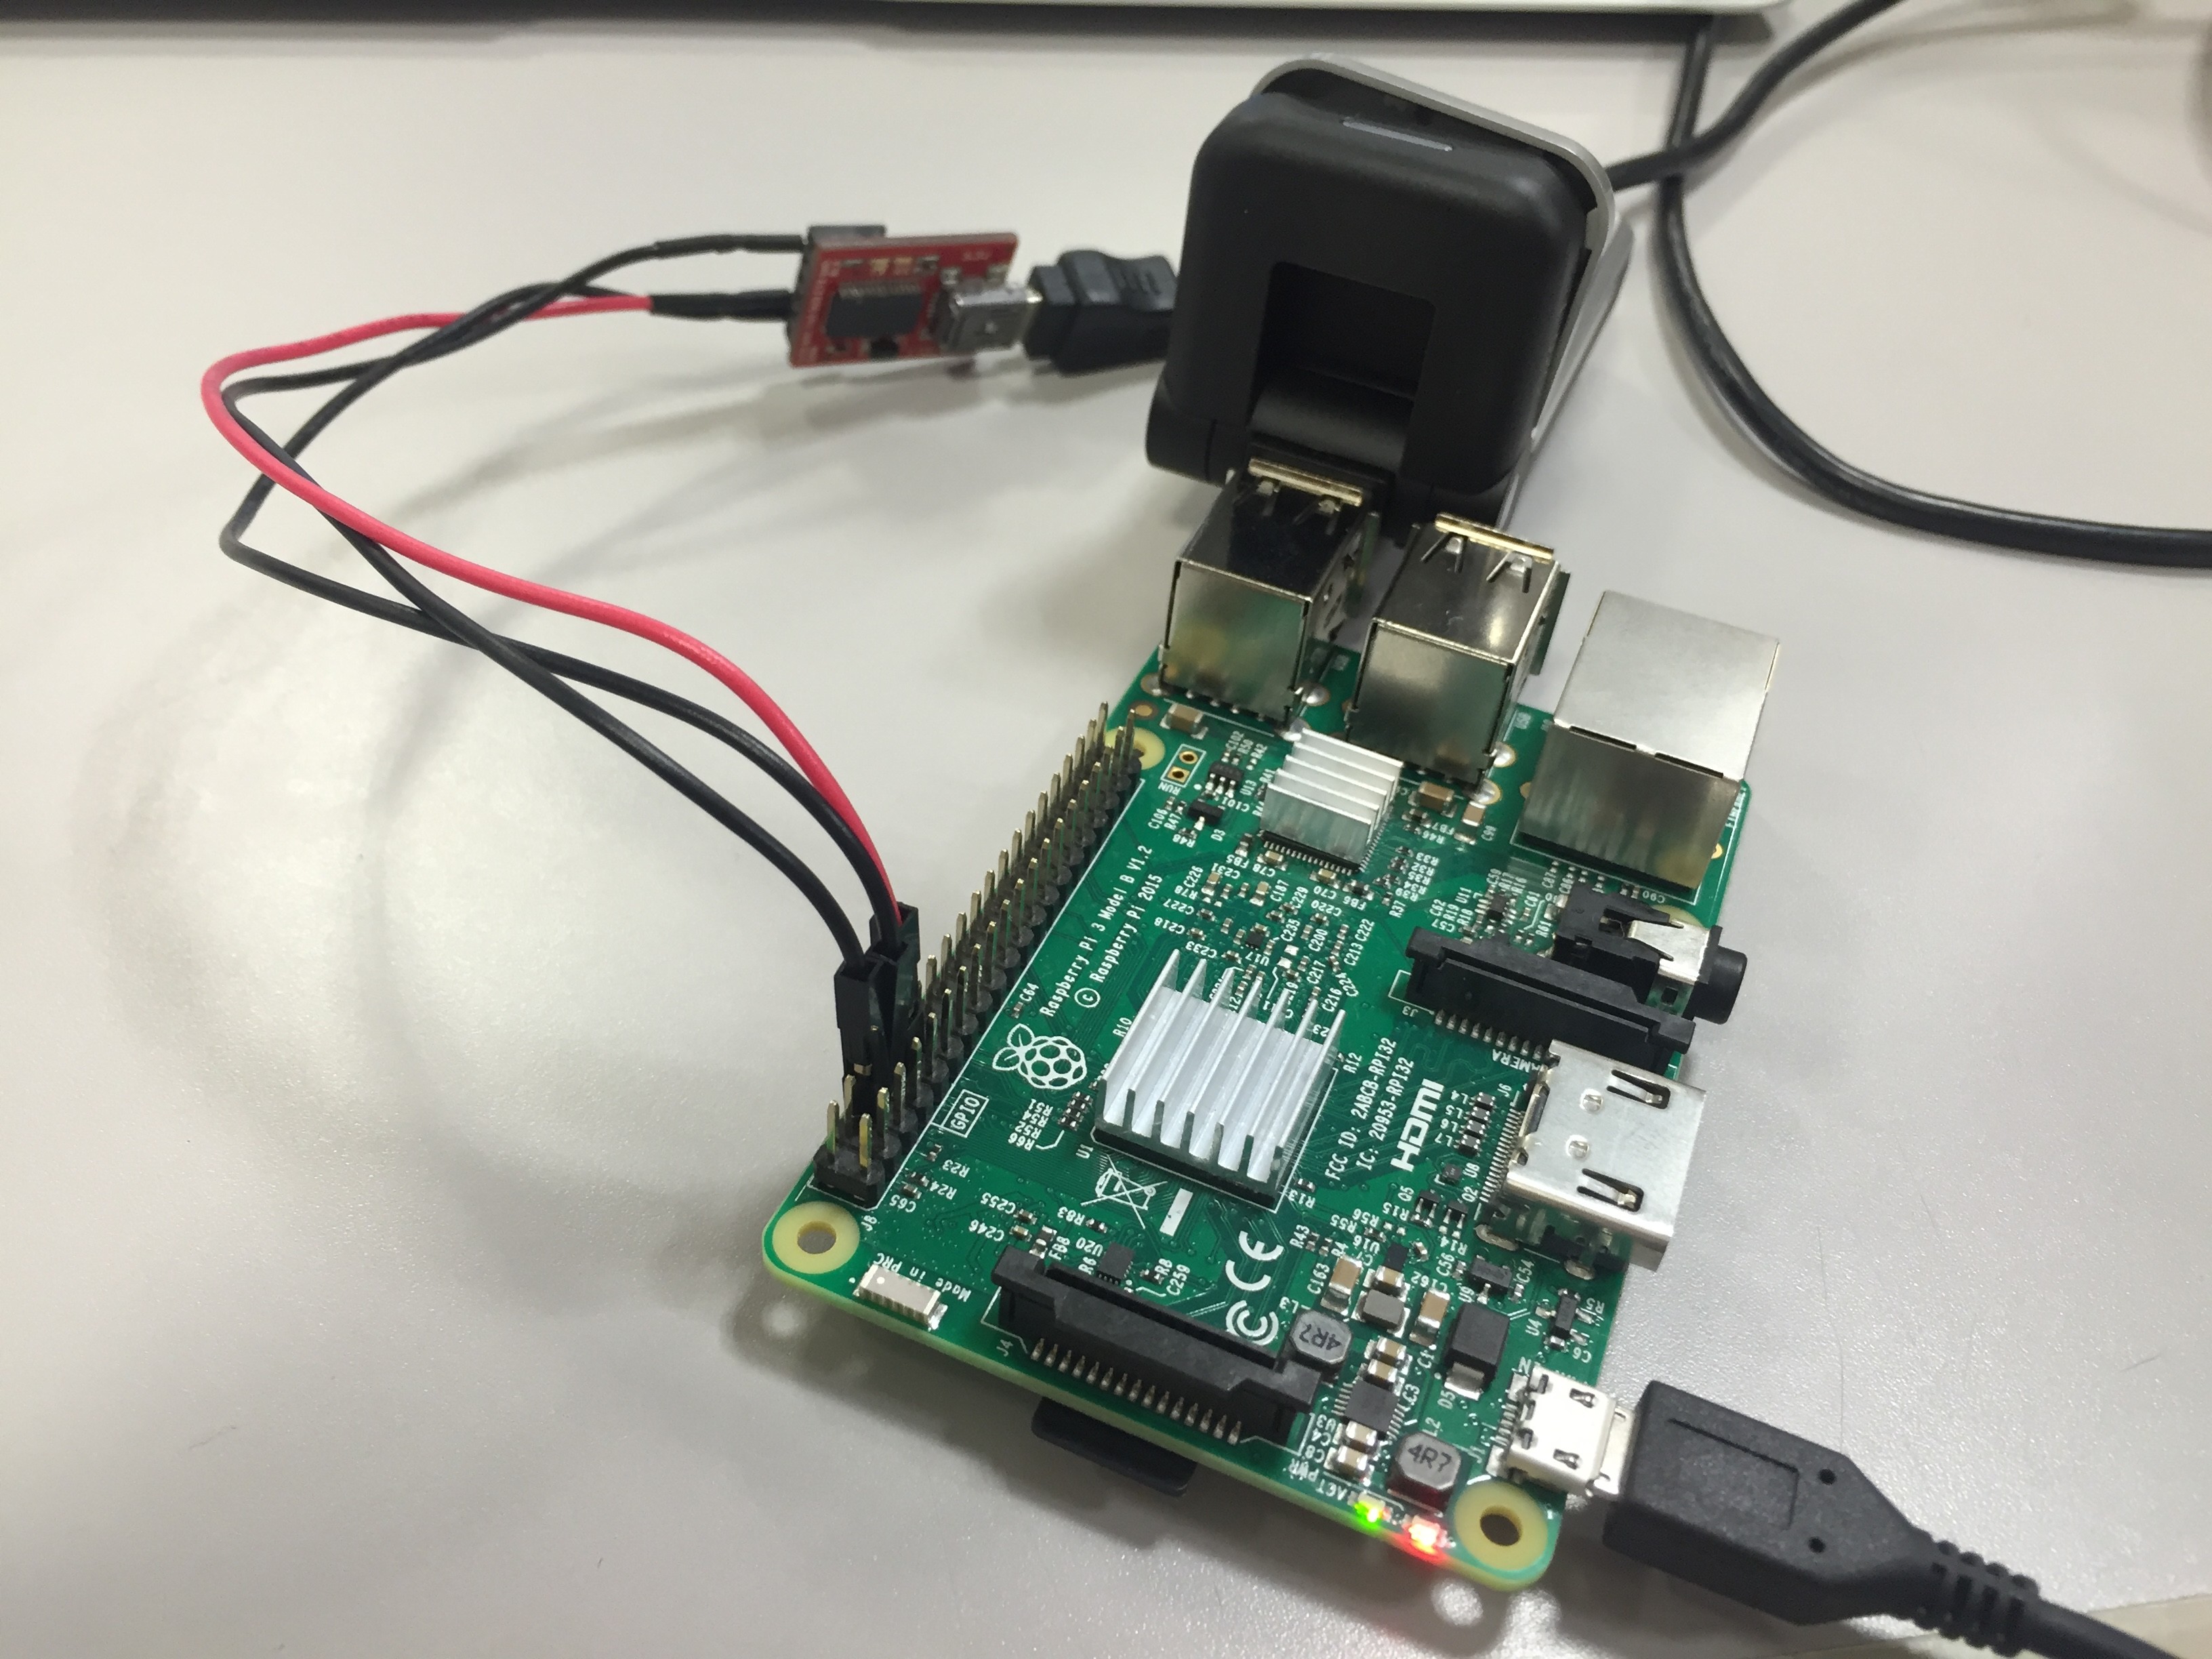
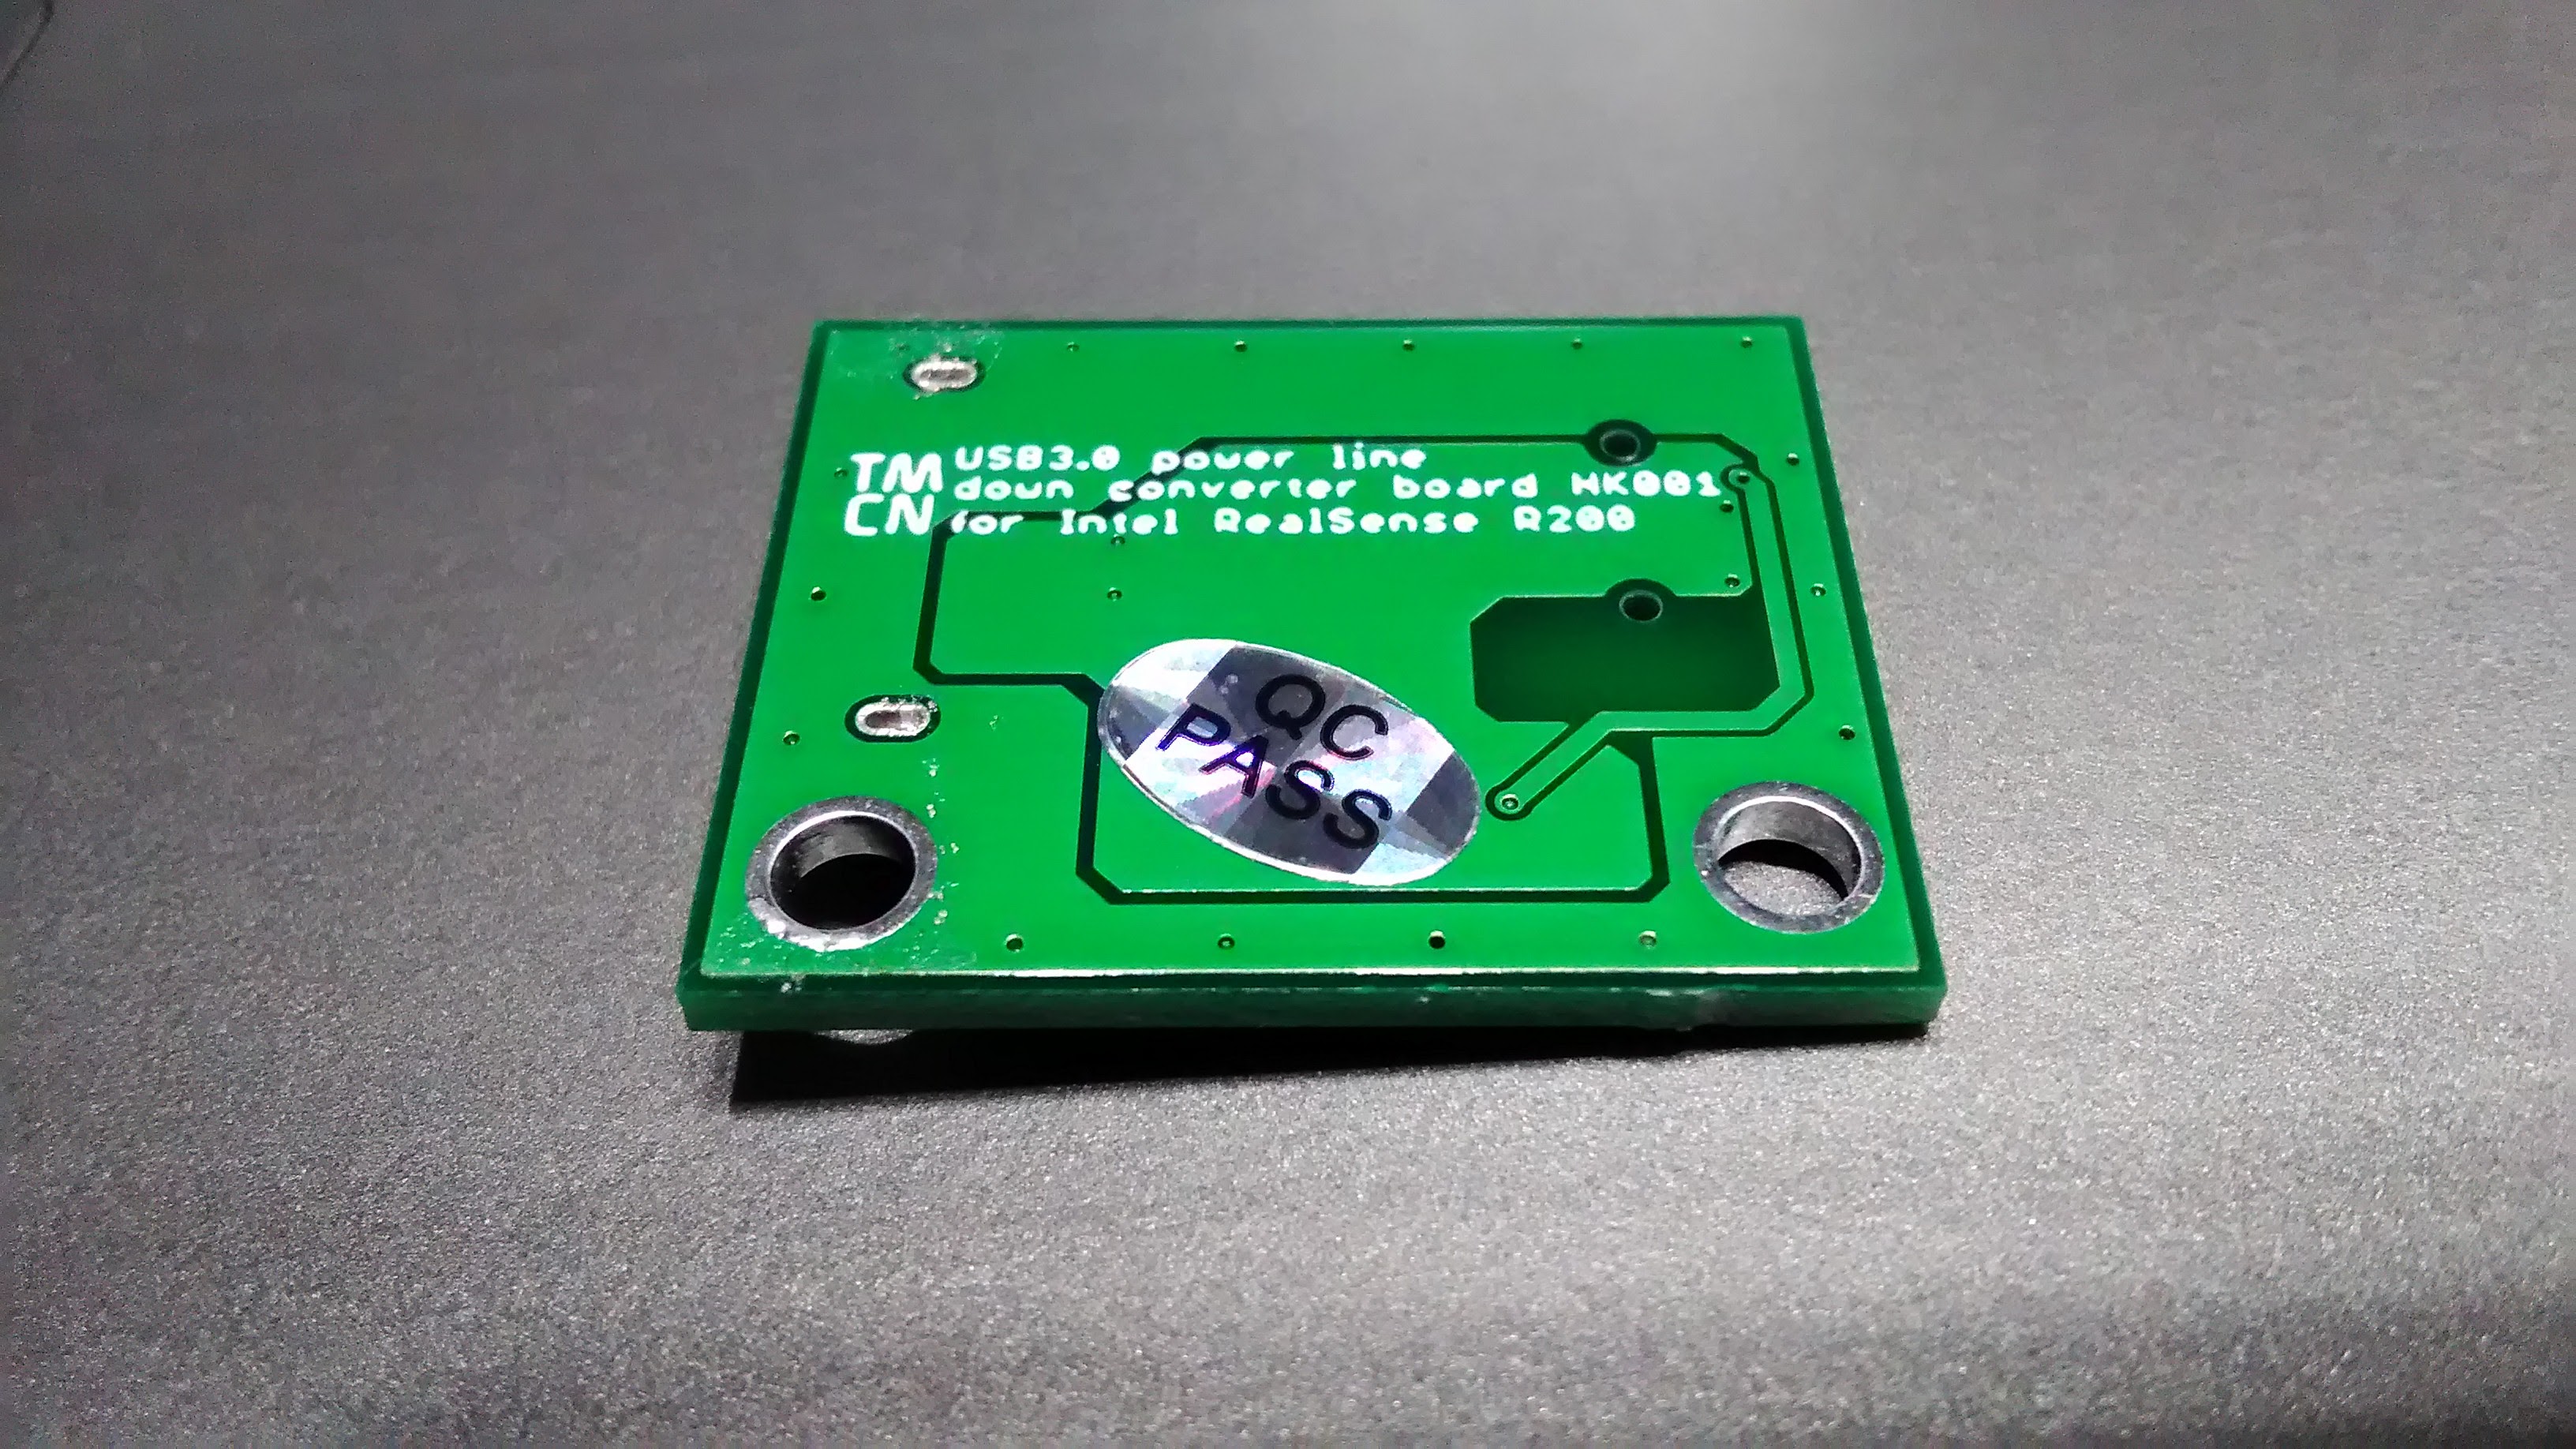
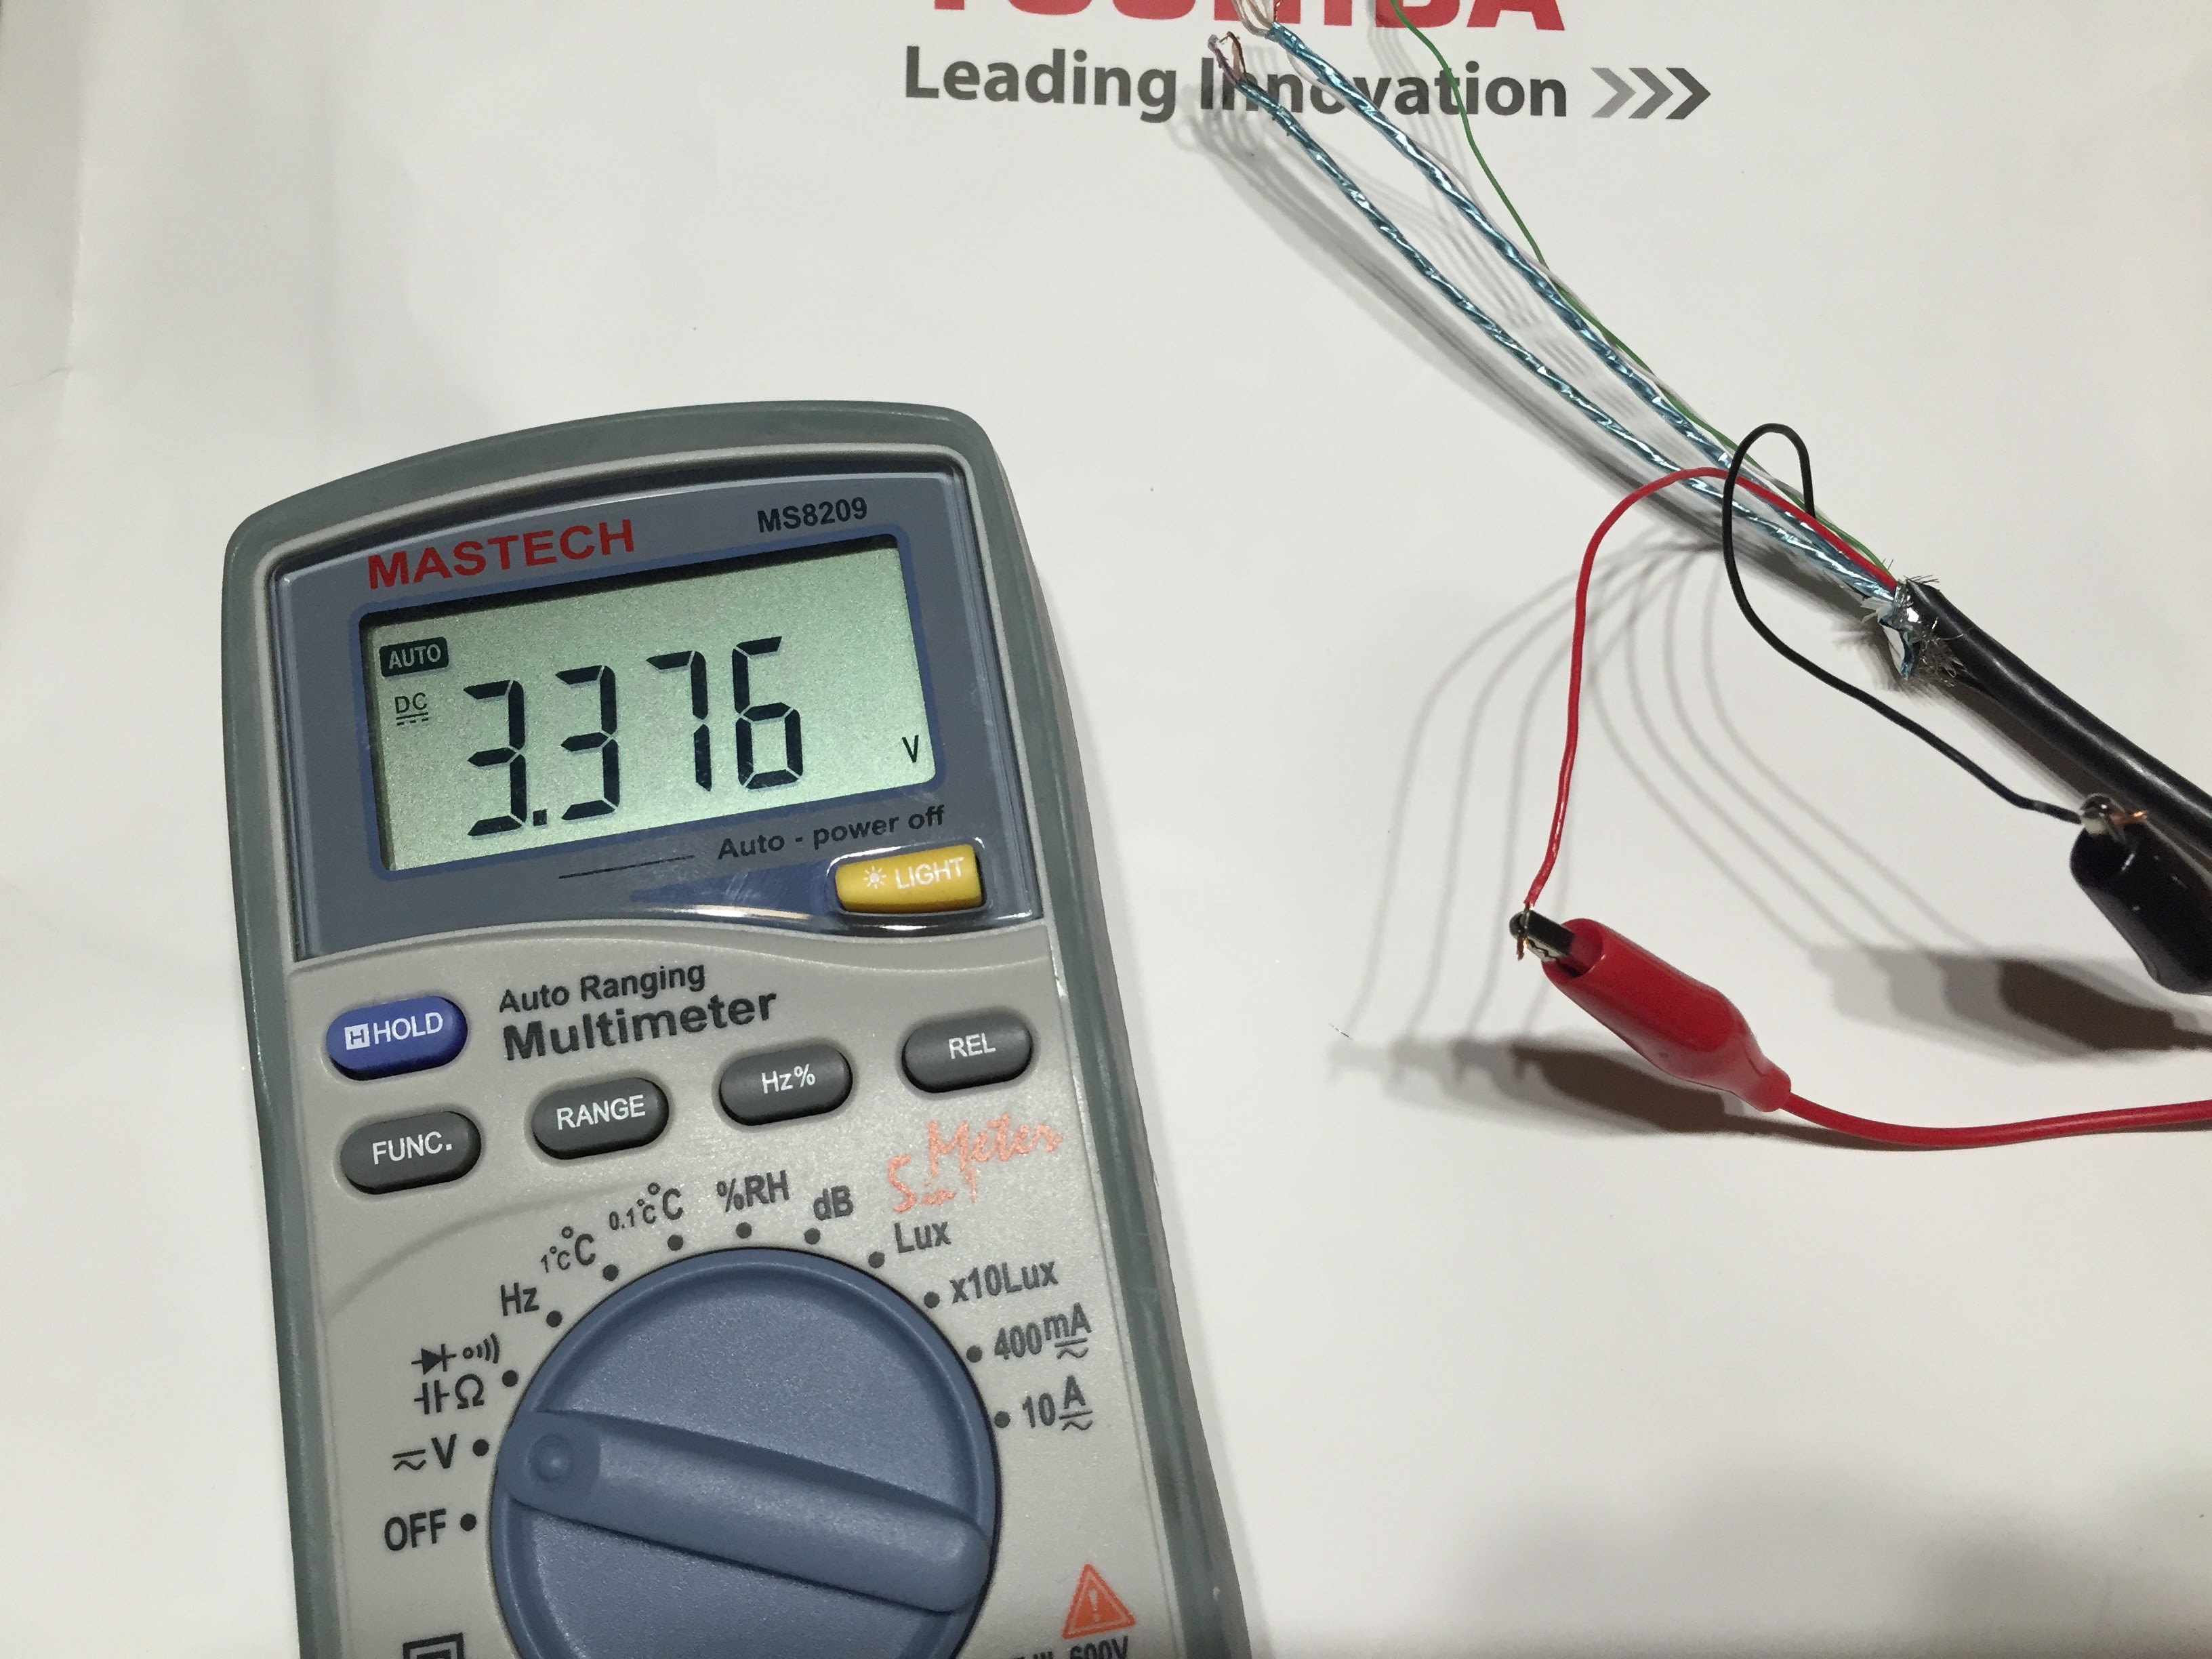
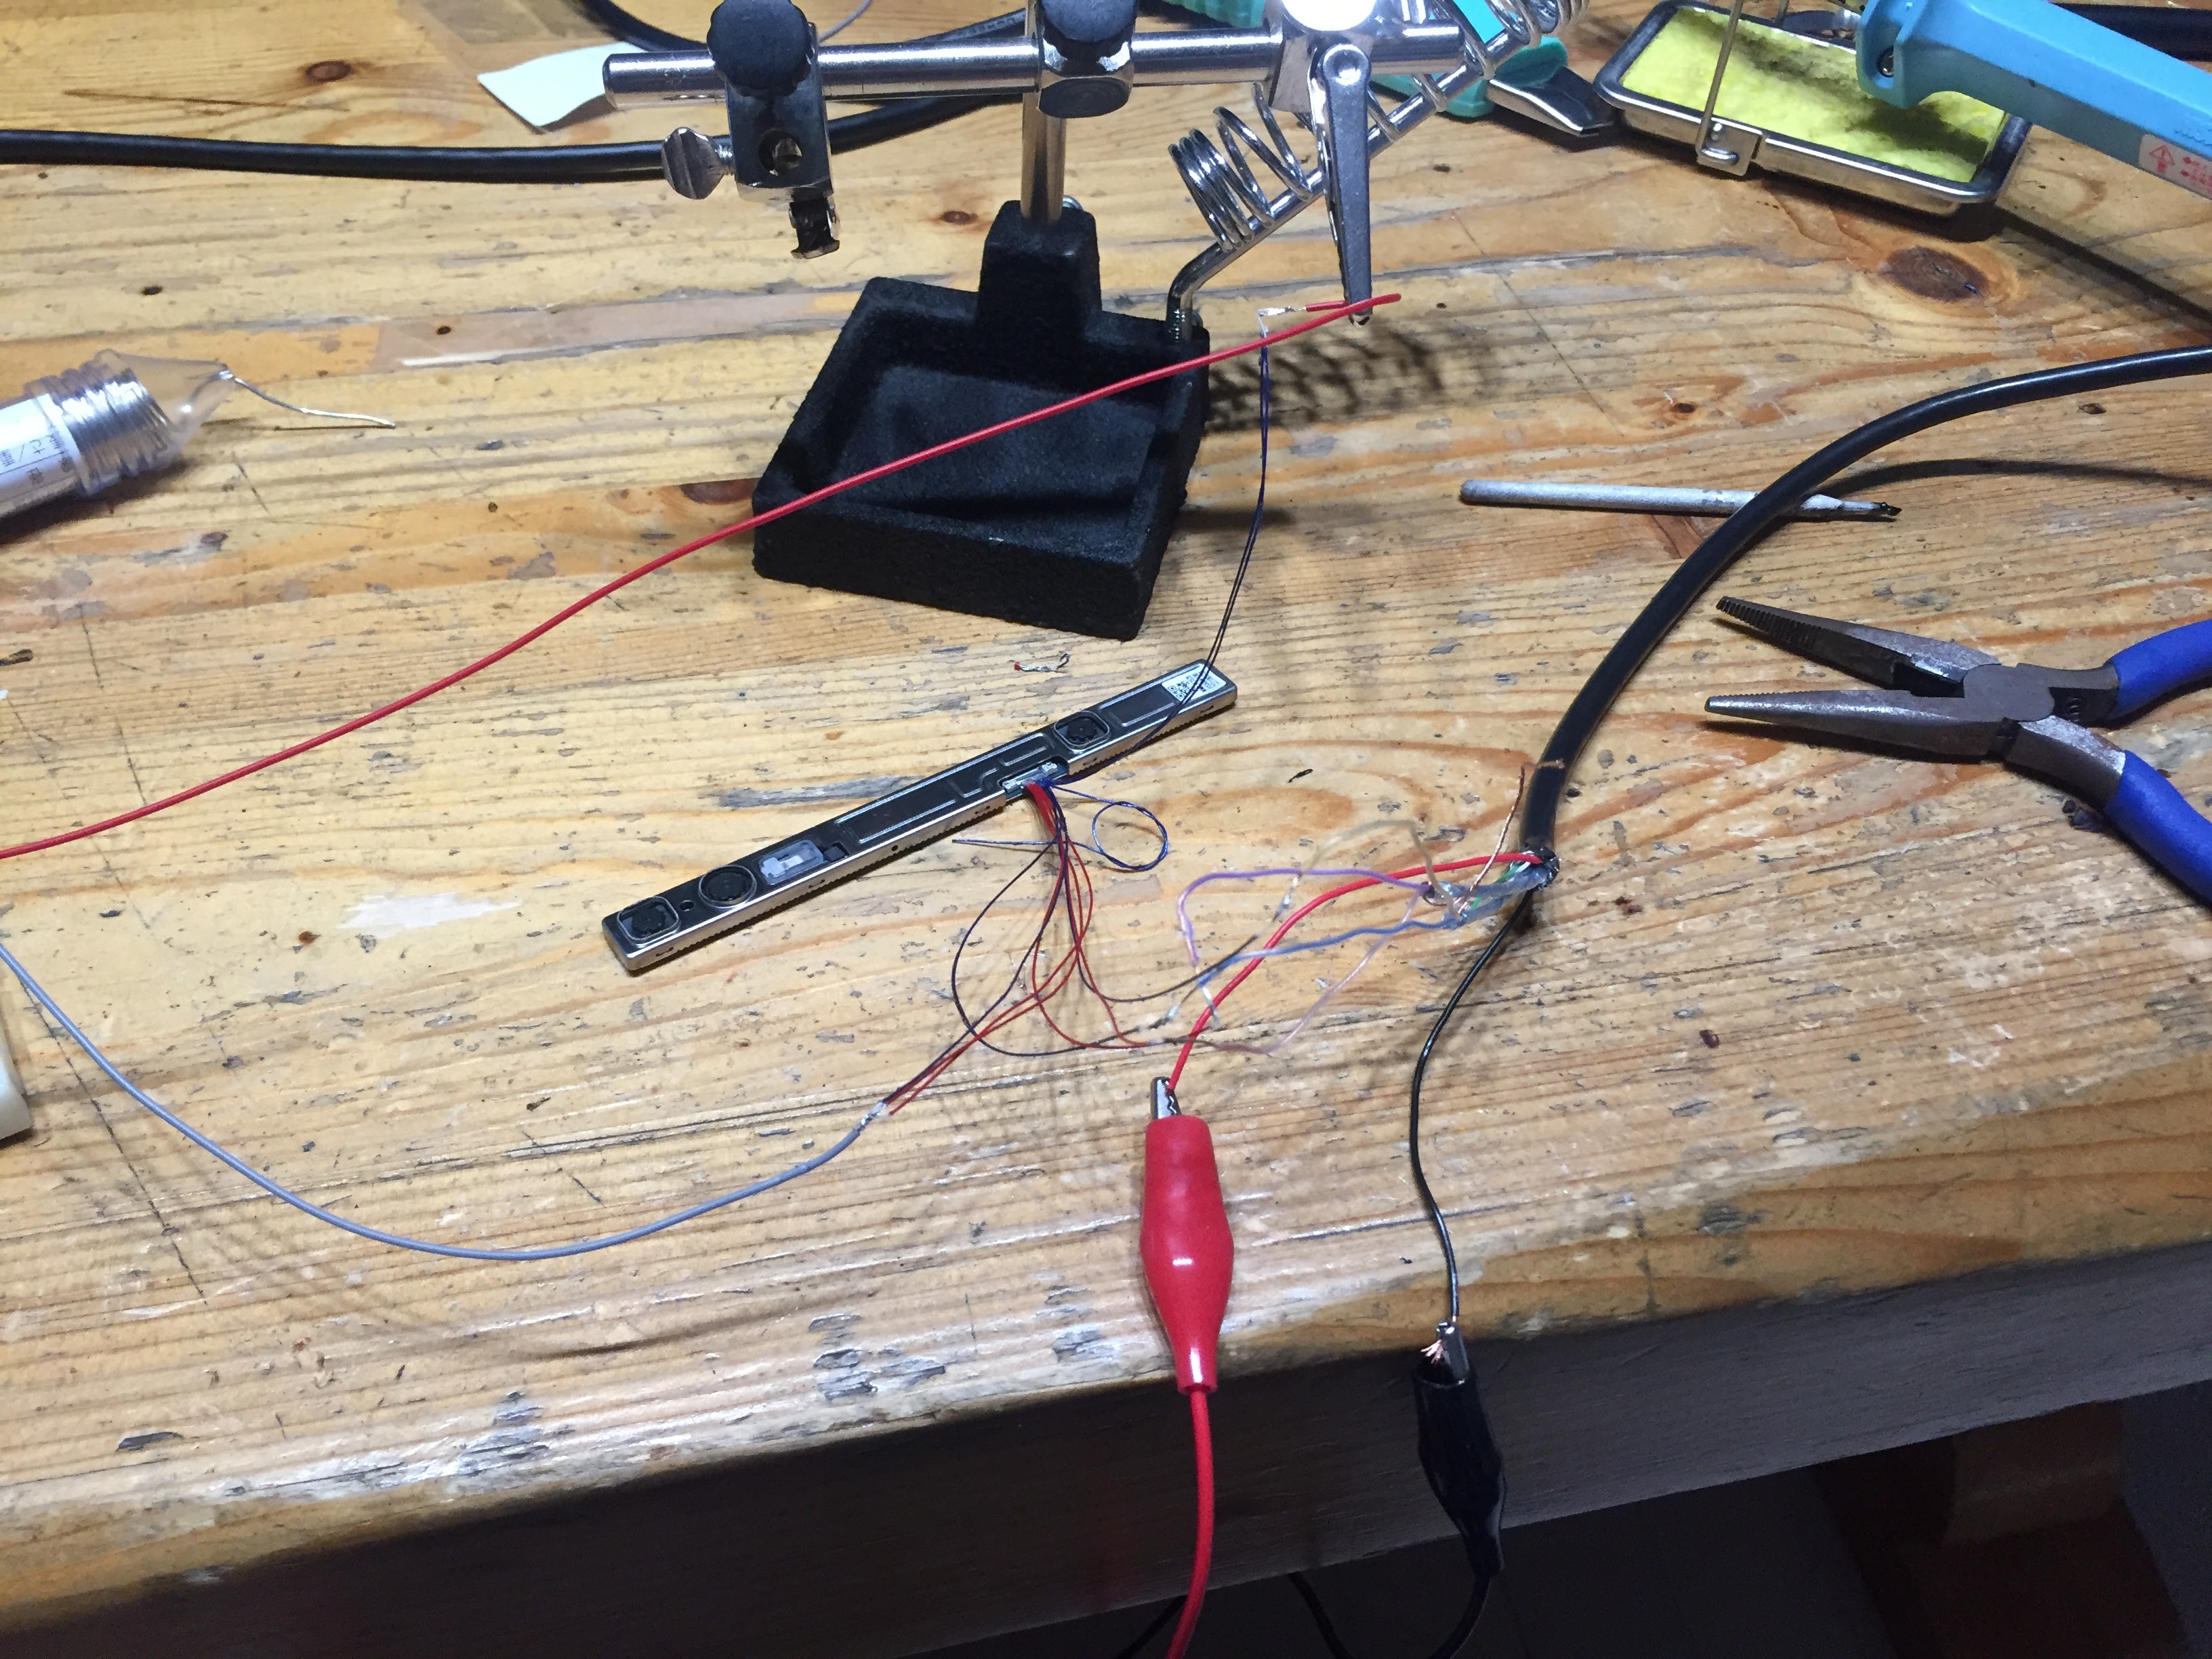
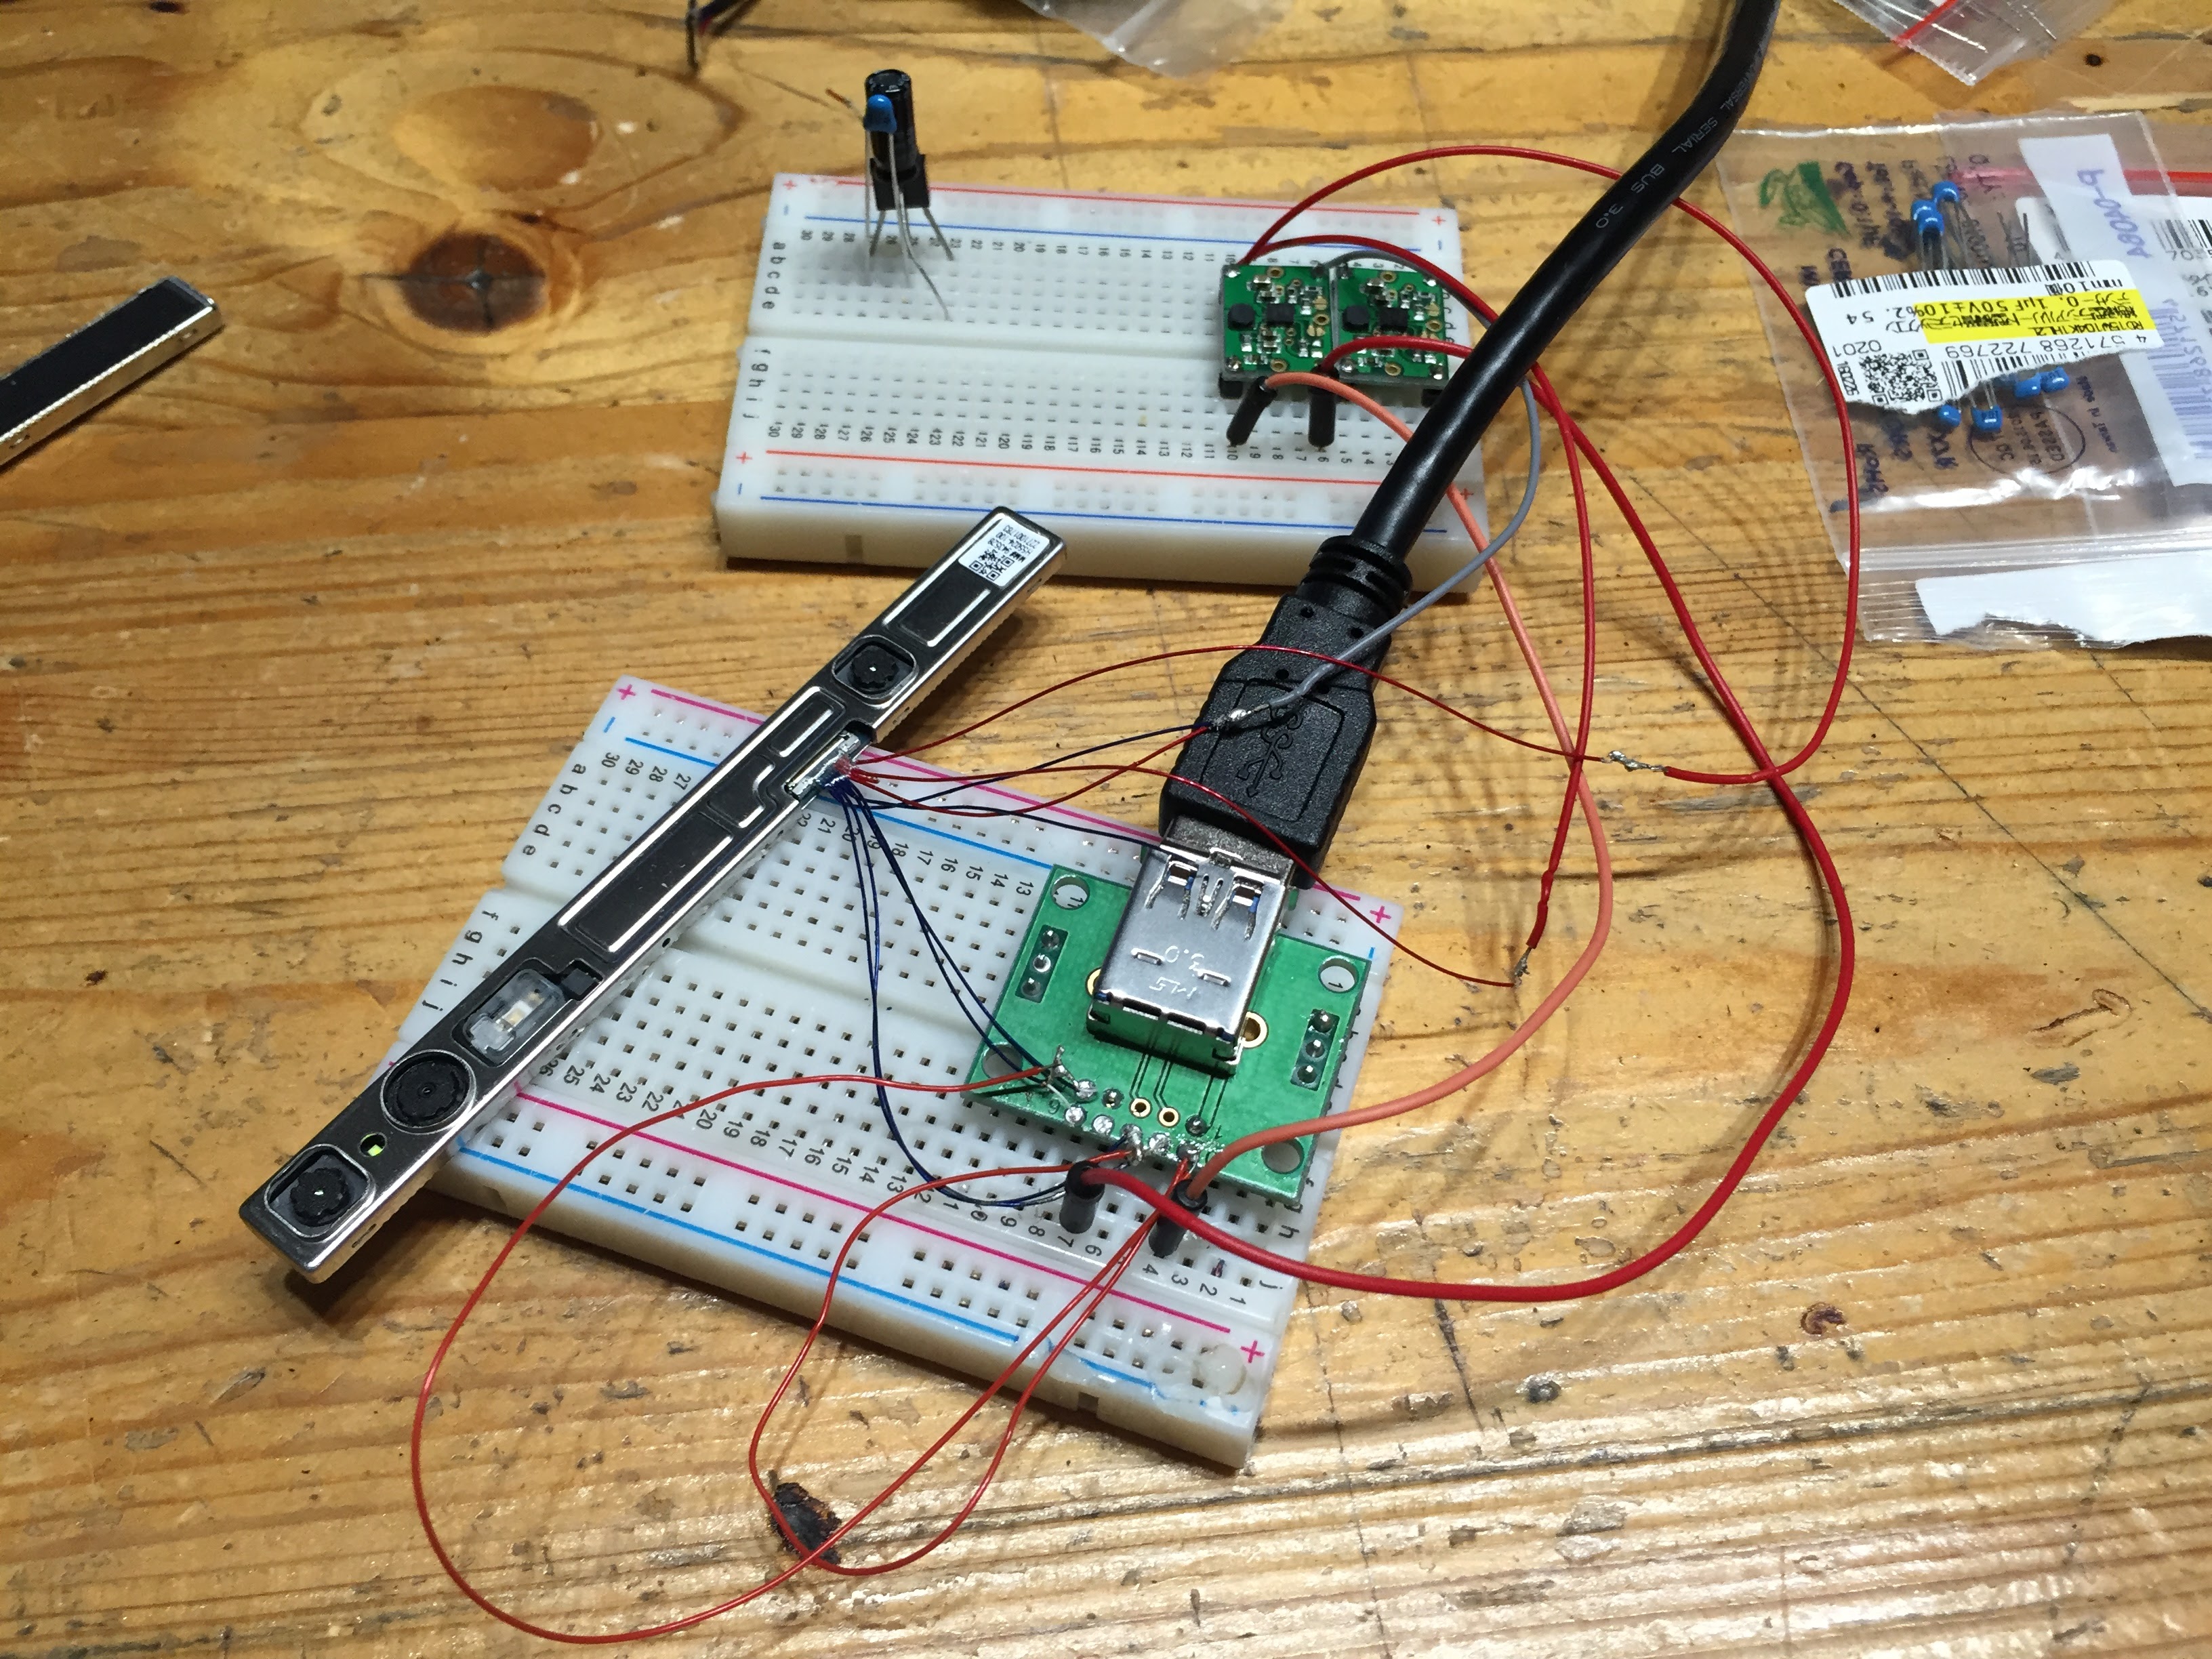
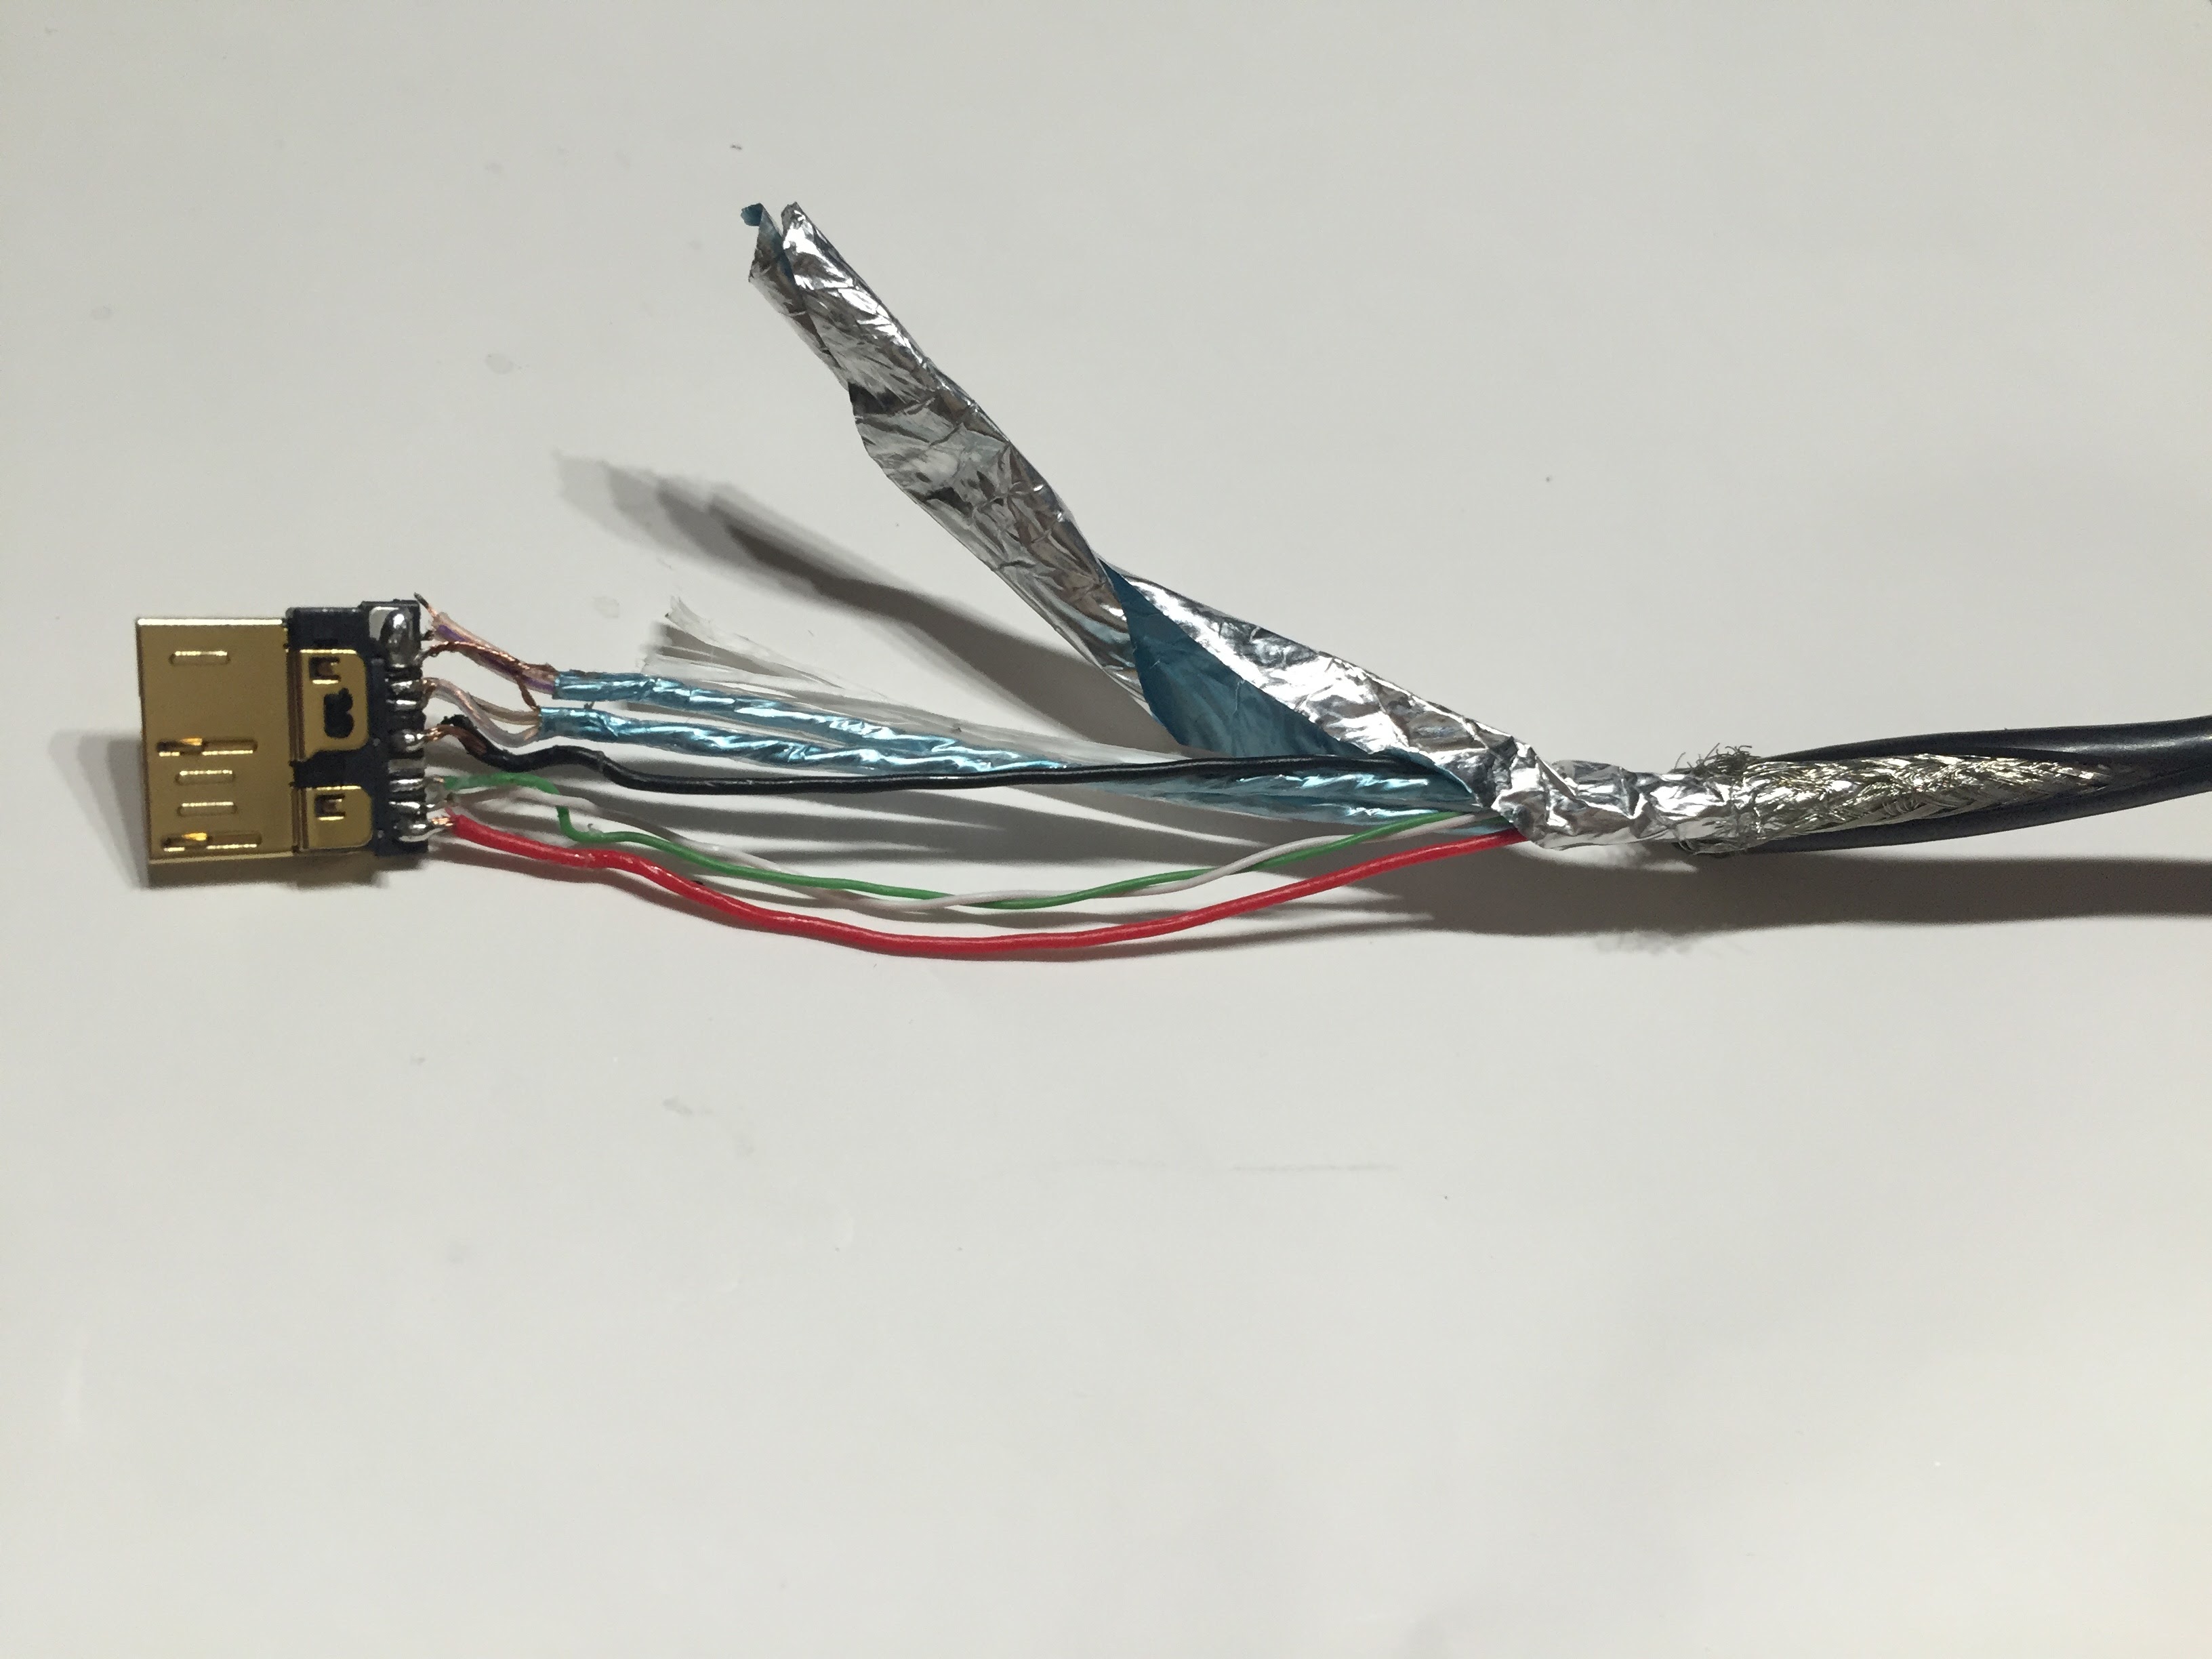
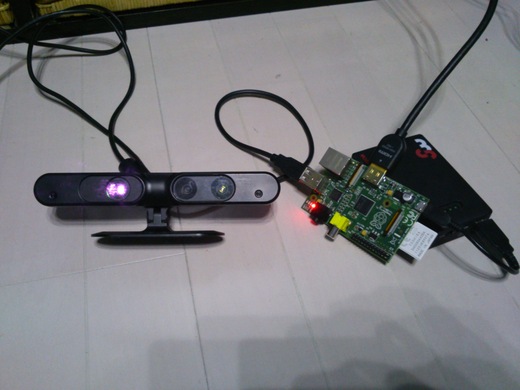
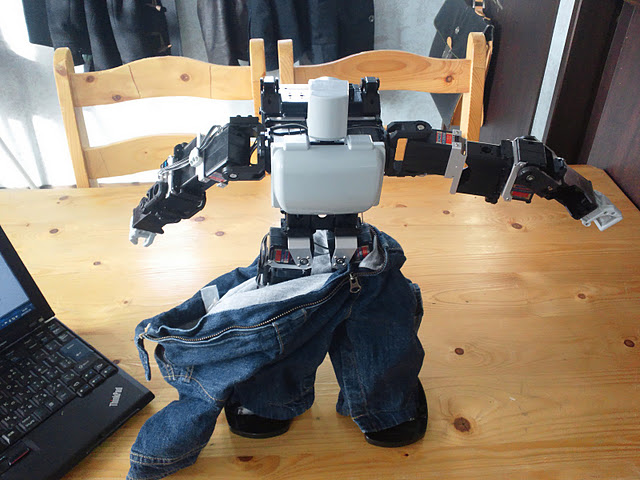
USB 3.0ケーブルを剥いて使うと電波干渉や何が起こるか分からない…というのがあったから、千石さんでUSB 3.0変換基板をゲットしてきた。これで3.0ケーブルを剥かなくても信号線を取り出せることに。そして、3.0から5Vを3.3Vに変換するのは秋月さんでレギュレータ、TIのDC/DCを使って実験してみたり。
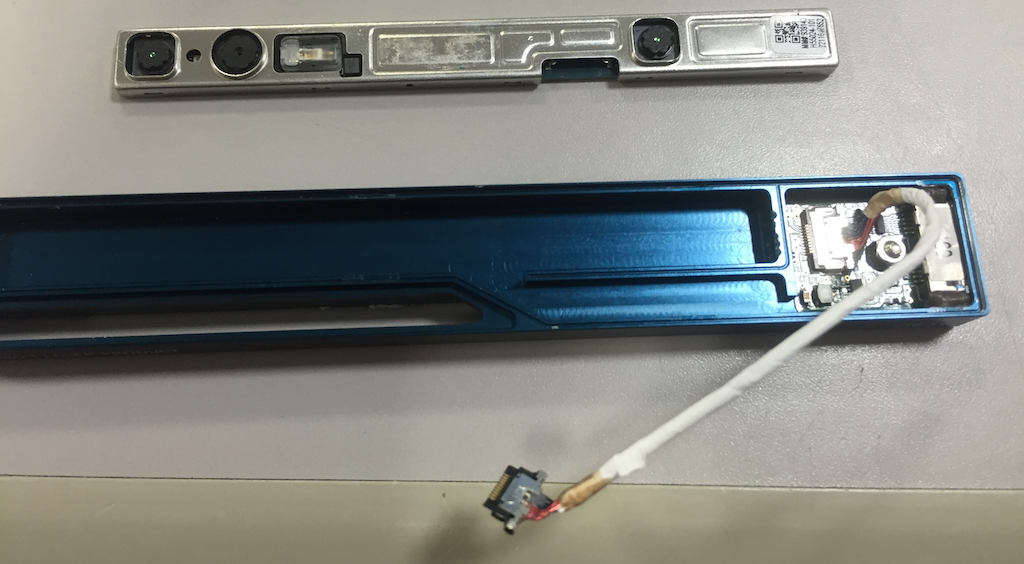
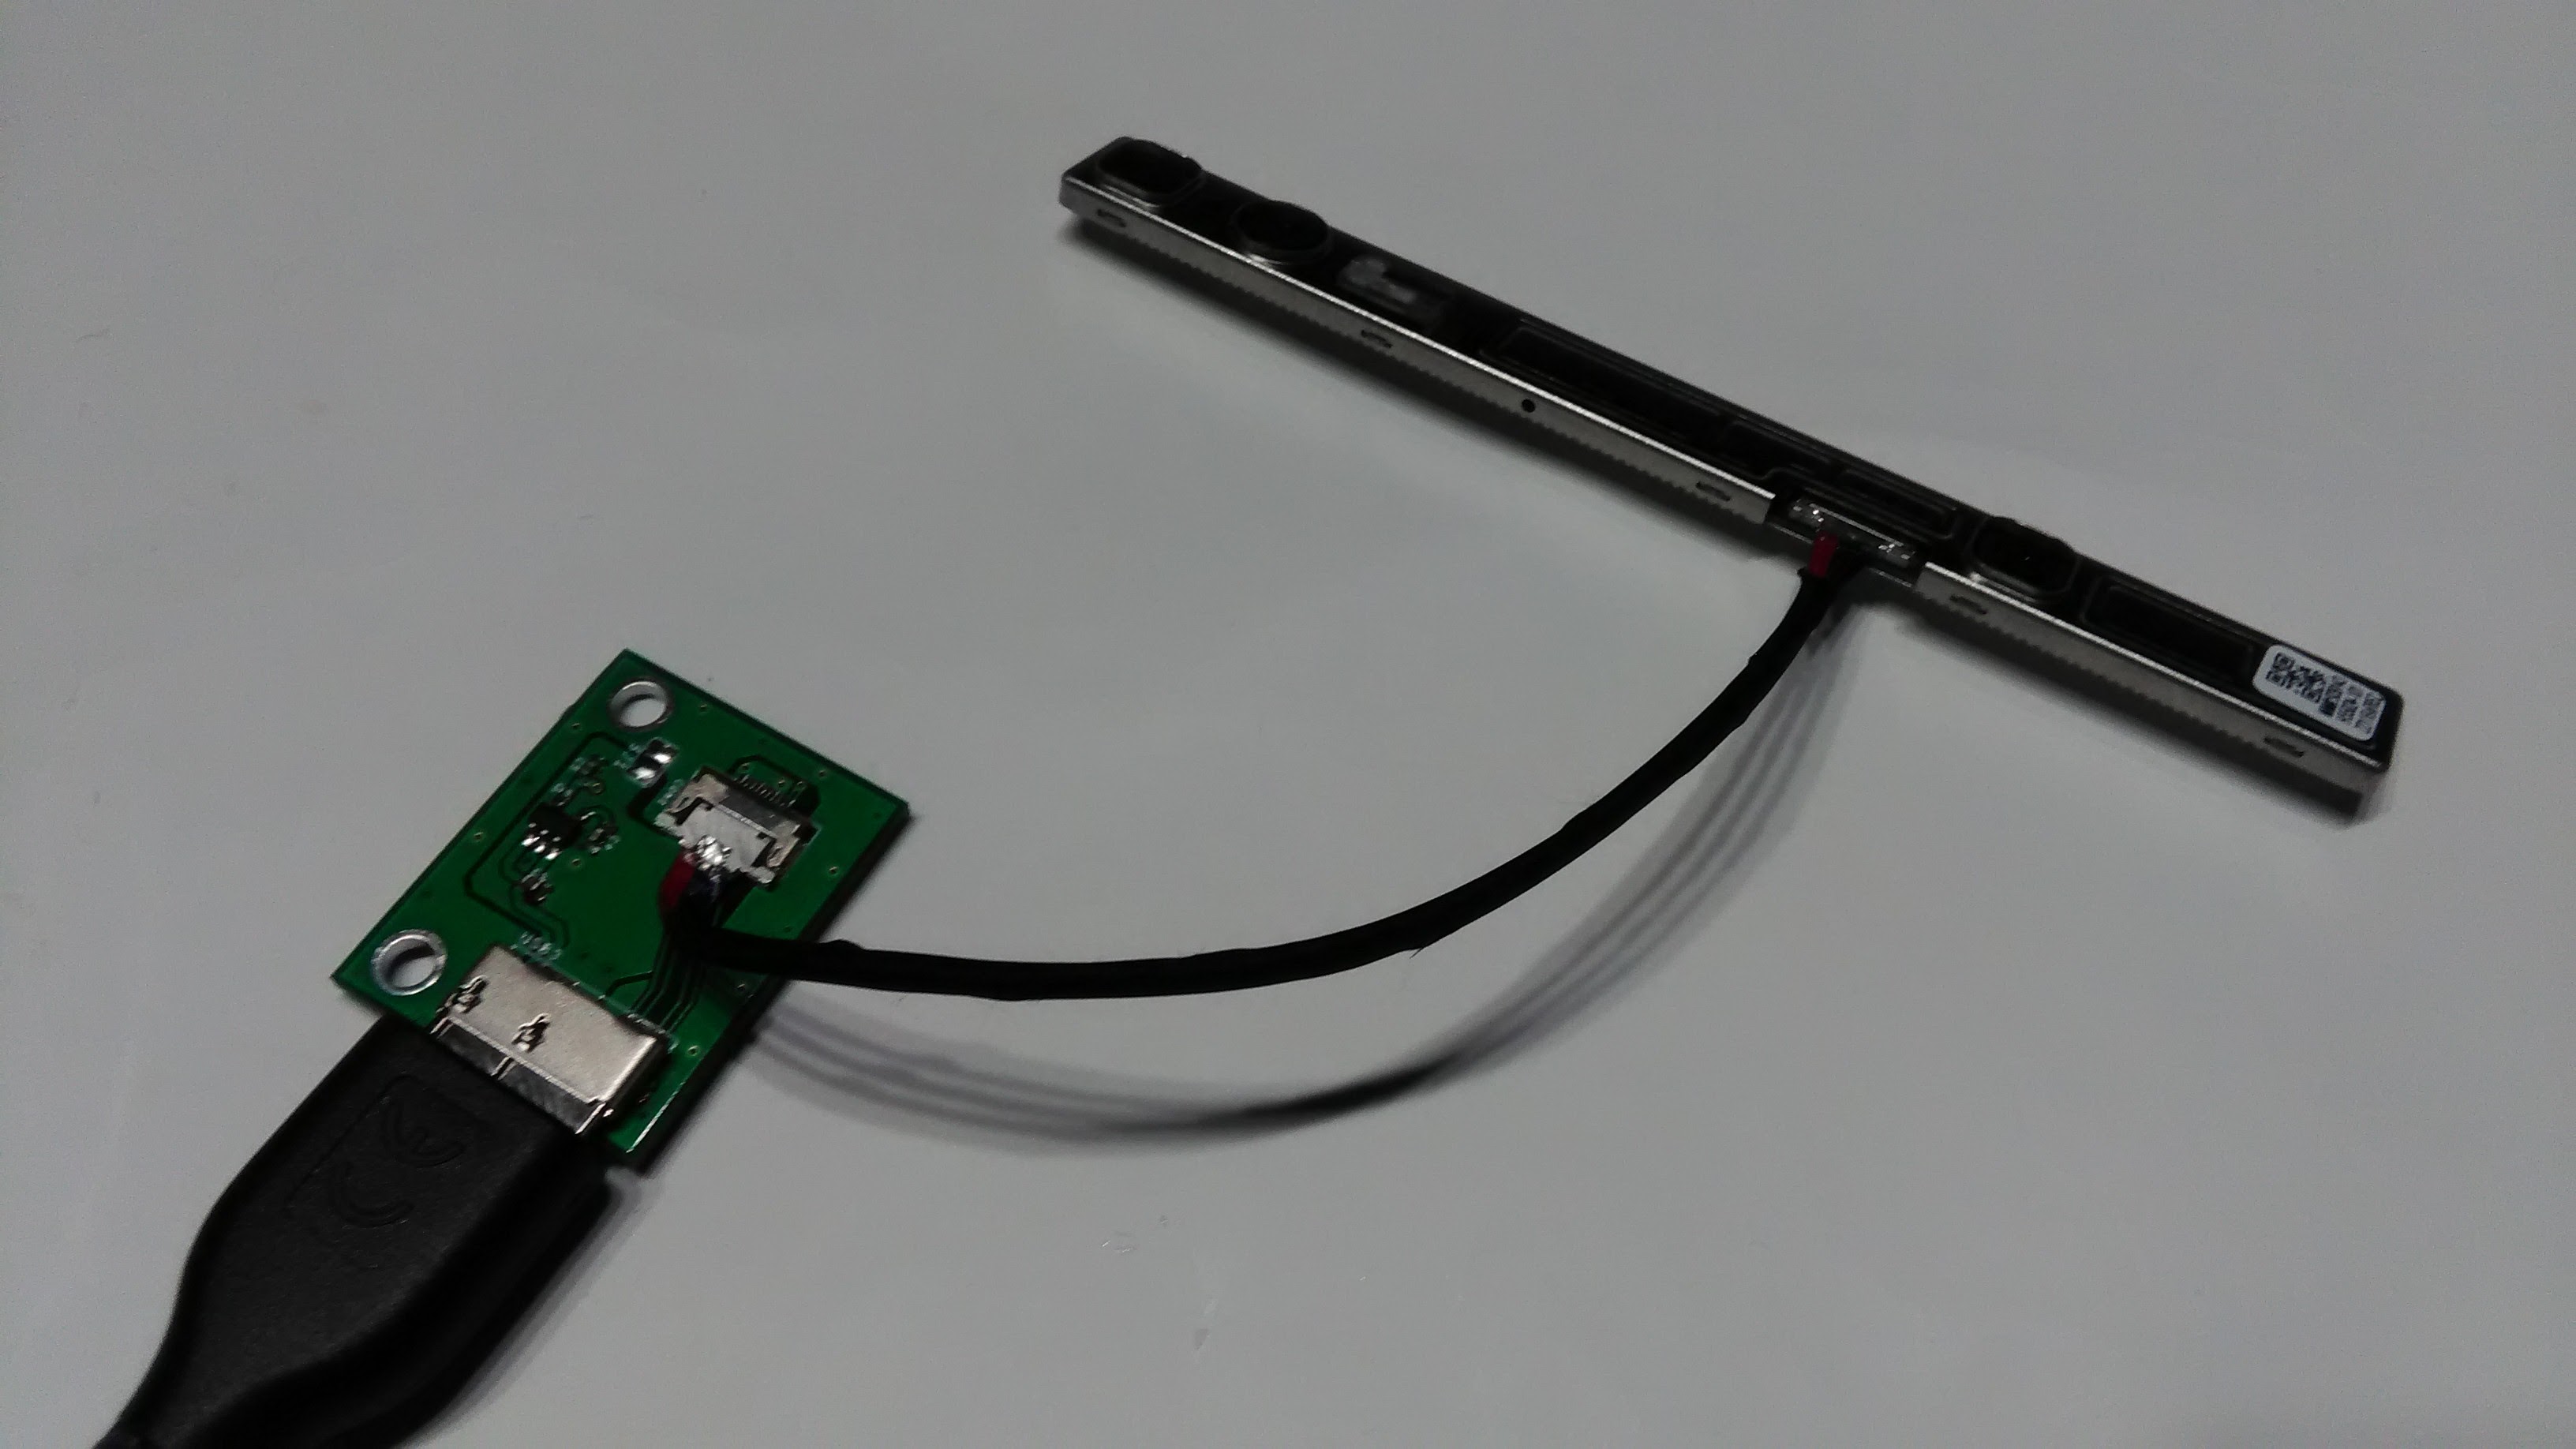
And this is original(hacked) the Intel RealSense R200 USB 3.0 board and connector cable.
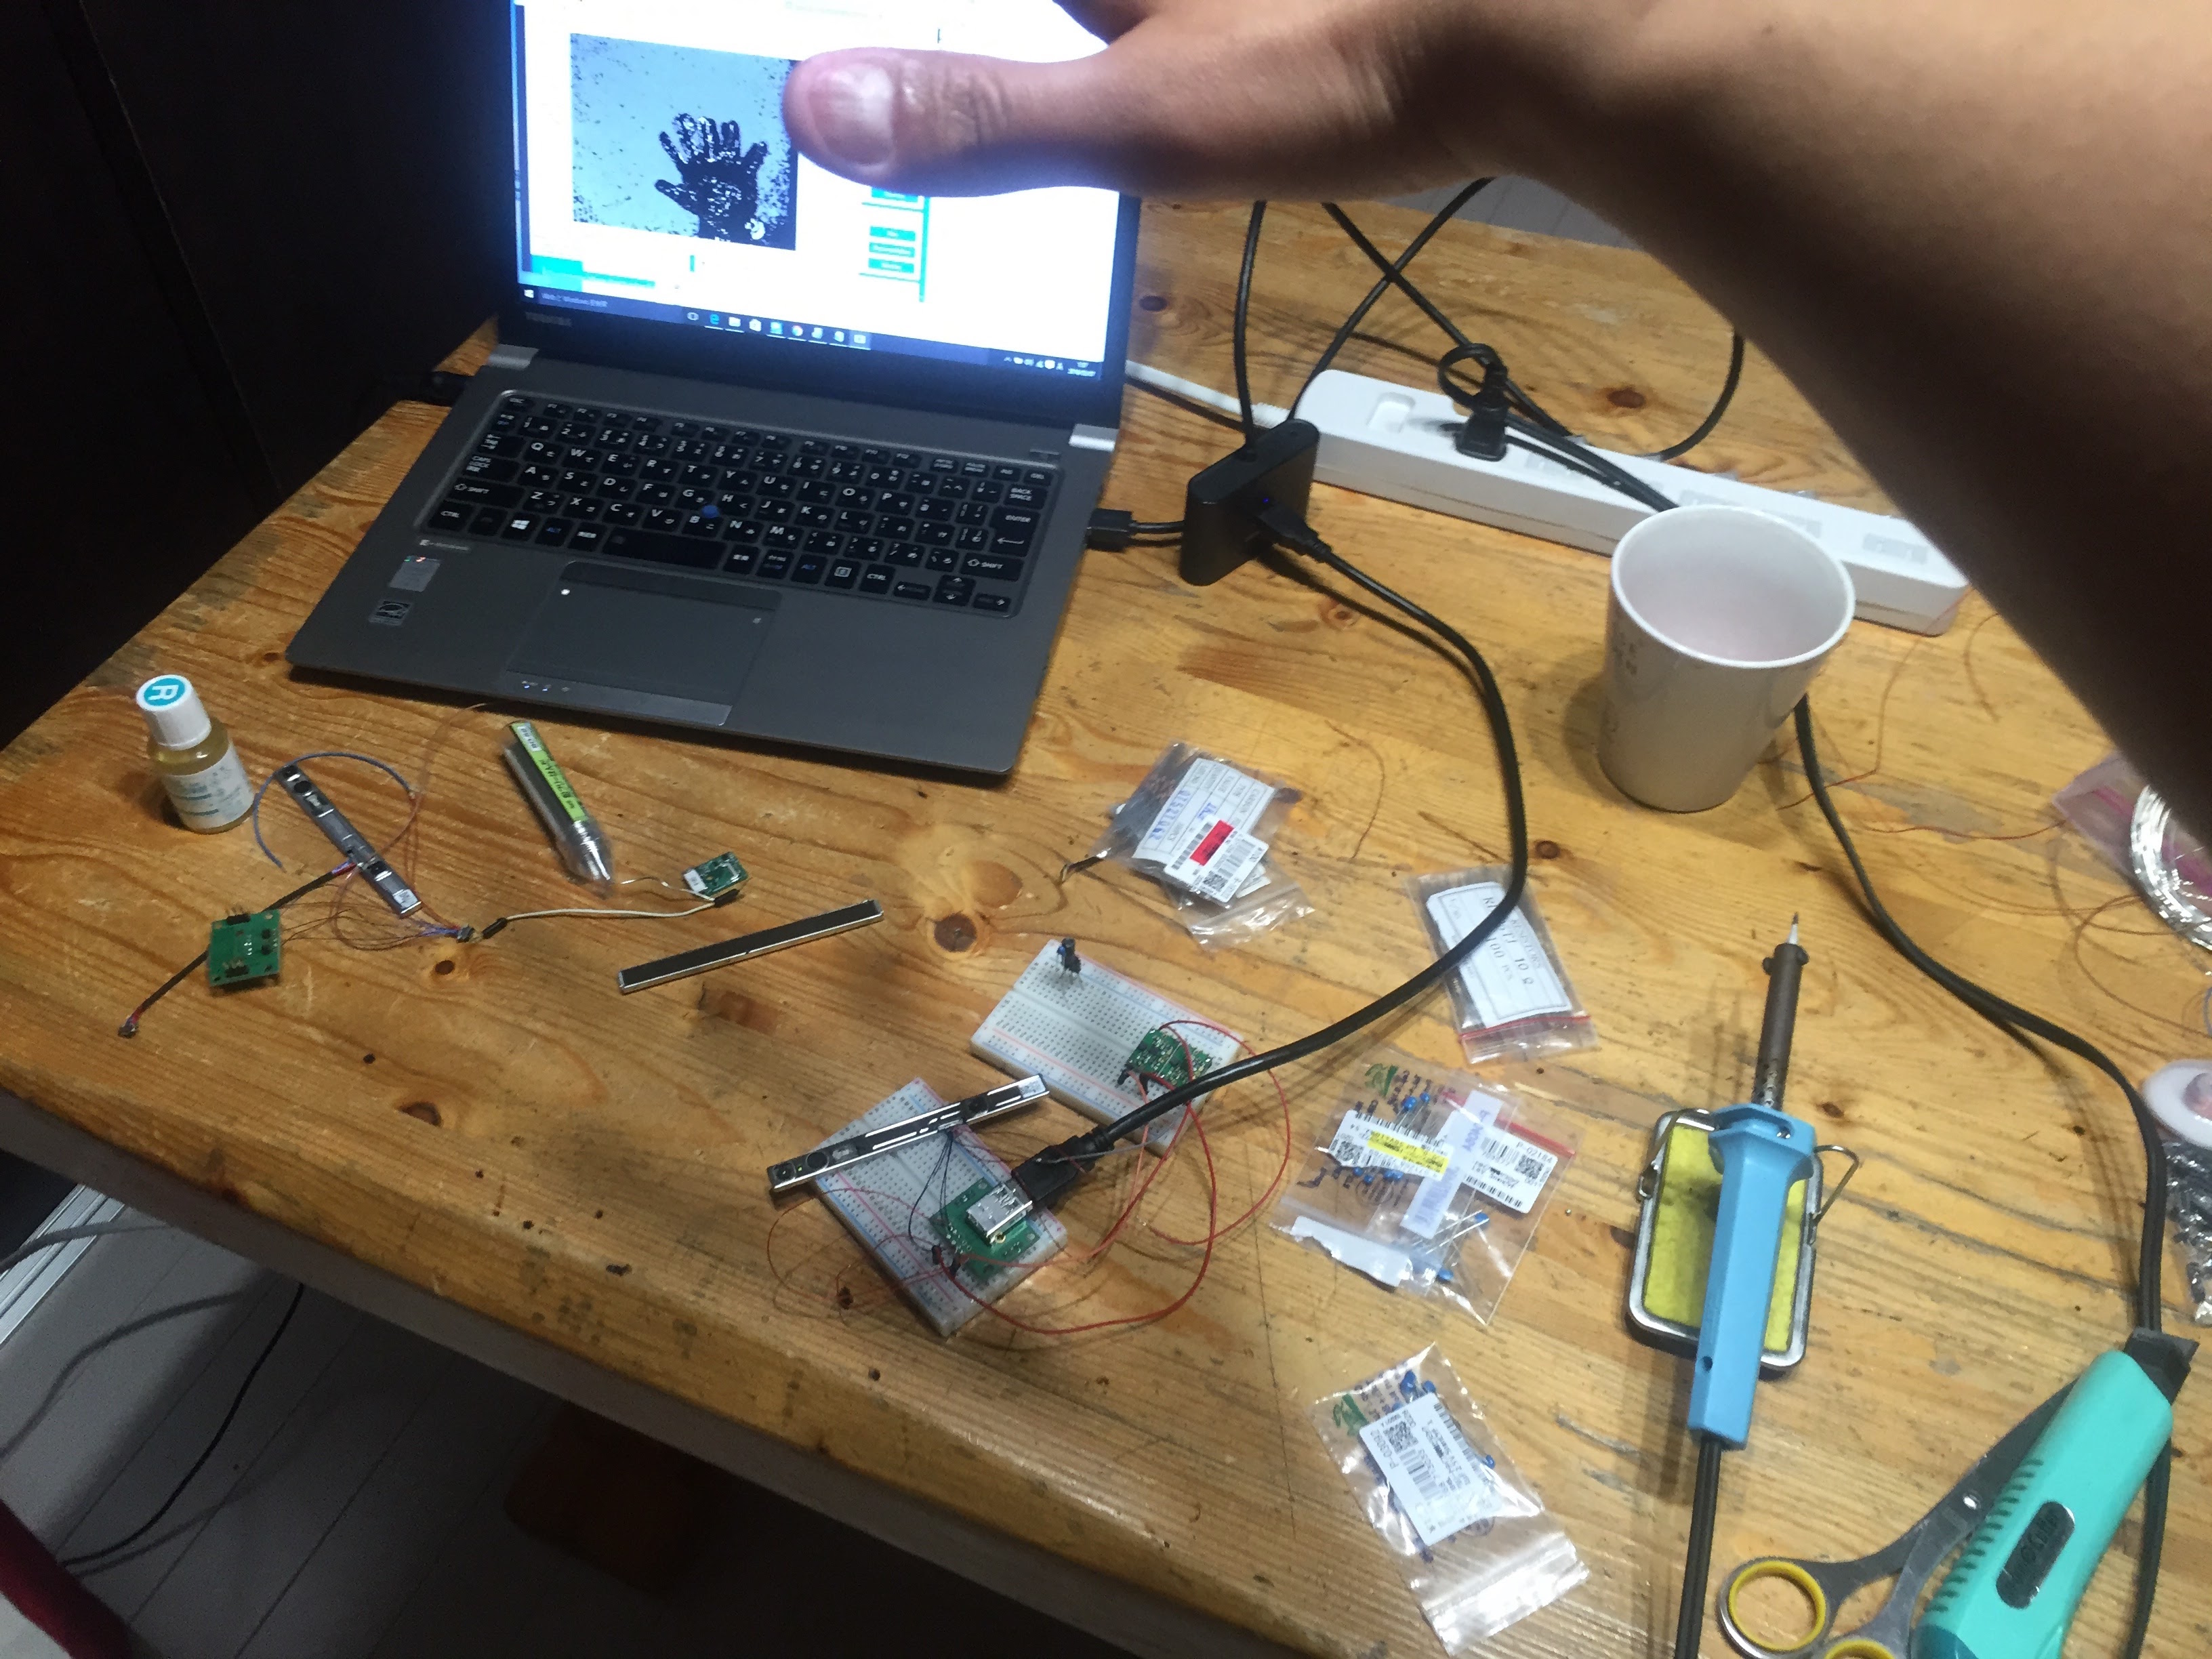
Running on Windows 10 with Intel RealSense SDK.
Following is Mac OS X EL Capitan with librealsense.
This original board for RealSense works very well on Windows/MacOS 🙂 Just USB 3.0 micro type B connector for this board/USB 3.0 Type A Male is needed. This RealSense board can use for special case/frame/housing, AR/VR original camera, and more different use for over the R200 case/connector restrictions.
Thanks for TMCN community, kou, lee!!
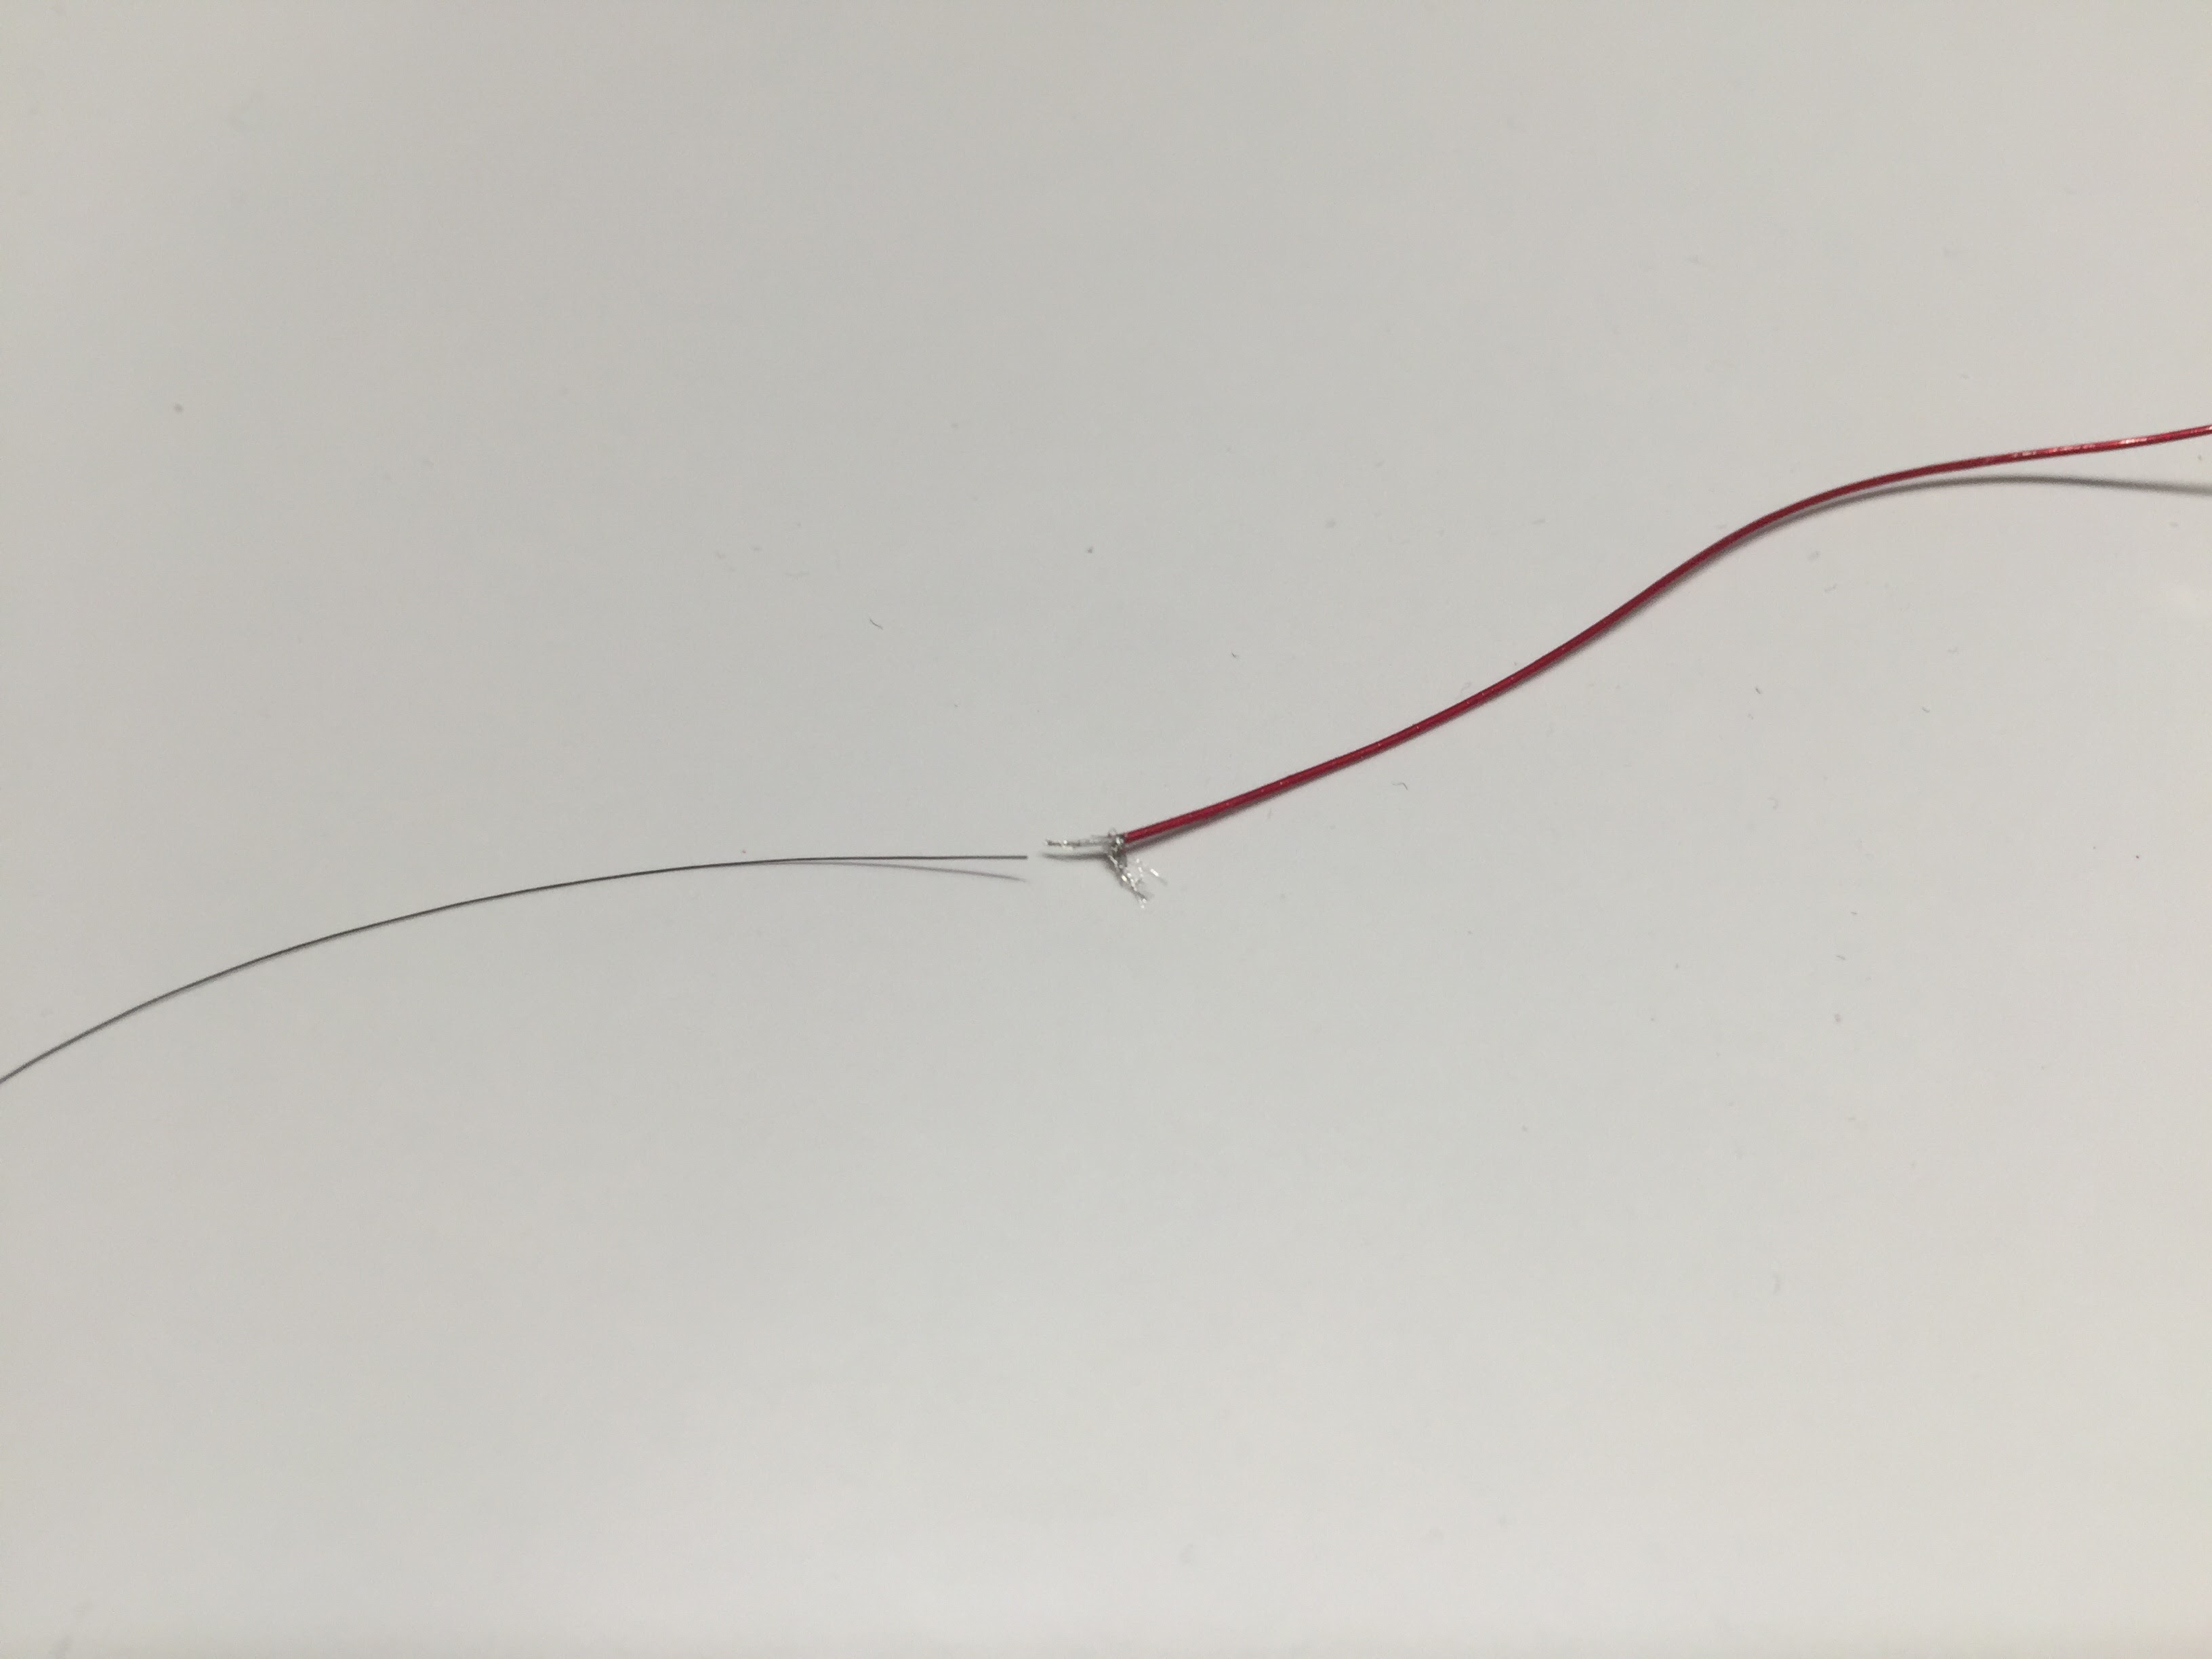
Following is 1st prototype version. Hack the USB 3.0 cable and power line on RealSense is very difficult. USB 3.0 SuperSpeed transmitter/receiver differential pair is sensitive, having a 2.4GHz radio interference. It was hard to hack:-P
This board BOM list and circuit design is here.
Intel RealSense R200 datasheet is here.
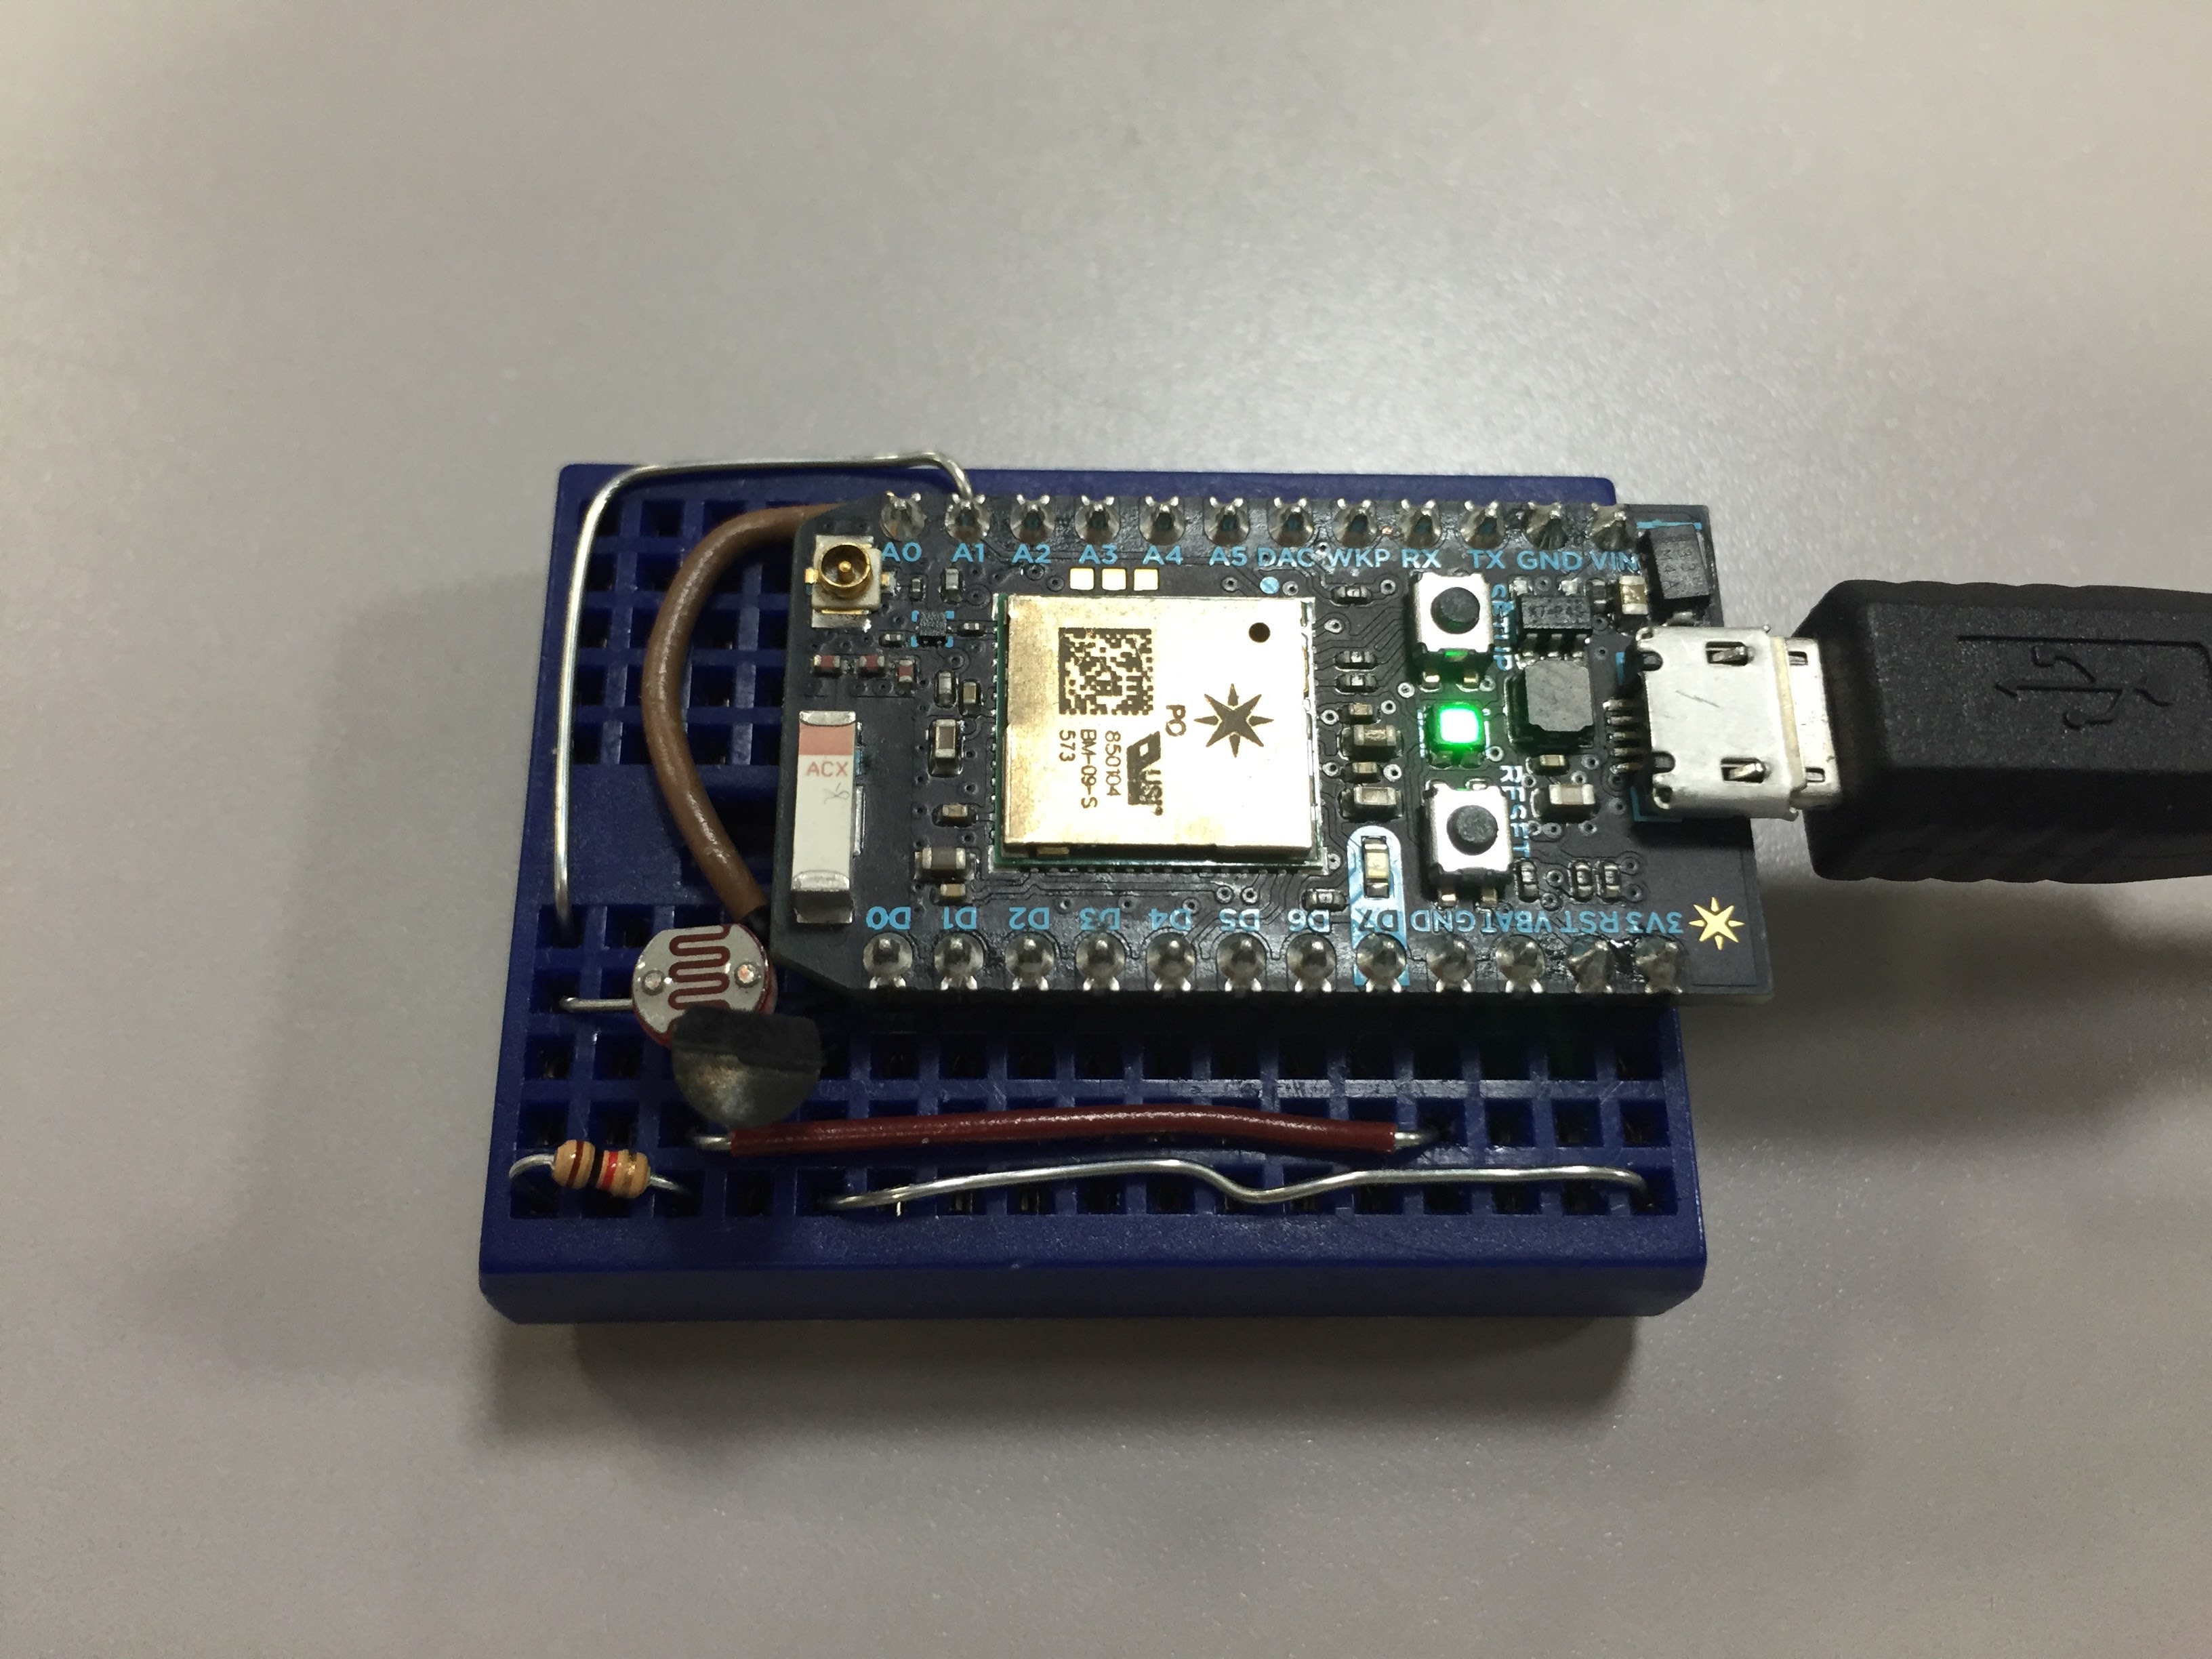
CoAP simple client/server library 0.2.0 now available. Some bug fixed, add Arduino platform. And now, this library sample source run same sourcode on Particle Photon, Core, severals Arduino Platform(UNO with Ethernet Shield…others).
– How to use sample
In this exmples run with CoAP server libcoap or microcoap server for check. This is setting the libcoap on Ubuntu Linux. But if there don’t use CoAP server(request/reseponse), following setting don’t be needed.
libcoap server.
git clone https://github.com/obgm/libcoap
cd libcoap/
./autogen.sh
./configure --disable-examples
gcc -o coap-server examples/coap-server.c -I./include/coap/ -I. -L.libs -lcoap-1 -DWITH_POSIX
gcc -o coap-client examples/client.c examples/coap_list.c -I./include/coap/ -I. -I./examples/ -L.libs -lcoap-1 -DWITH_POSIX
export LD_LIBRARY_PATH=$LD_LIBRARY_PATH:.libs
# run coap-server
./coap-server
# next start Arduino and check the request/response.
# if you need check the coap server, use coap-client.
microcoap
git clone https://github.com/1248/microcoap
cd microcoap
make
# run CoAP server
./coap
On Arduino Platform, download this source code branch zip file and extract to the Arduino libraries directory or checkout repository. Here is checkout on MacOS X.
cd $HOME/Documents/Arduino/libraries/
git clone -b arduino https://github.com/hirotakaster/CoAP CoAP_library
# restart Arduino IDE, you can find CoAP_library examples.
here is coaptest.ino sample source code for Arduino
#include <SPI.h>
#include <Dhcp.h>
#include <Dns.h>
#include <Ethernet.h>
#include <EthernetUdp.h>
#include <coap.h>

byte mac[] = { 0x00, 0xAA, 0xBB, 0xCC, 0xDE, 0x02 };

// CoAP client response callback
// This function is called when application send packet to the server and next get response.
void callback_response(CoapPacket &packet, IPAddress ip, int port);

// CoAP server endpoint url callback.
// This function is called when application get request packet from client.
void callback_light(CoapPacket &packet, IPAddress ip, int port);

// UDP and CoAP class
EthernetUDP Udp;
Coap coap(Udp);

// LED STATE
// Change color CaAP request.
bool LEDSTATE;

// CoAP server endpoint URL callback.
void callback_light(CoapPacket &packet, IPAddress ip, int port) {
  Serial.println("[Light] ON/OFF");

  // send response
  char p[packet.payloadlen + 1];
  memcpy(p, packet.payload, packet.payloadlen);
  p[packet.payloadlen] = NULL;

  String message(p);

  if (message.equals("0"))
    LEDSTATE = false;
  else if(message.equals("1"))
    LEDSTATE = true;

  // CoAP server have to response message to the client with same messageid.
  if (LEDSTATE) {
    digitalWrite(9, HIGH) ;
    coap.sendResponse(ip, port, packet.messageid, "1");
  } else {
    digitalWrite(9, LOW) ;
    coap.sendResponse(ip, port, packet.messageid, "0");
  }
}

// CoAP client response callback
void callback_response(CoapPacket &packet, IPAddress ip, int port) {
  Serial.println("[Coap Response got]");

  char p[packet.payloadlen + 1];
  memcpy(p, packet.payload, packet.payloadlen);
  p[packet.payloadlen] = NULL;

  Serial.println(p);
}

void setup() {
  Serial.begin(9600);

  Ethernet.begin(mac);
  Serial.print("My IP address: ");
  for (byte thisByte = 0; thisByte < 4; thisByte++) {
    Serial.print(Ethernet.localIP()[thisByte], DEC);
    Serial.print(".");
  }
  Serial.println();

  // LED State
  pinMode(9, OUTPUT);
  digitalWrite(9, HIGH);
  LEDSTATE = true;

  // add server url endpoints.
  // can add multiple endpoint urls.
  // this endpoint url is called by client.
  // exp) coap.server(callback_switch, "switch");
  //      coap.server(callback_env, "env/temp");
  //      coap.server(callback_env, "env/humidity");
  Serial.println("Setup Callback Light");
  coap.server(callback_light, "light");

  // client response callback.
  // this endpoint is single callback.
  Serial.println("Setup Response Callback");
  coap.response(callback_response);

  // start coap server/client
  coap.start();
}

void loop() {
  // send GET or PUT coap request to CoAP server.
  // To test, use libcoap, microcoap server...etc
  // int msgid = coap.put(IPAddress(10, 0, 0, 1), 5683, "light", "1");
  // "time"(libcoap sample server endpoint) is set.
  Serial.println("Send Request");
  int msgid = coap.get(IPAddress(XXX, XXX, XXX, XXX), 5683, "time");

  delay(1000);
  coap.loop();
}
/*
if you change LED, req/res test with coap-client(libcoap), run following.
coap-client -m get coap://(arduino ip addr)/light
coap-client -e "1" -m put coap://(arduino ip addr)/light
coap-client -e "0" -m put coap://(arduino ip addr)/light
*/
next, there is Particle Photon, Core sample sourcode. Difference point with the Arduino is only Udp class, include files and IP address setting only.
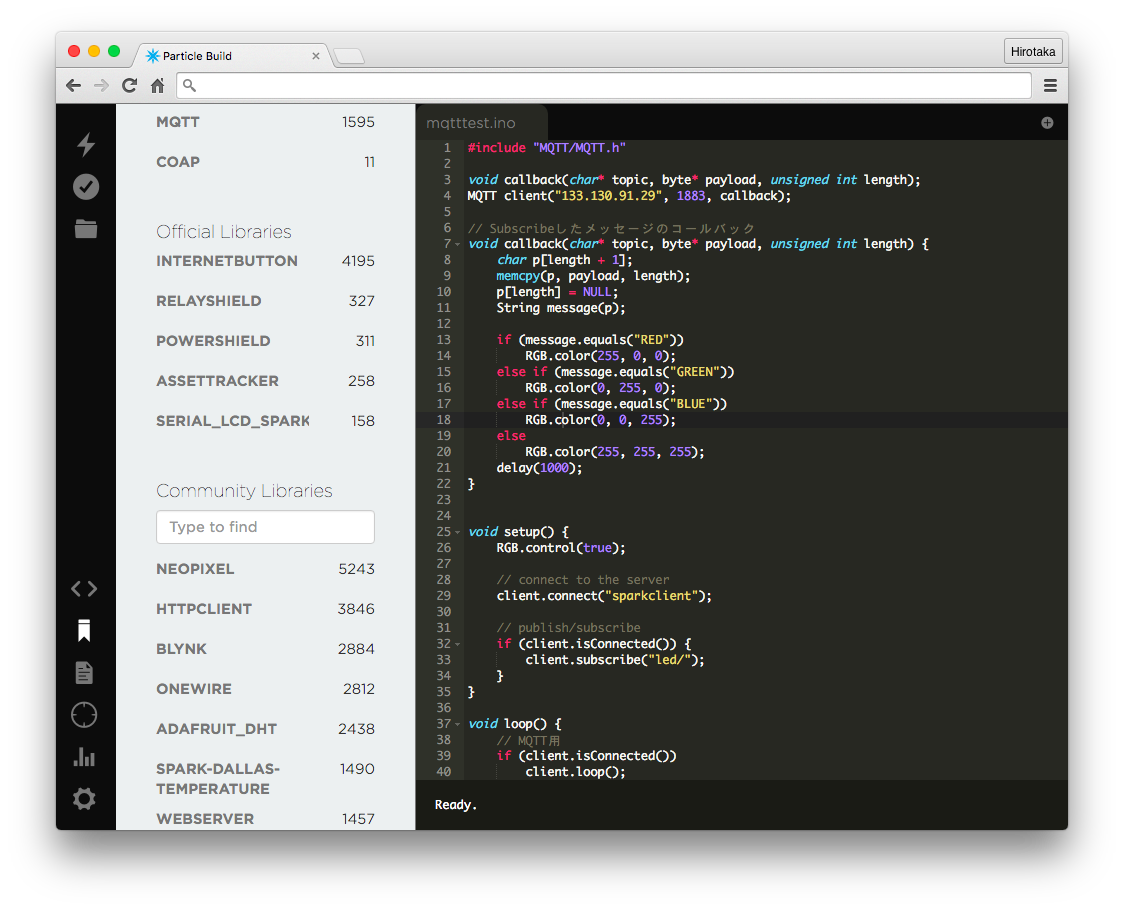
MQTT library 0.3.4 now available. On this release add Arduino platform, and this client library can use nearly same source code on Particle Photon, Core, severals Arduino Platform(UNO with Ethernet Shield…others).
Particle Photon, Core MQTT is here, and for Arduino branches is here.
BTW, Particle Photon, Core version MQTT library is used over 1,200 apps on the Particle now.
– How to use on Arduino
Particle have Web IDE with community libraries application developer easy to use several latest libraies without notifying. But on Arduino, developer have to add library by your self. here is from github readme.
Download this source code branch zip file and extract to the Arduino libraries directory or checkout MQTT repository. Here is checkout on MacOS X.
cd $HOME/Documents/Arduino/libraries/
git clone -b arduino https://github.com/hirotakaster/MQTT MQTTCilent
# restart Arduino IDE, you can find MQTTCilent examples.
here is SimplePubSub Arduino source code.
#include <Dhcp.h>
#include <Dns.h>
#include <Ethernet.h>
#include <SPI.h>
#include <MQTT.h>

byte mac[] = { 0x00, 0xAA, 0xBB, 0xCC, 0xDE, 0x02 };

void callback(char* topic, byte* payload, unsigned int length);

/**
 * if want to use IP address,
 * byte server[] = { XXX,XXX,XXX,XXX };
 * MQTT client(server, 1883, callback);
 * want to use domain name,
 * MQTT client("www.sample.com", 1883, callback);
 * change "server_name".
 **/
EthernetClient ethclient;
MQTT client("server_name", 1883, callback, ethclient);

// recieve message
void callback(char* topic, byte* payload, unsigned int length) {
  char p[length + 1];
  memcpy(p, payload, length);
  p[length] = NULL;
  String message(p);

  Serial.println(message);
  delay(1000);
}


void setup() {
  Serial.begin(9600);

  // Get IP address from DHCP Server
  Ethernet.begin(mac);

  Serial.print("My IP address: ");
  for (byte thisByte = 0; thisByte < 4; thisByte++) {
    Serial.print(Ethernet.localIP()[thisByte], DEC);
    Serial.print(".");
  }
  Serial.println();

  // connect to the server
  client.connect("mqttclient");

  // publish/subscribe
  if (client.isConnected()) {
    client.publish("/outTopic","hello world");
    client.subscribe("/inTopic");
  }
}

void loop() {
  if (client.isConnected())
    client.loop();
}
Following is Particle Photon, Core same version. Difference points with Arduino are include files and Ethernet connection implementation only.
#include "MQTT/MQTT.h"

void callback(char* topic, byte* payload, unsigned int length);

/**
 * if want to use IP address,
 * byte server[] = { XXX,XXX,XXX,XXX };
 * MQTT client(server, 1883, callback);
 * want to use domain name,
 * MQTT client("www.sample.com", 1883, callback);
 * change "server_name".
 **/
MQTT client("server_name", 1883, callback);

// recieve message
void callback(char* topic, byte* payload, unsigned int length) {
  char p[length + 1];
  memcpy(p, payload, length);
  p[length] = NULL;
  String message(p);

  Serial.println(message);
  delay(1000);
}


void setup() {
  Serial.begin(9600);

  // connect to the server
  client.connect("mqttclient");

  // publish/subscribe
  if (client.isConnected()) {
    client.publish("/outTopic","hello world");
    client.subscribe("/inTopic");
  }
}

void loop() {
  if (client.isConnected())
    client.loop();
}
I lost my blog data(my server operation miss…) at 2014/03, but Internet Archive save my lost blog data. Followinig entry for my memo from Internet Archive.
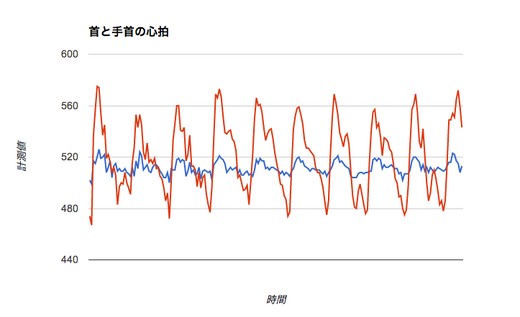
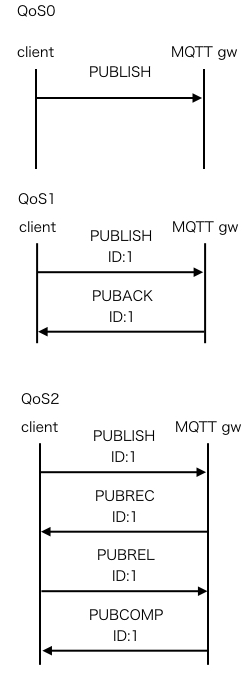
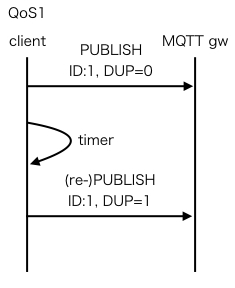
これはQoS1の場合について。timer処理を入れて、ACKが来なかった時に同じメッセージを再送するといった事ができるようになる。実際MQTT 3.1のプロトコル定義にもDUPフラグを付けて再送信処理を行うと記載されている。(MQTT V3.1 Protocol Specification, 4.1. Quality of Service levels and flows, QoS level 1: At least once deliveryから)
NWの一般的なQoS(流量制御や遅延への保証)とは違って、メッセージの到達保証にかかるシーケンスが変わる感じですね。ここで、自分的にはこのtimer処理を入れて再送するという実装をしている場合は、それは止めた方が良いと思われ。そう言ったクライアントを利用しているなら、ちょっと危ない気はする。ちなみに、サーバ側はACKを送って、その再送処理を行わないのが殆どだと思われ(その必要がない)。
というのはTCP over TCP問題(Why TCP Over TCP Is A Bad Idea)という、よくある問題がベースになる。短い資料だけど、遅い&遅延が発生するようなNW(特にIoT的な端末だと、低帯域なNWを利用すると思われるので、このケースがよく合う)で発生する問題で一度は目を通した事がある人も多いはず。ザックリだと、TCPの上に信頼性(再送を行うような)のあるプロトコルを載せた場合、そのNWは破綻するといった感じ。