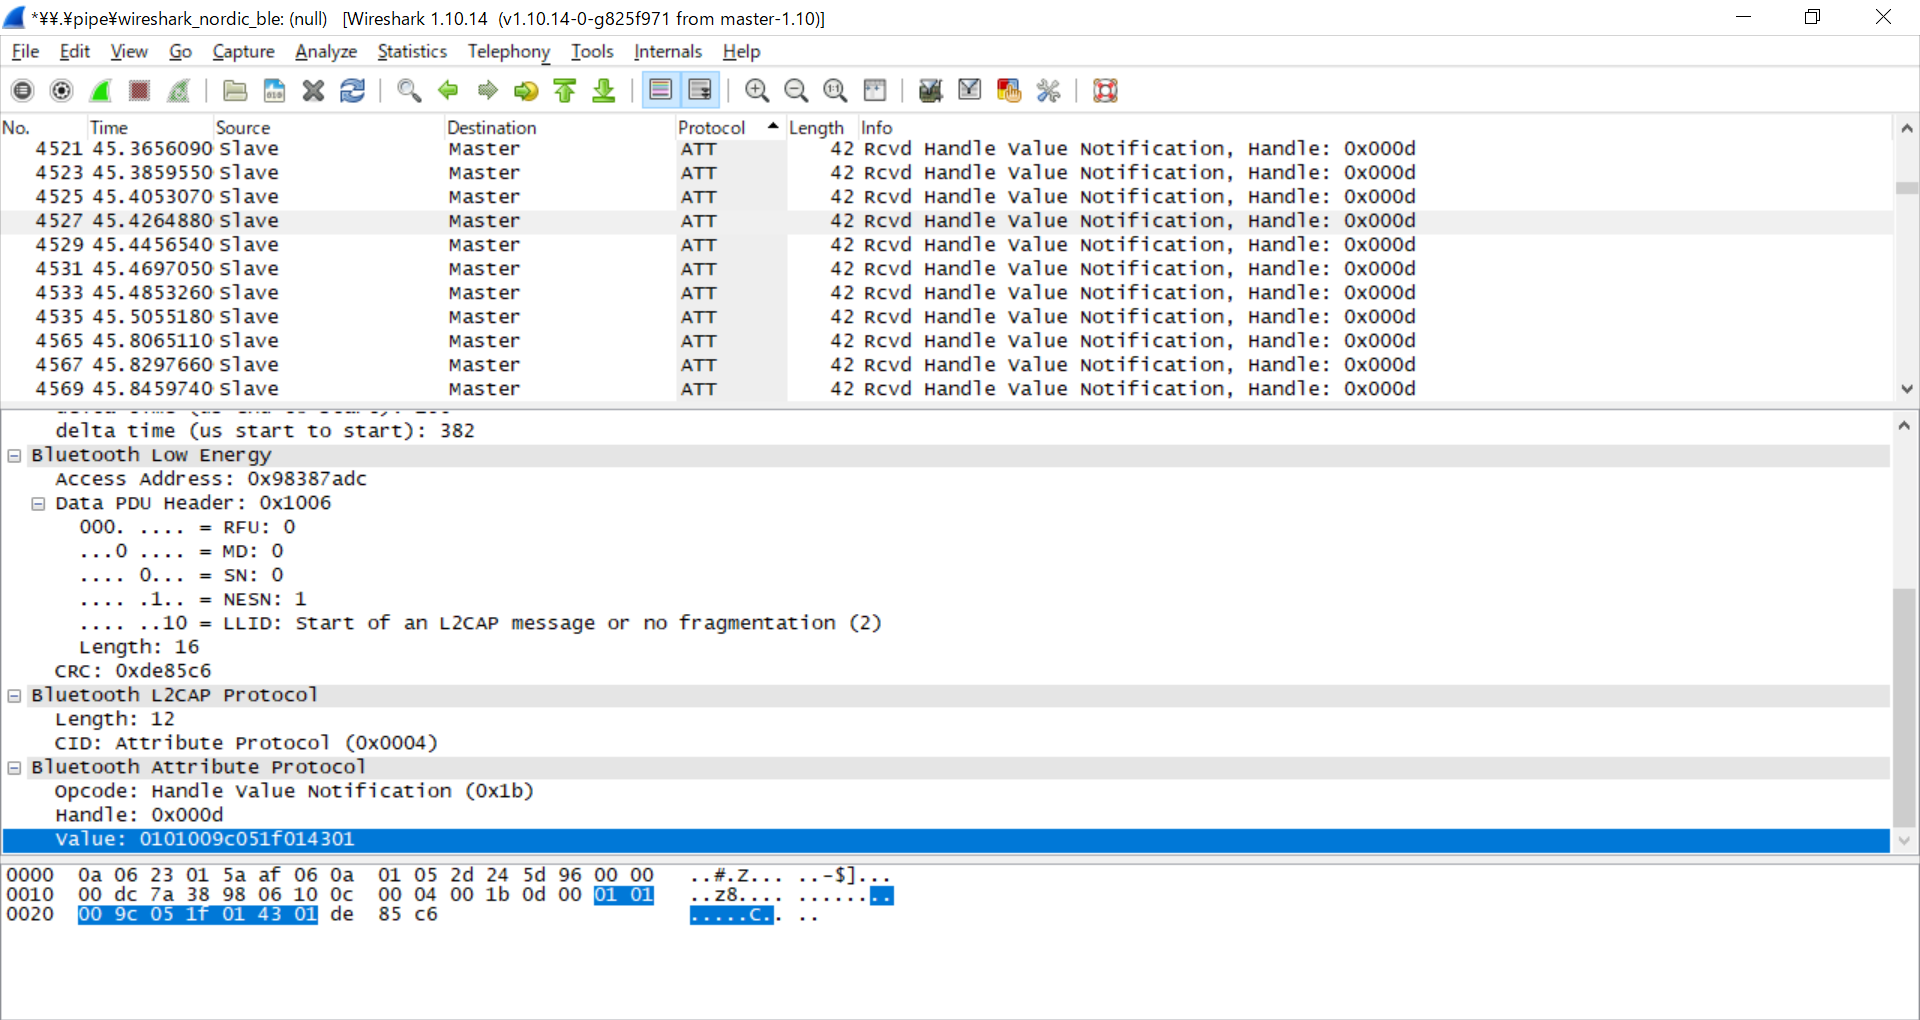
■ 何にするか…
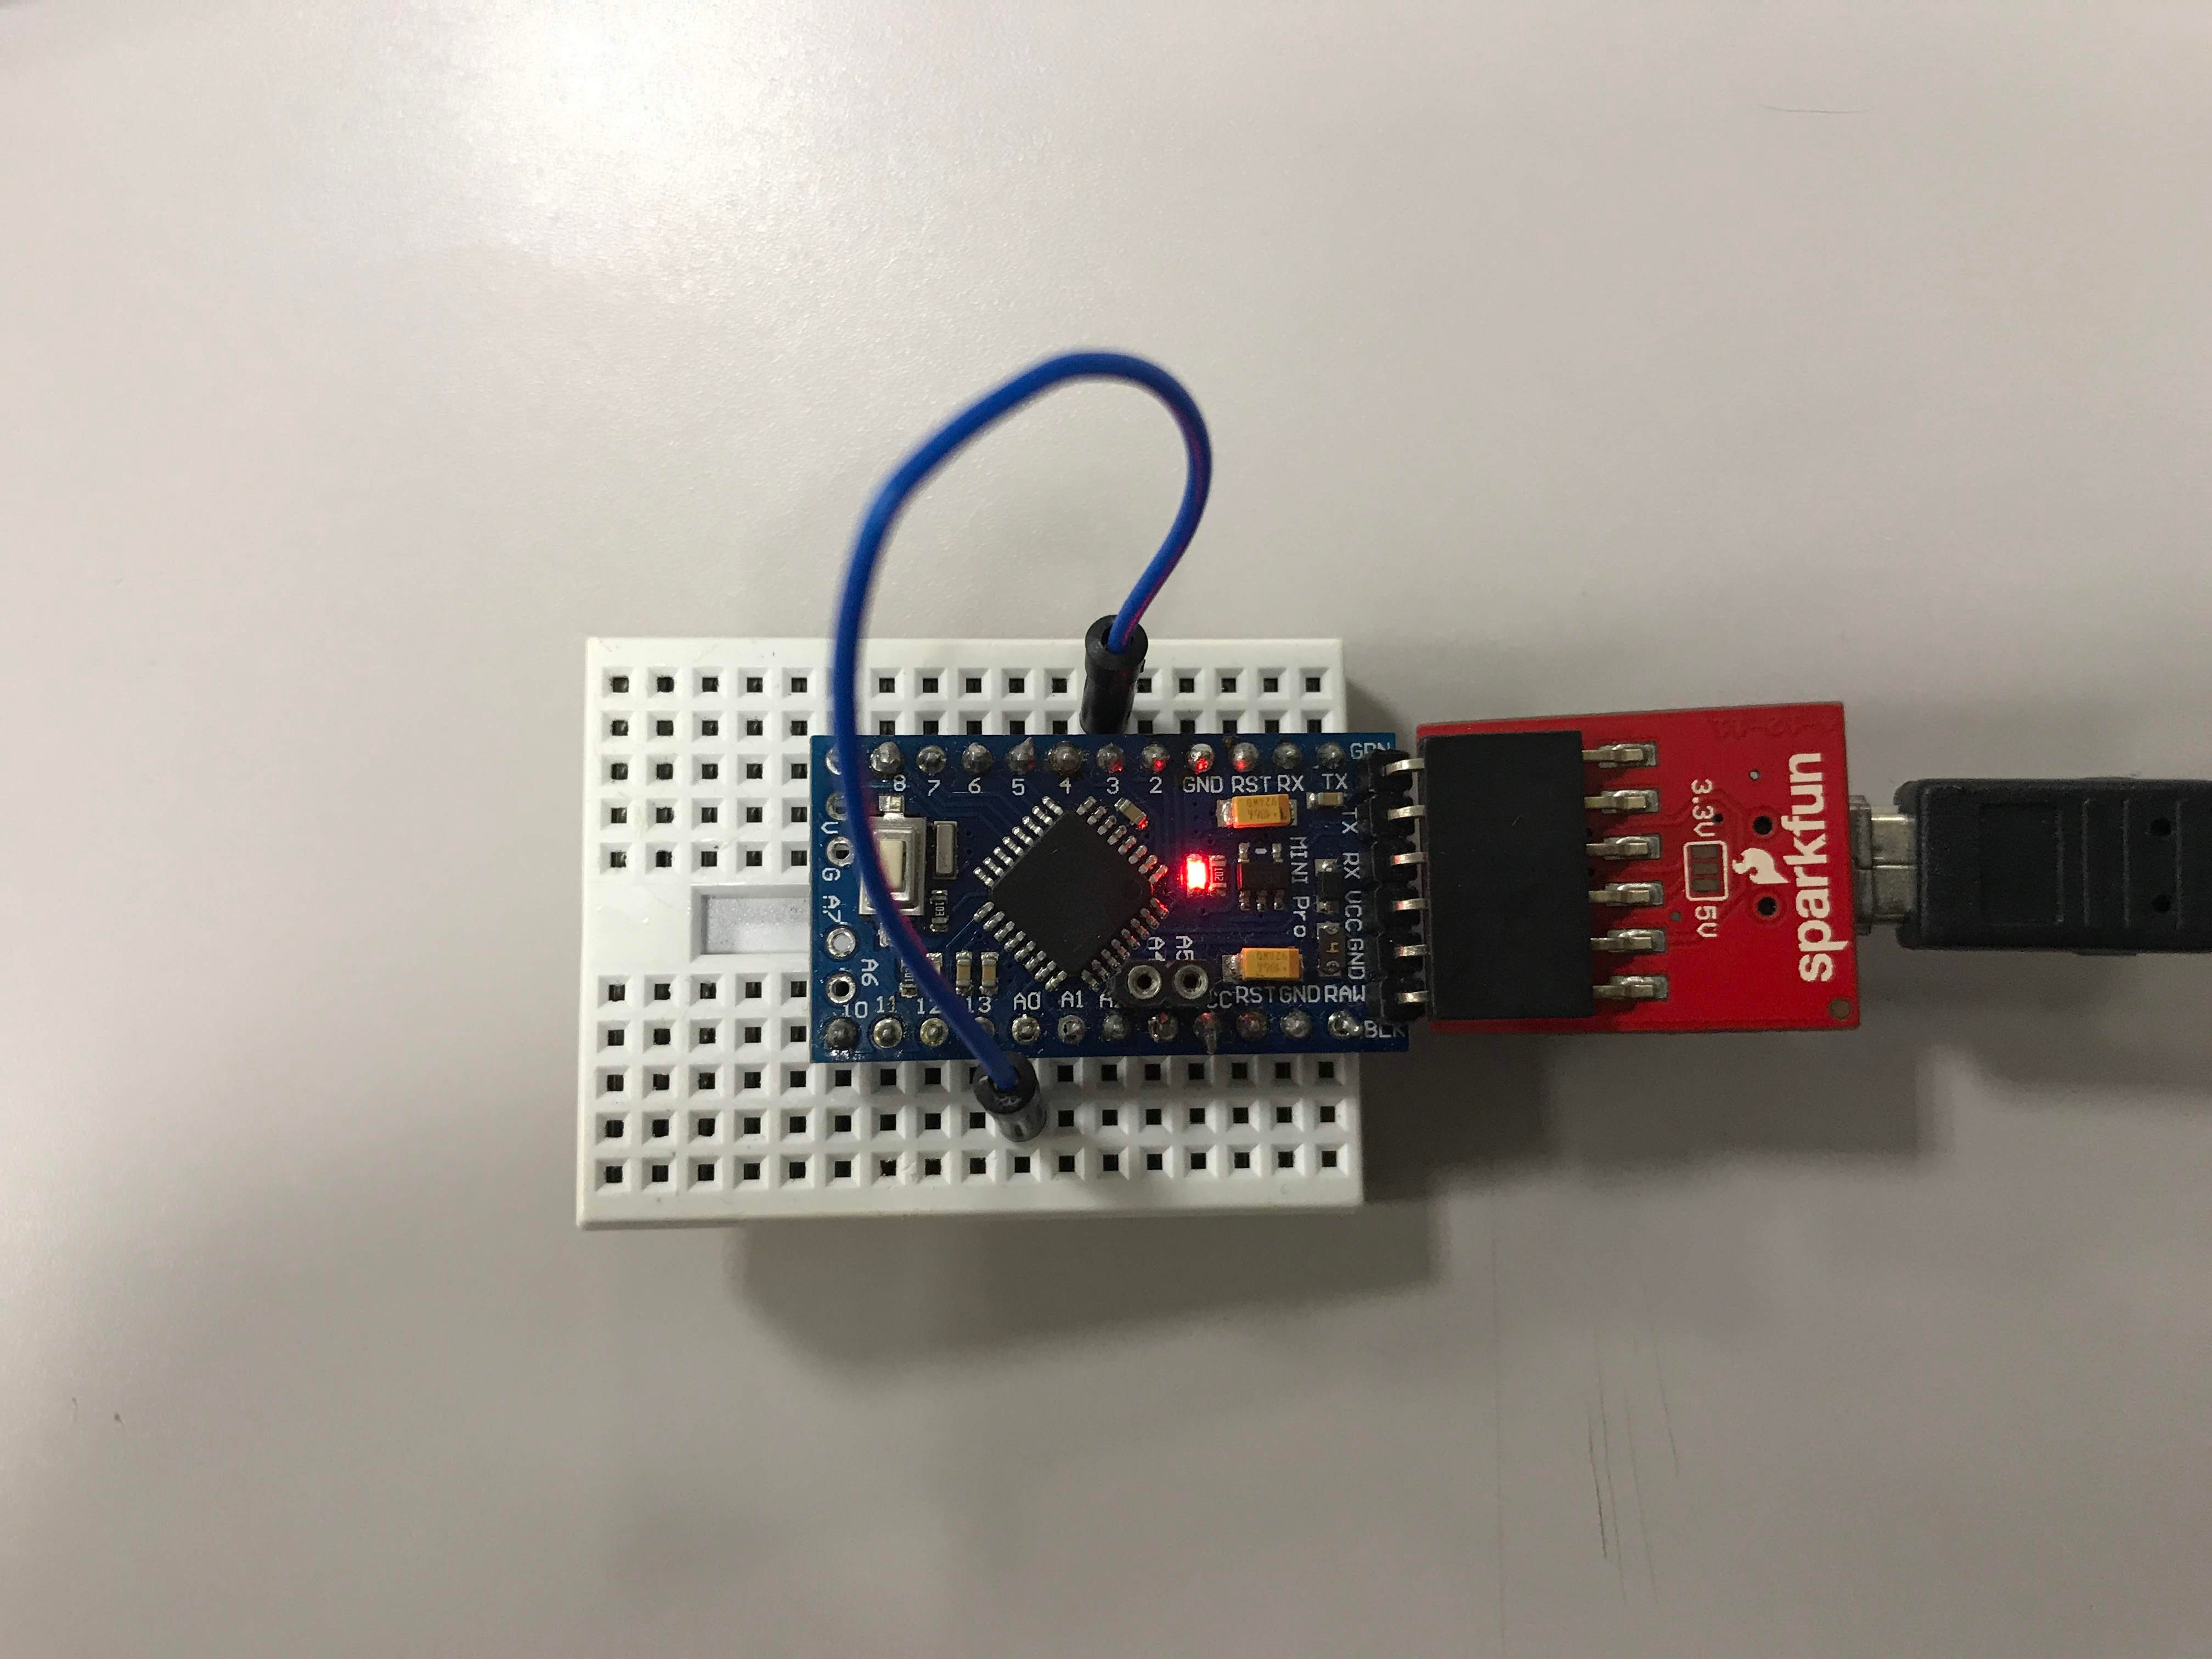
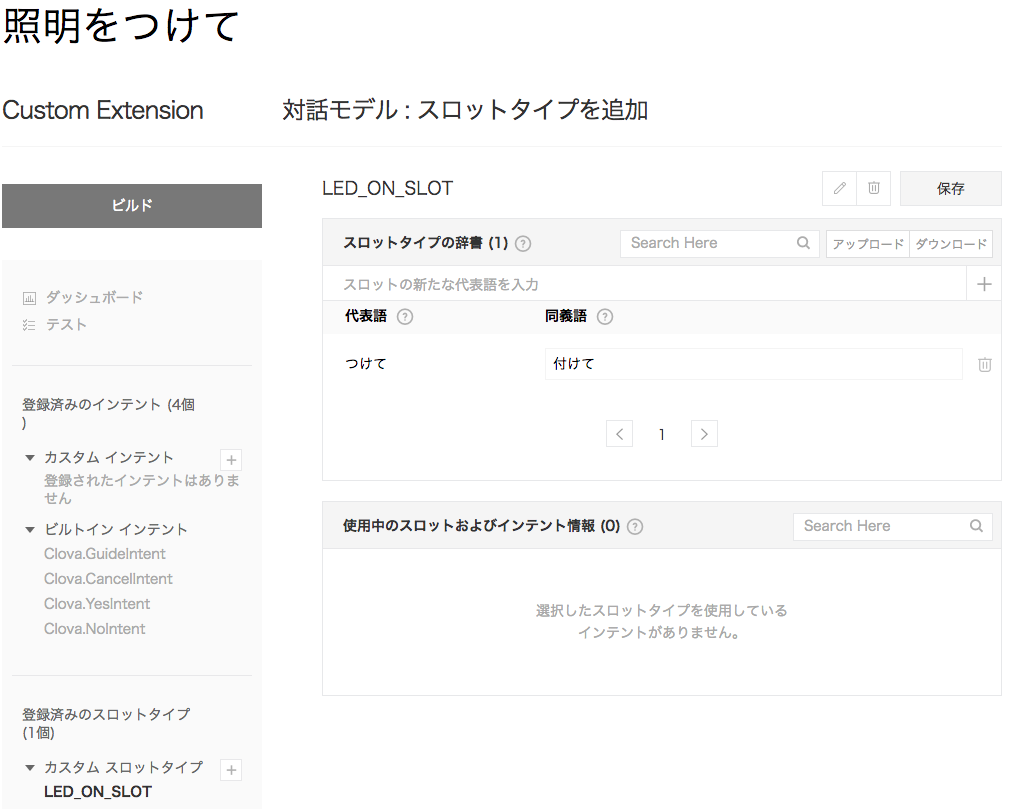
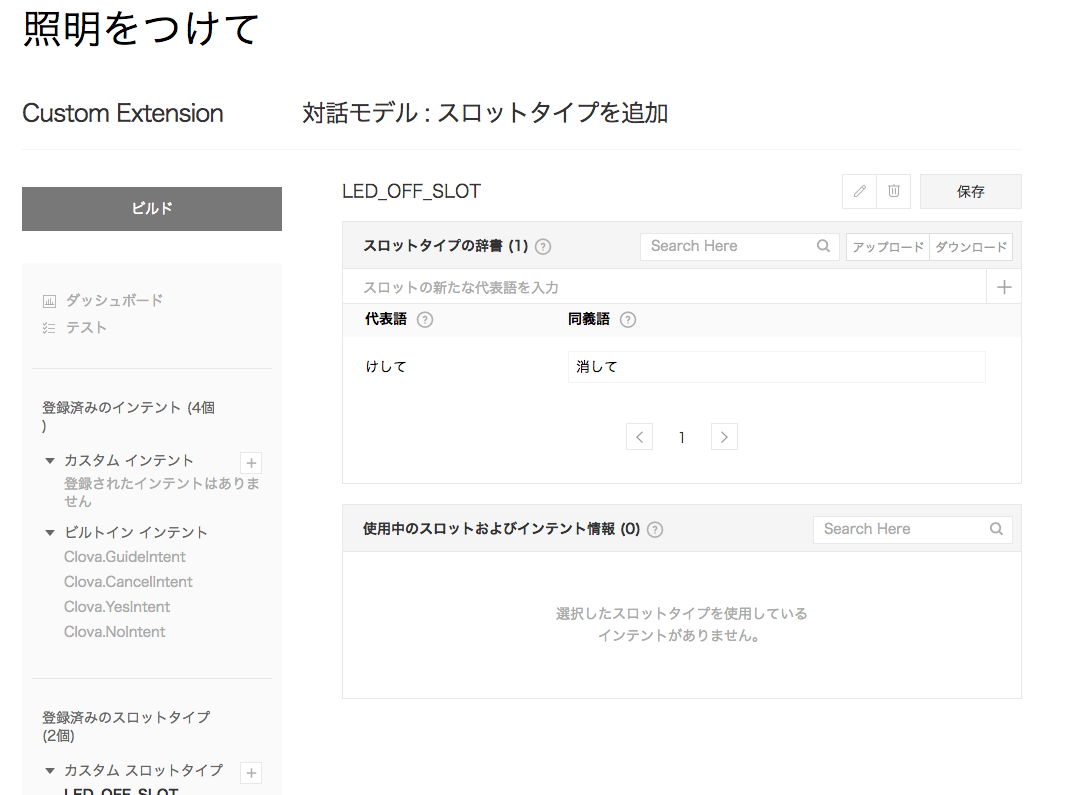
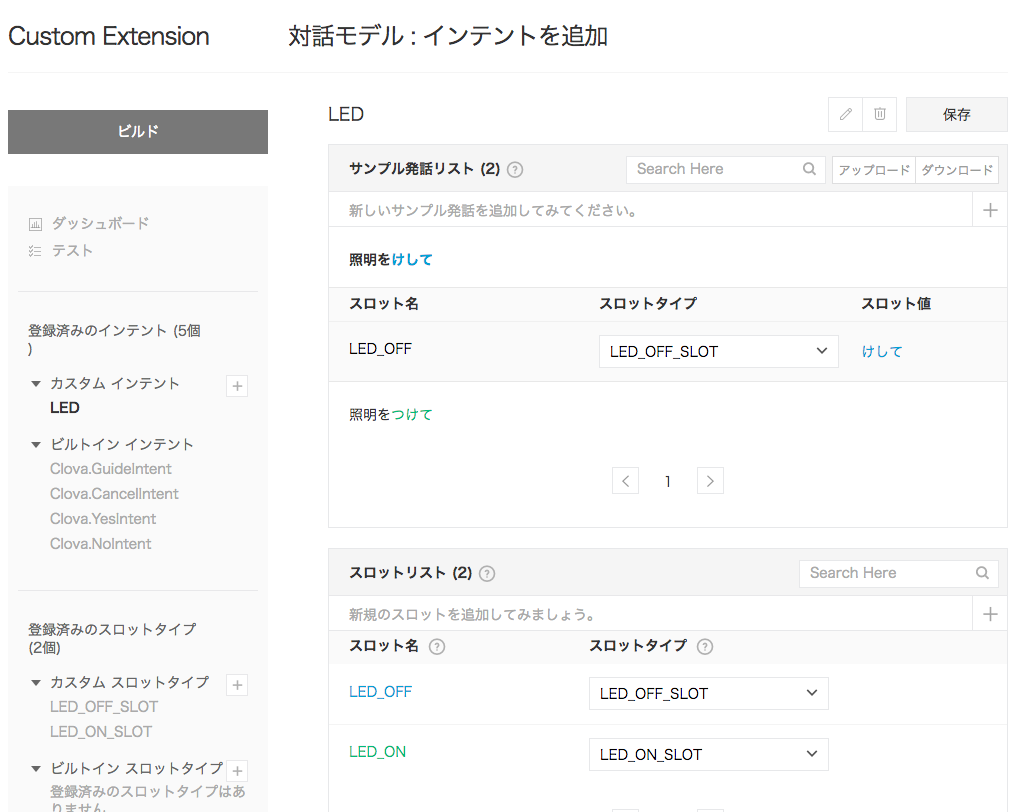
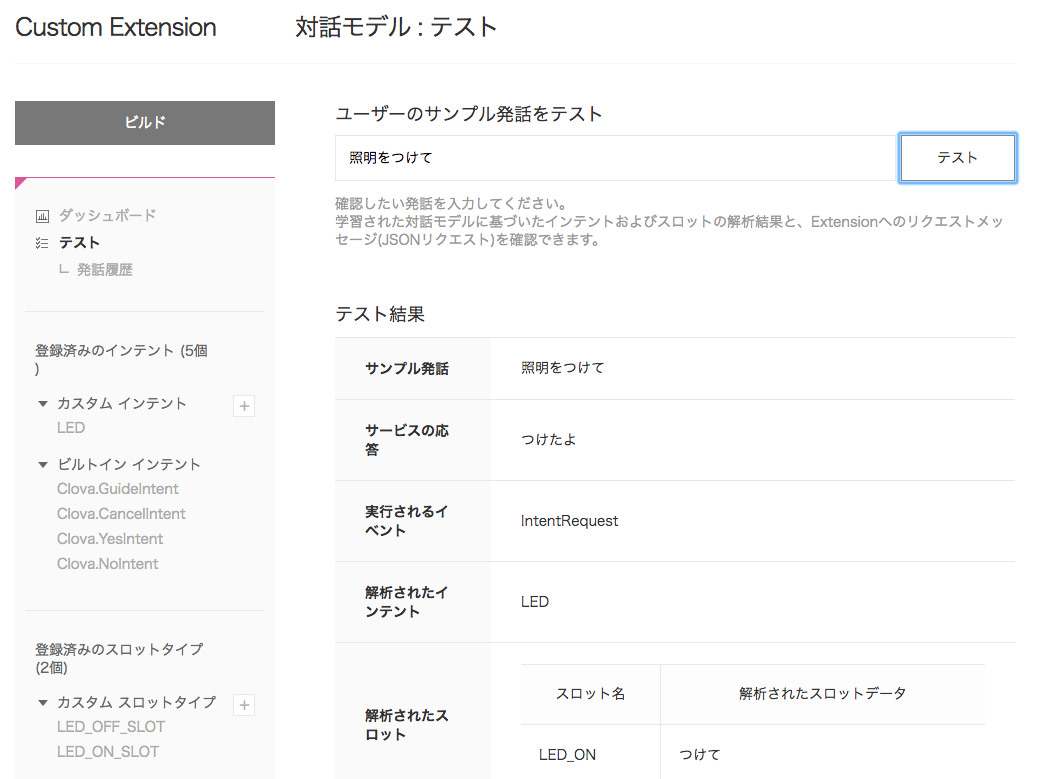
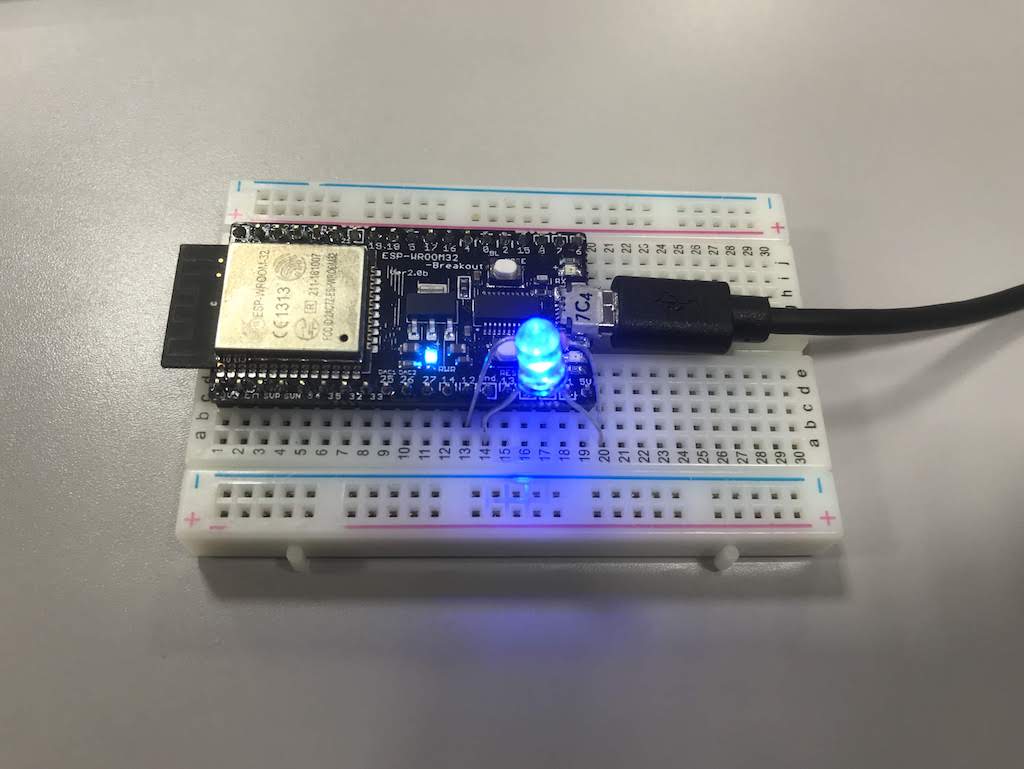
ESP32があるから、「照明をつけて・消して」というと、LEDの点灯制御をClovaから行えるようにしてみる。いわゆる…IoT的な連携の基本動作といった感じ。
LINE BOTと連携して、ESP32側からLINEに向けてデータを送信する事も出来て、スピーカ・端末・アプリの3者連携は何気に面白いこともできる。
■ 全体構成
全体的な接続の流れはこんな感じ。
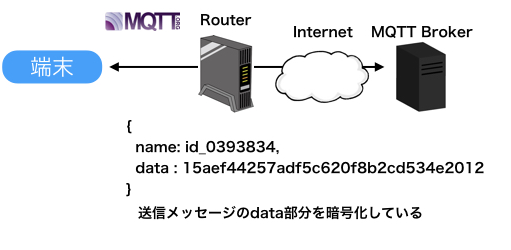
LINE Clova Wave <=> (LINE社のサーバ) <=> golang(ヲイラのサーバ) <=(MQTT)=> ESP32
LINE CEKと自分のサーバ側(golang)と接続して、端末とのインタフェイスはMQTTで。IFFFTとかでも良いだろうけど、MQTTにしておくと後々で便利というかIoT的(?)な感じ。あとgolangの部分は自分のサーバを使ったけど、nodejs(firebase function)を使うとサーバーレスでサラッと無料で作ることもできる。
いまふと思ったら、firebase function NodeJSの方がクールだったかな…けど、この手のサラッとしたWeb APIというかエンドポイントはgolangで作る方が自分は軽い。まぁ、なんでもいいけど。
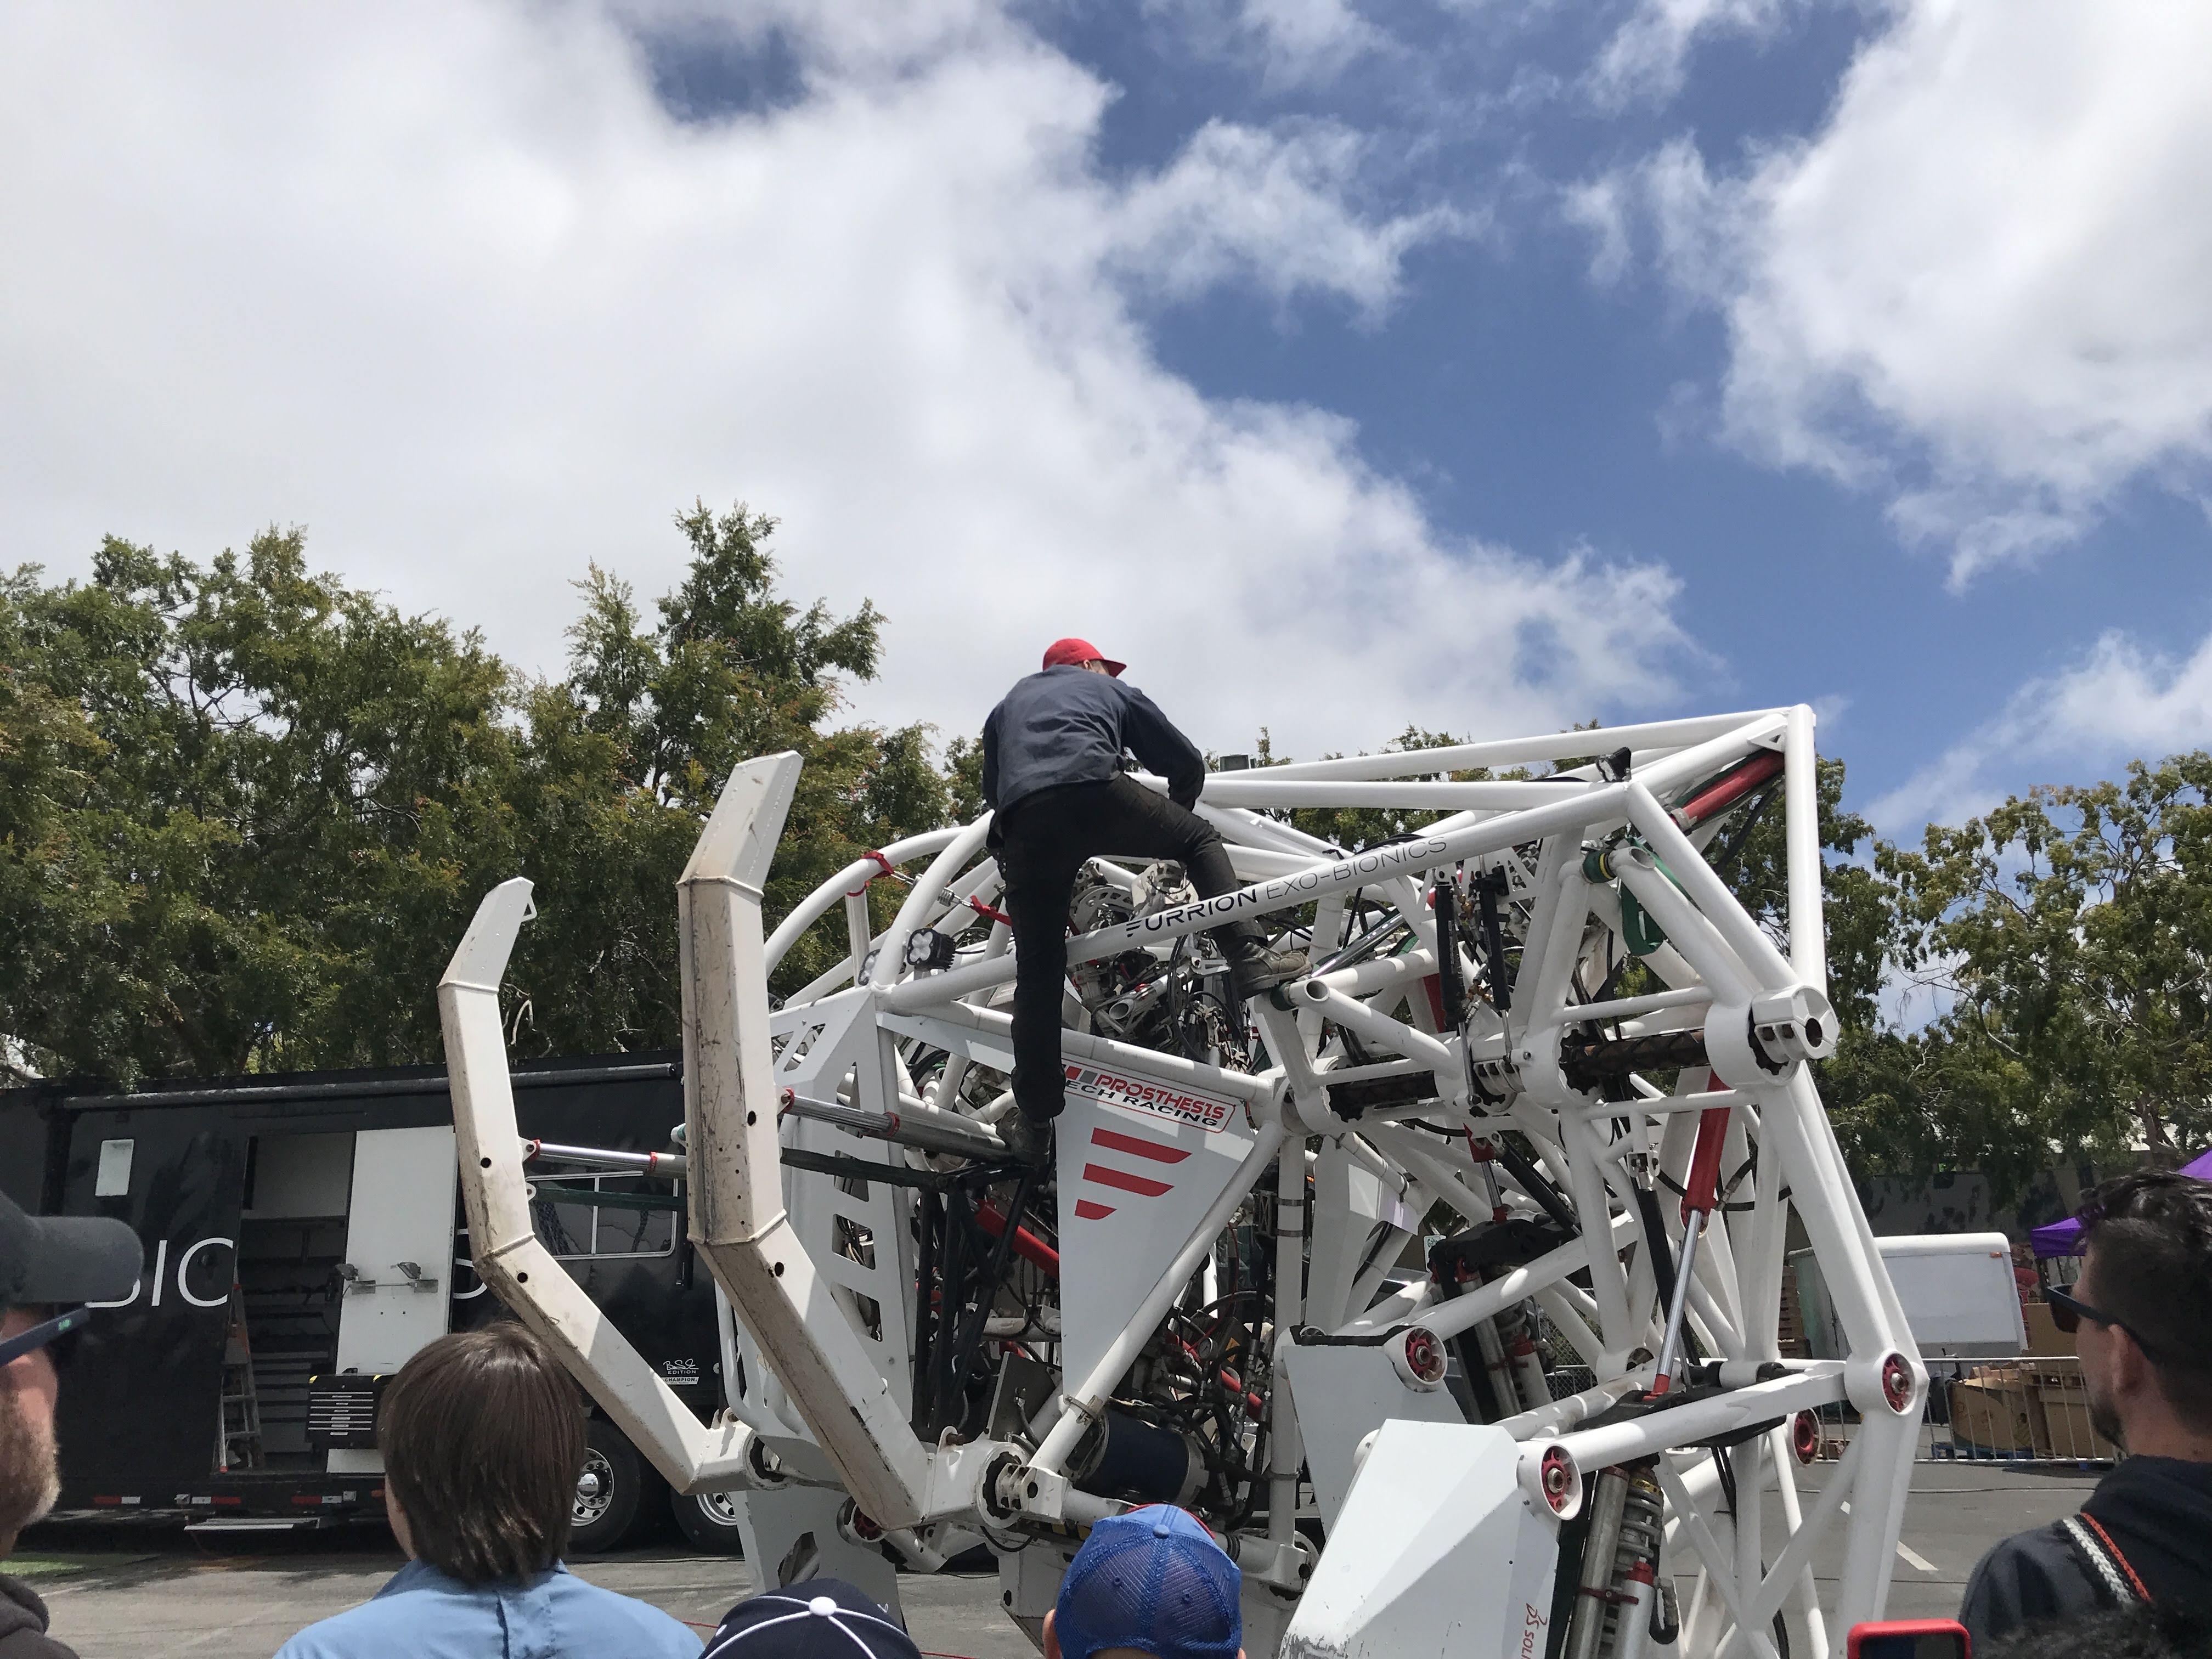
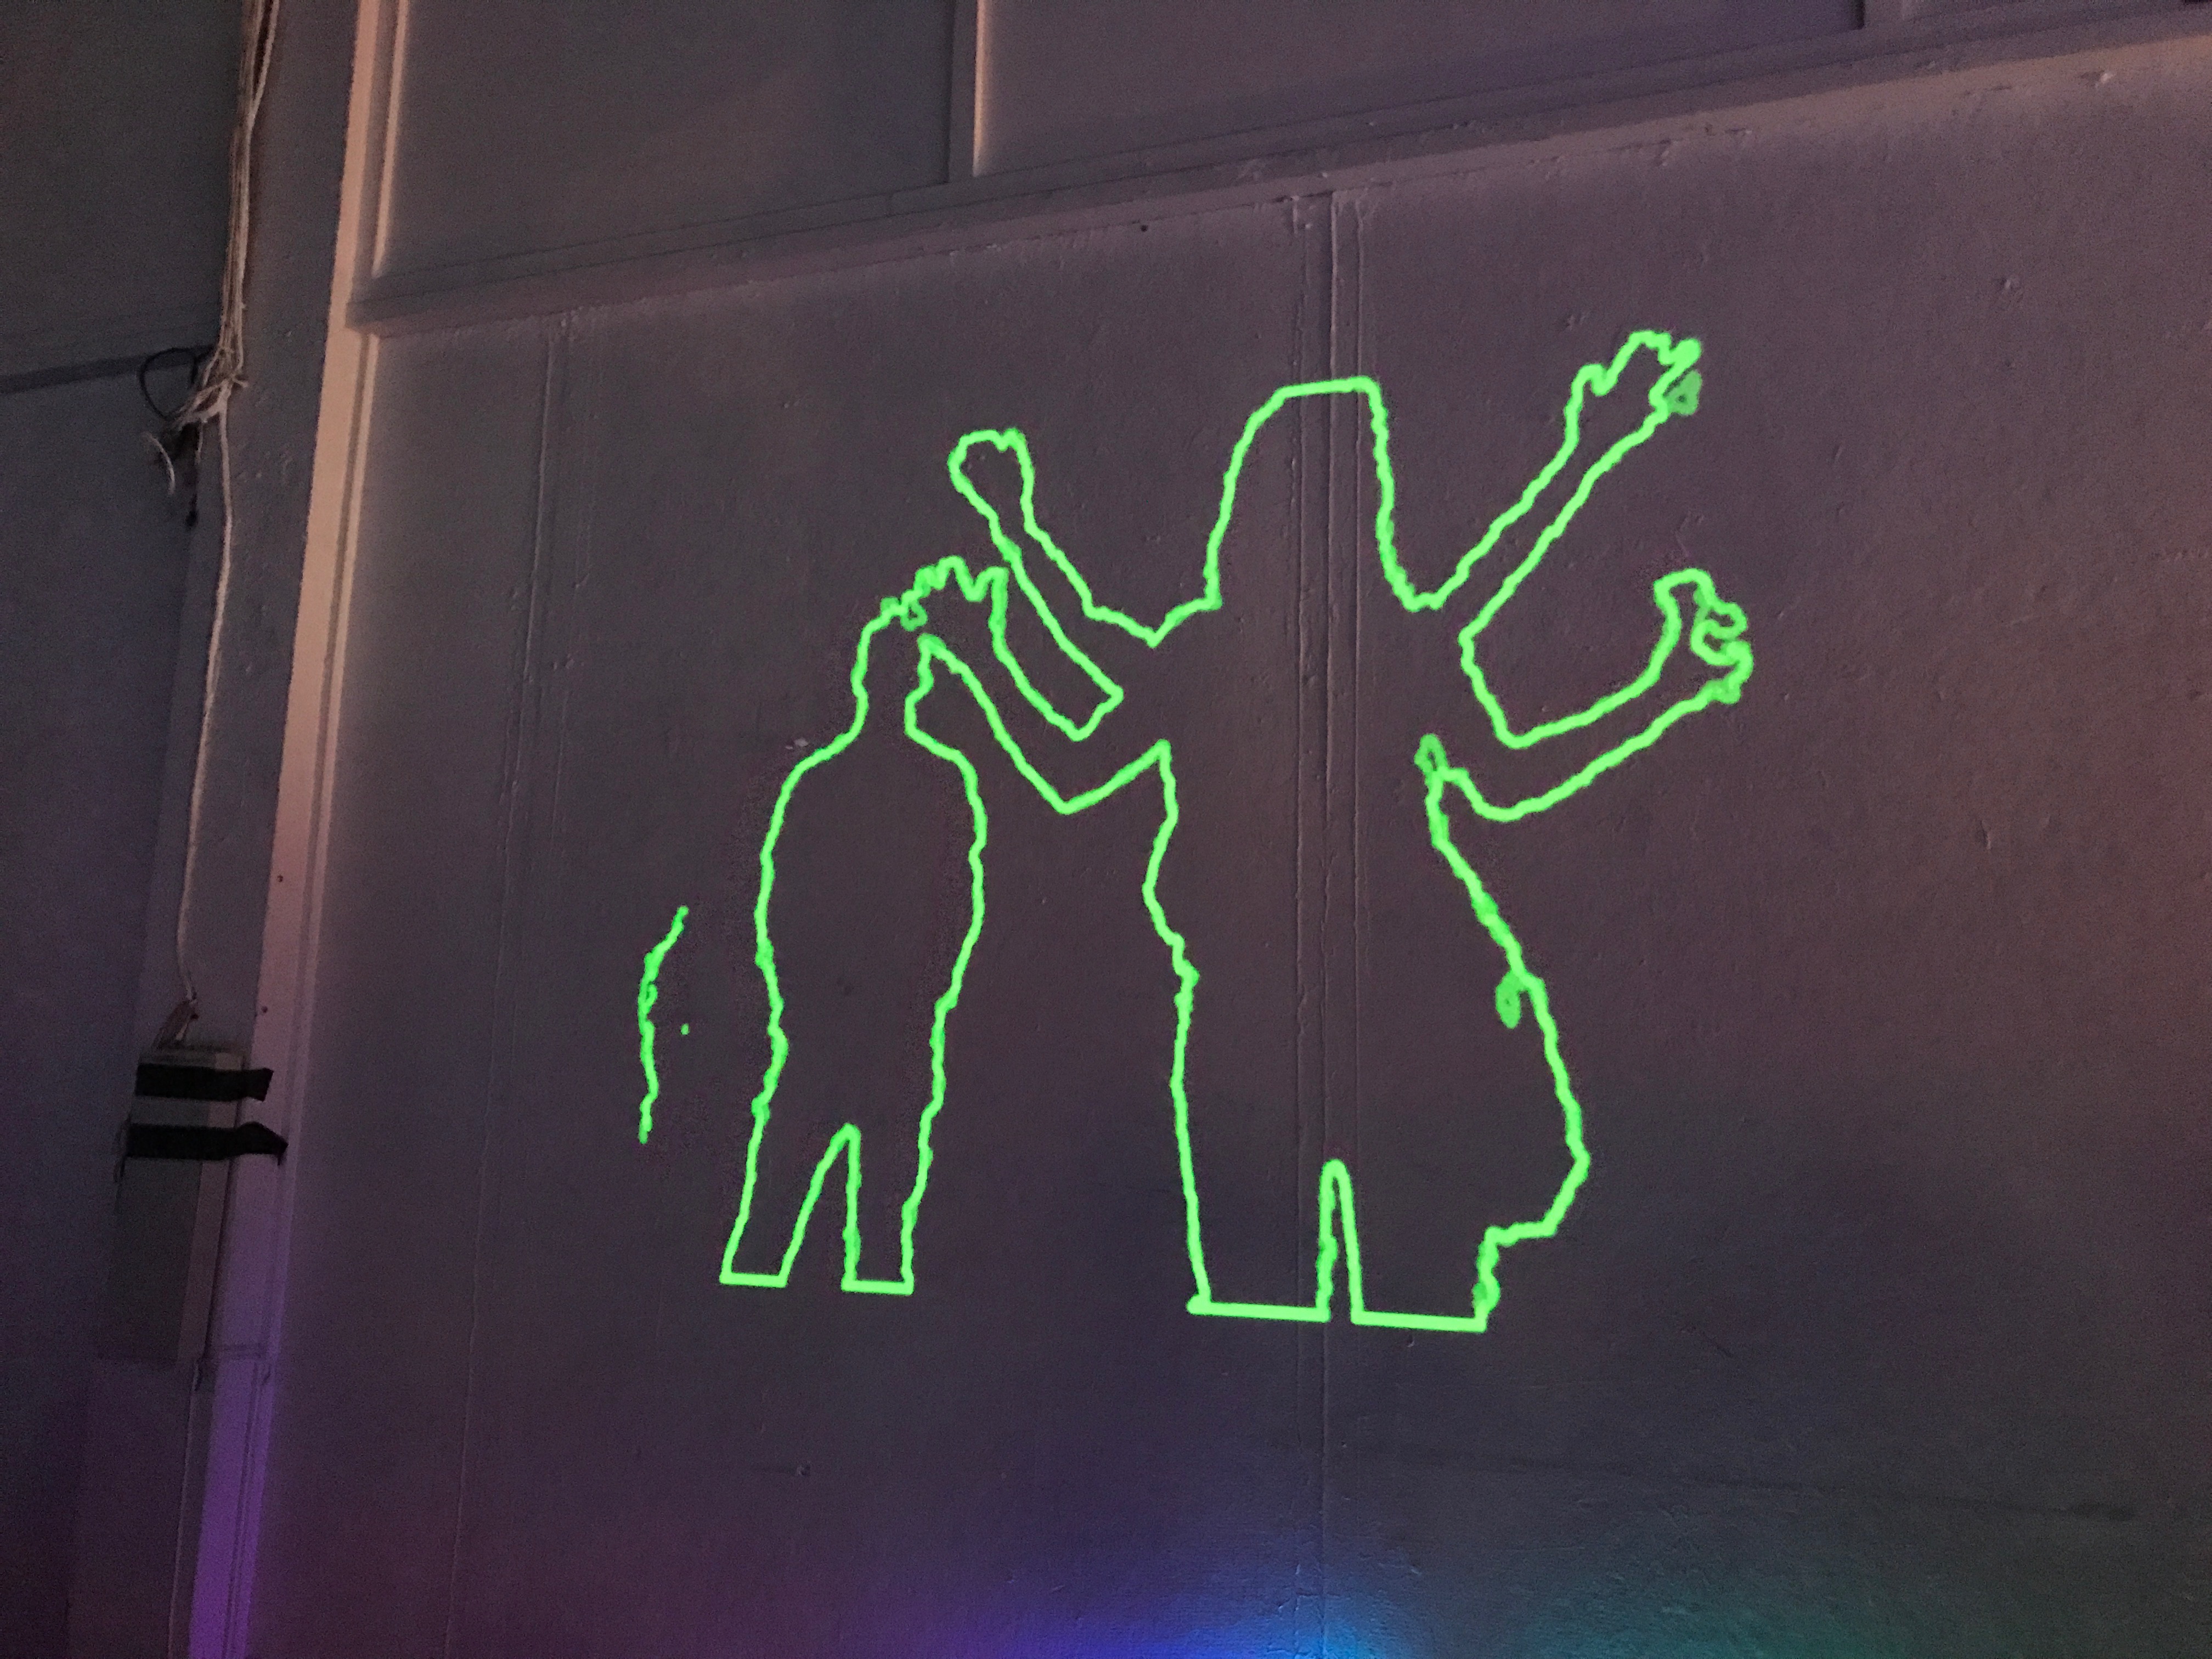
led rodはKinectとか人の動きに合わせて動かすこともできる(実際、以前やった時はUnityとKinect v2連動させて多数動かした。一番近くの人の動きを見て寄って動くとか)。ただトラッキングした数は常に秒間数名は拾っている計算でのべ7万人ほど。凄まじく大量の人で、個別にトラッキングできる状況になかったからランダムで動かした。この辺は、また上手い見せ方があったかも知れない。
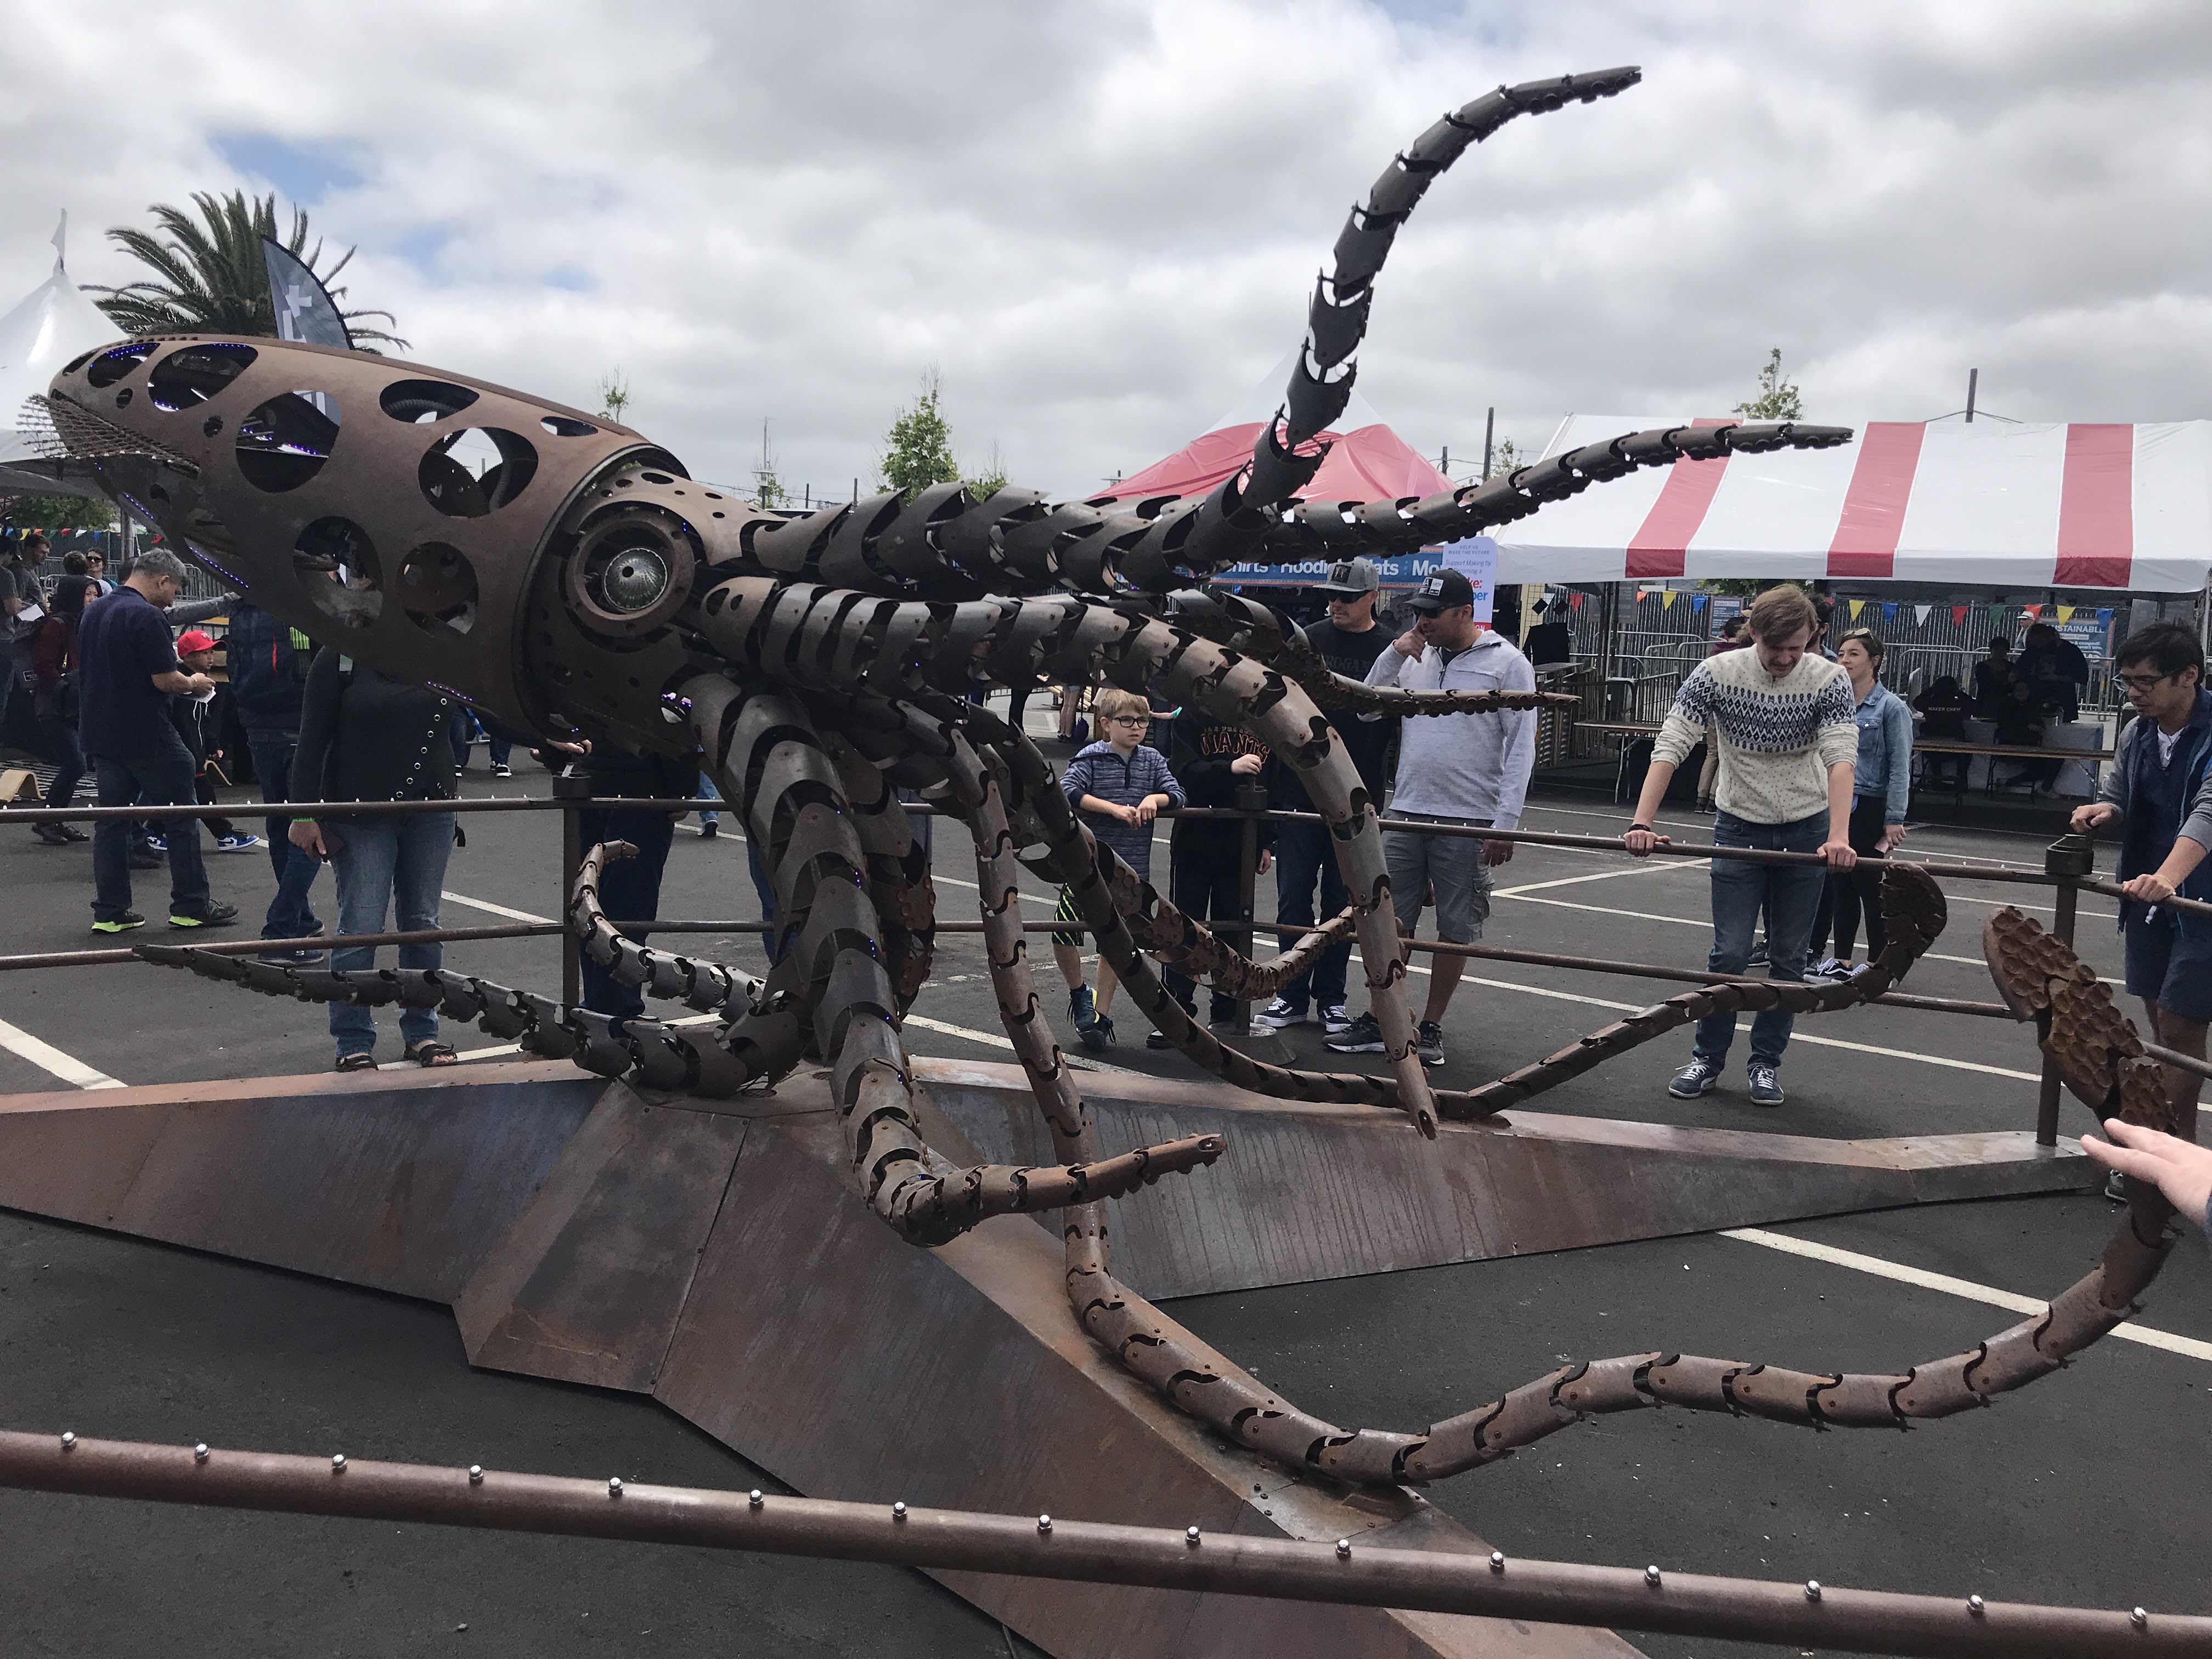
お約束とも思えるファイヤーなRabid Transit。2017年のBurning Manでもやっていたみたいね。ググるとよく出てくるけど、Maker Faire Bay Areaに出展して、Burning Manでも出ている…というのは見かける。Burning Manの方は行った事は無いけど、何となく行ってみたい。
見て分かると思うけど、”柵”は無い。周りに消火器は置いてあるものの、好きな距離で見ることが出来る。といっても、自分が撮っているこの距離でも火炎の熱気を感じて、これ以上近づくことが出来ない。この熱気が見えない柵としても機能しているような気がする。
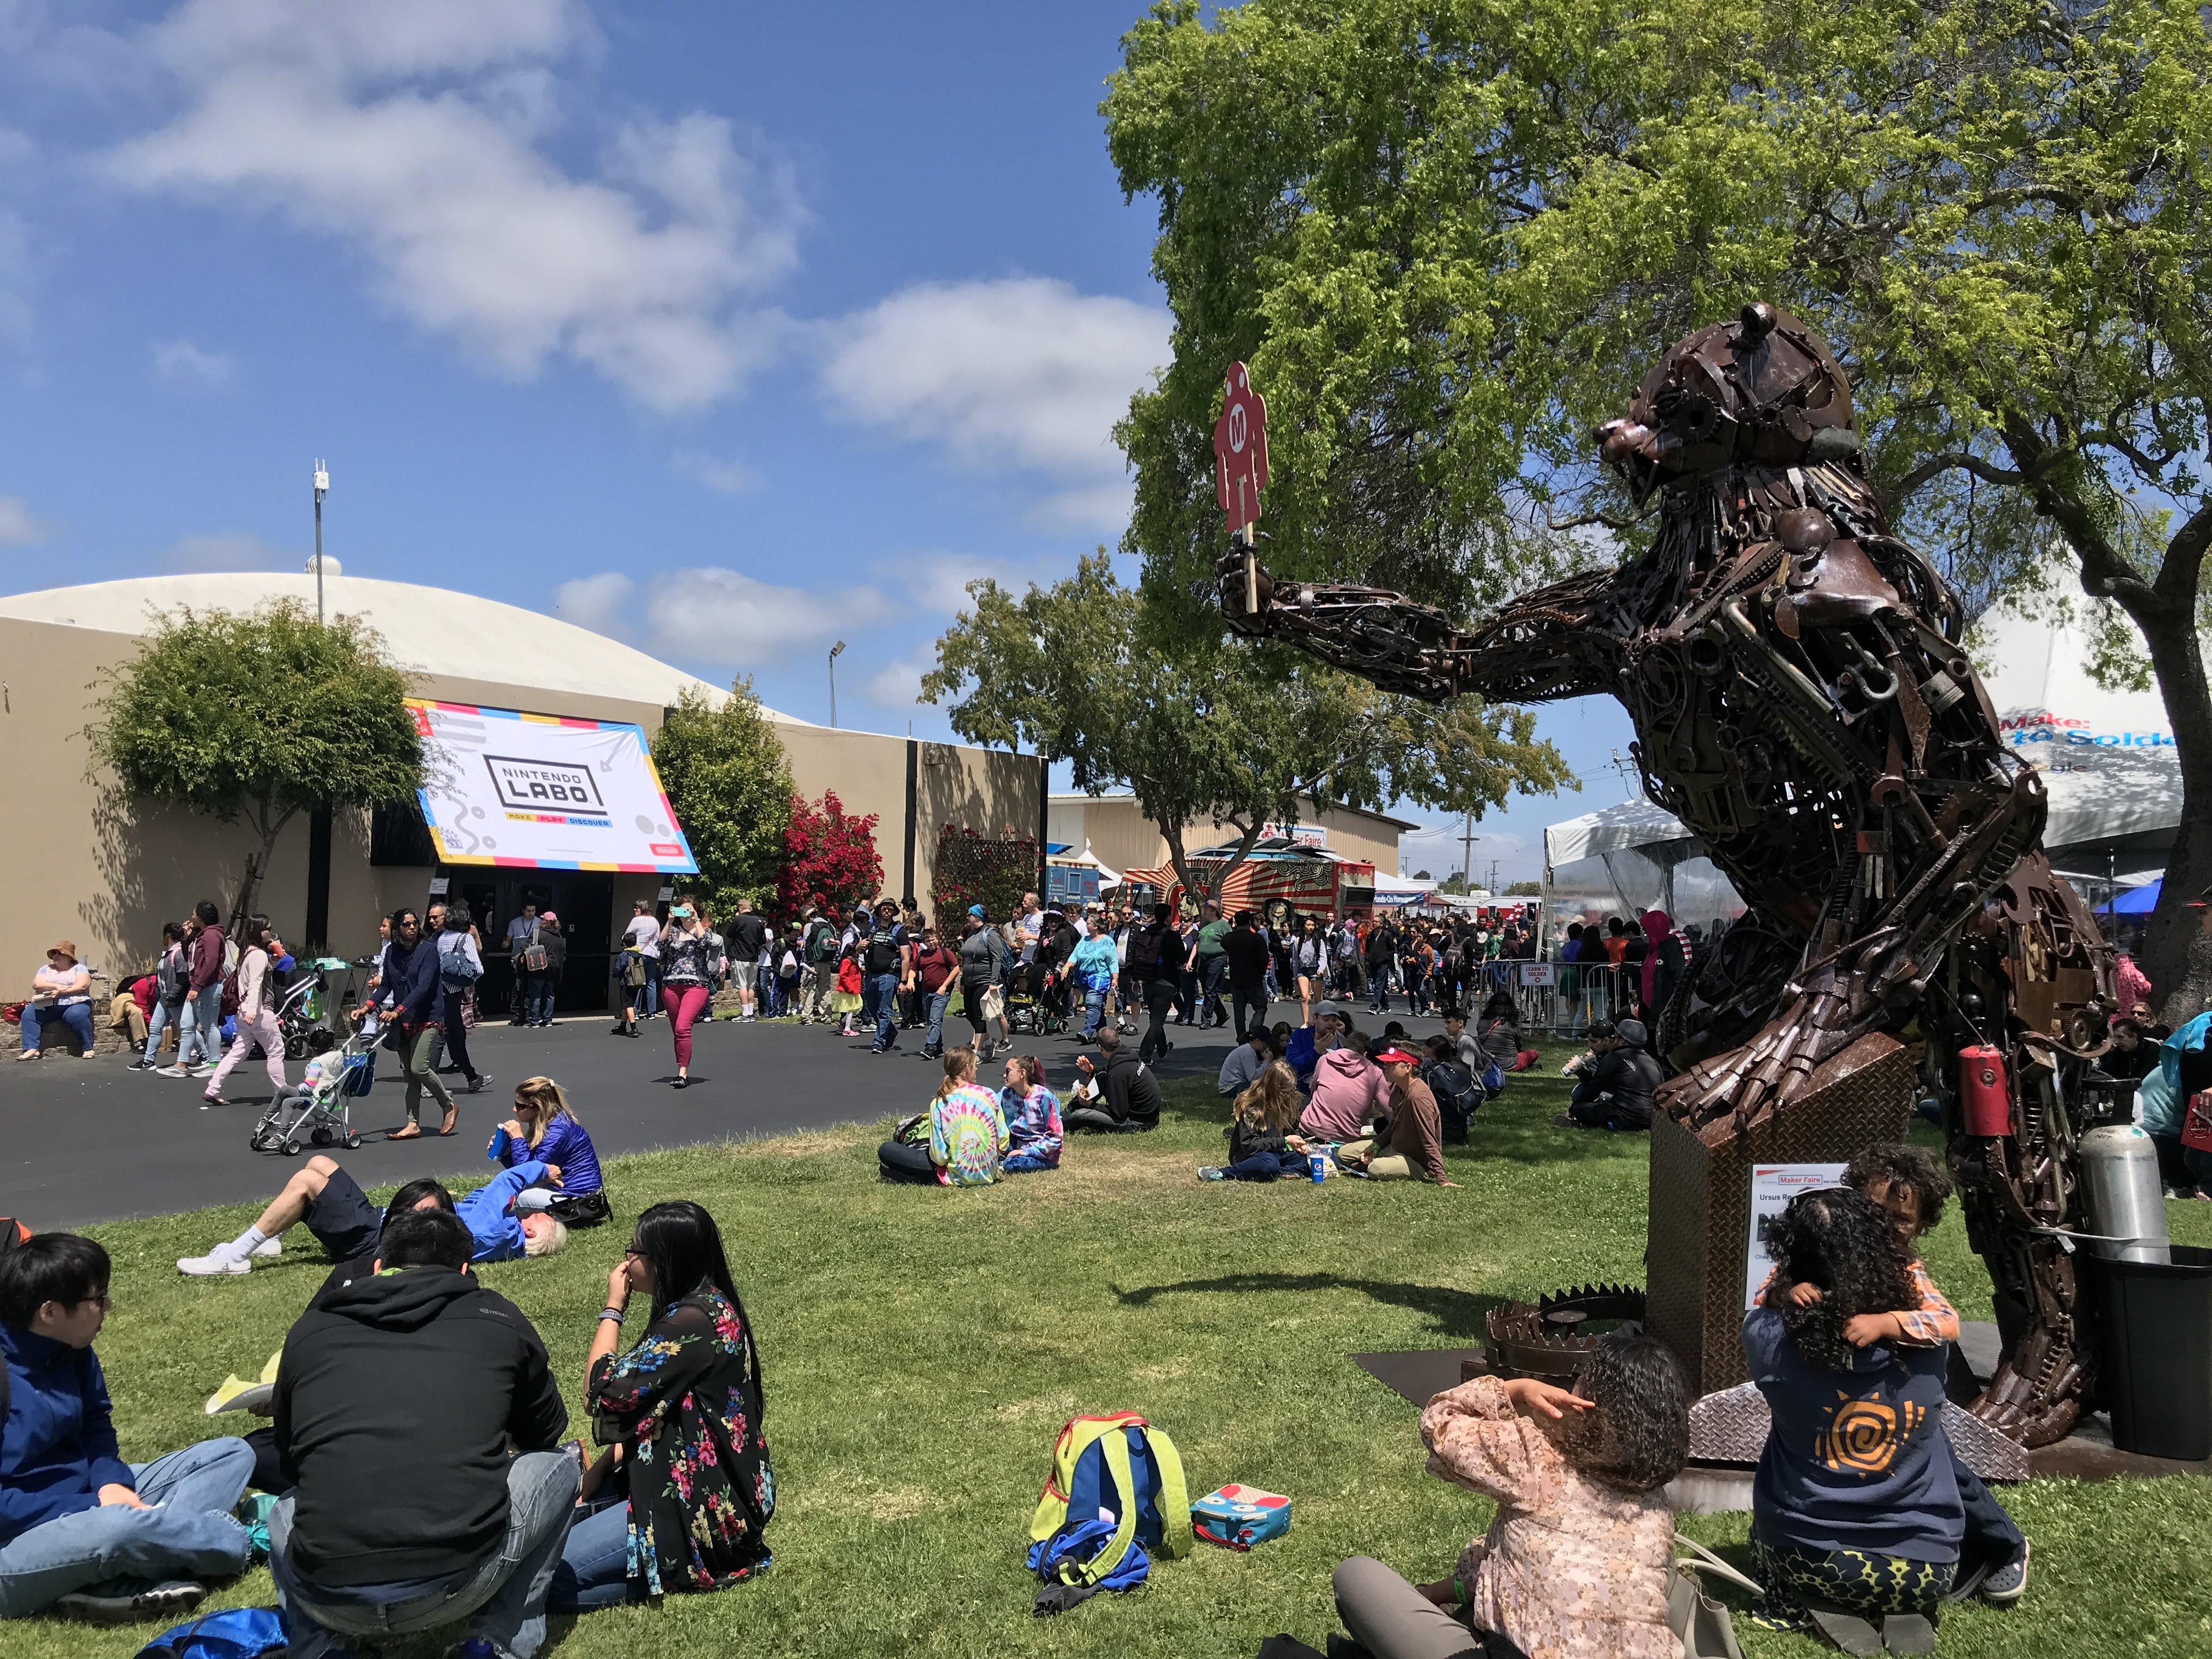
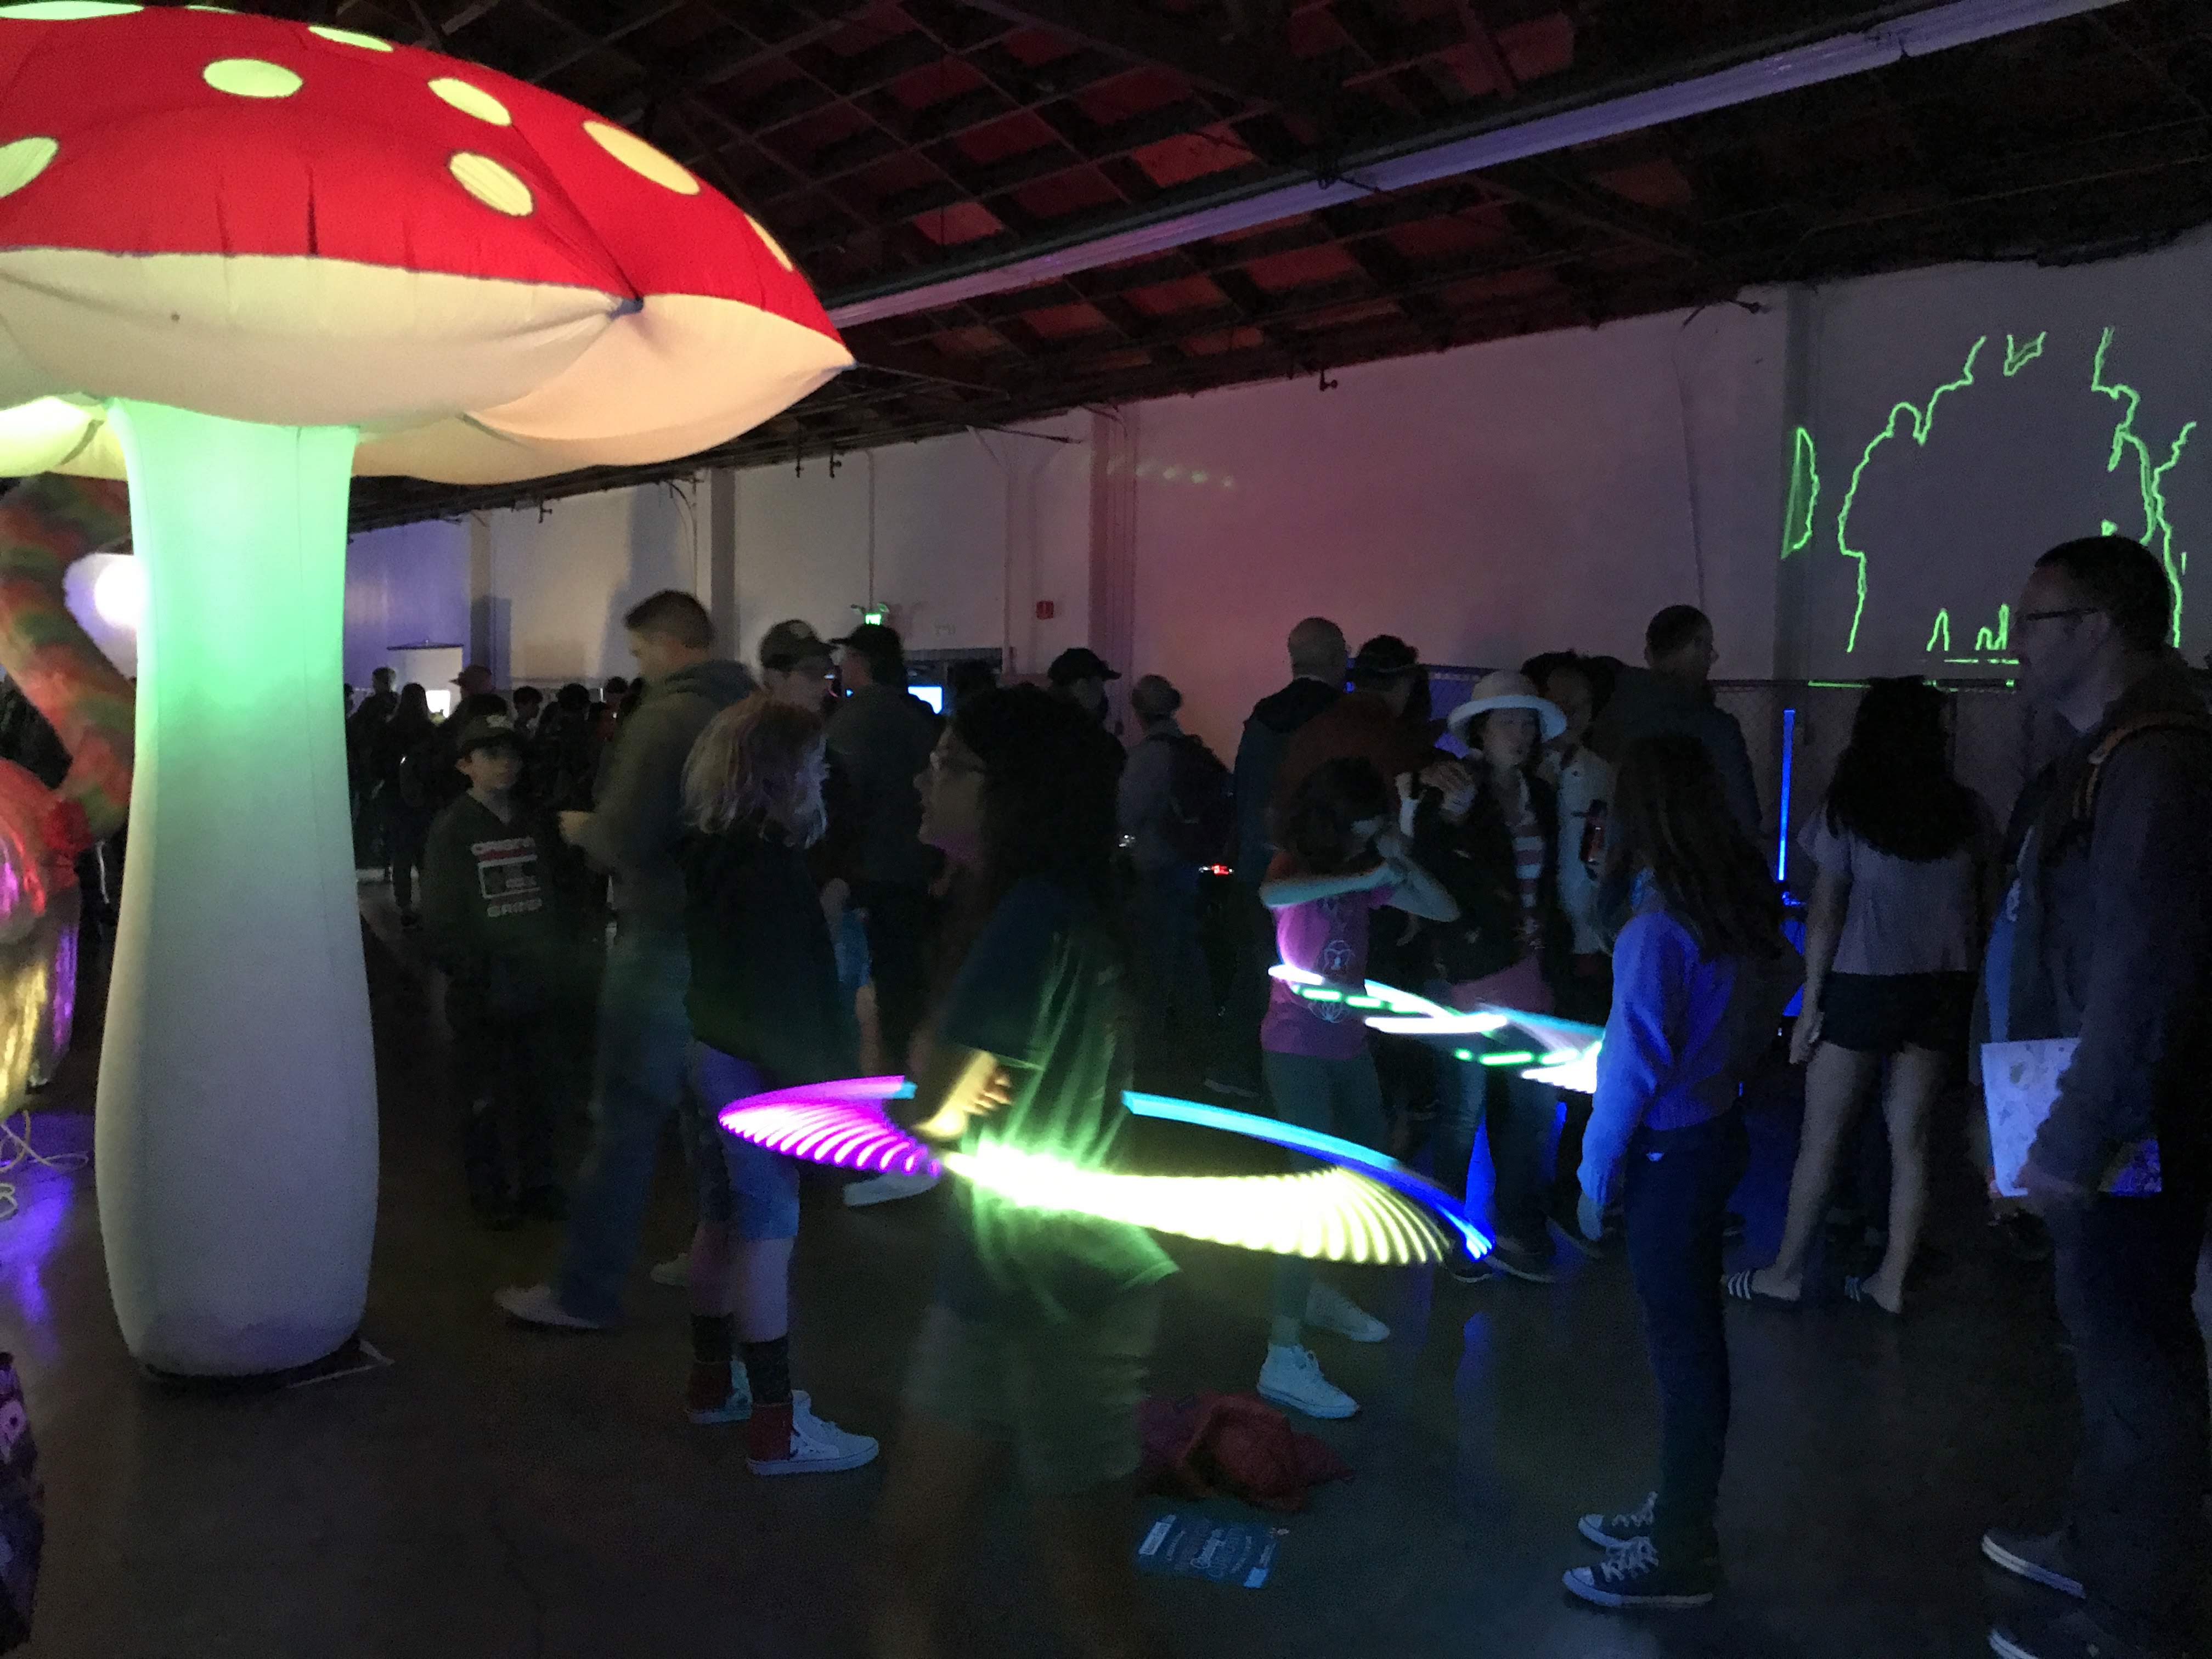
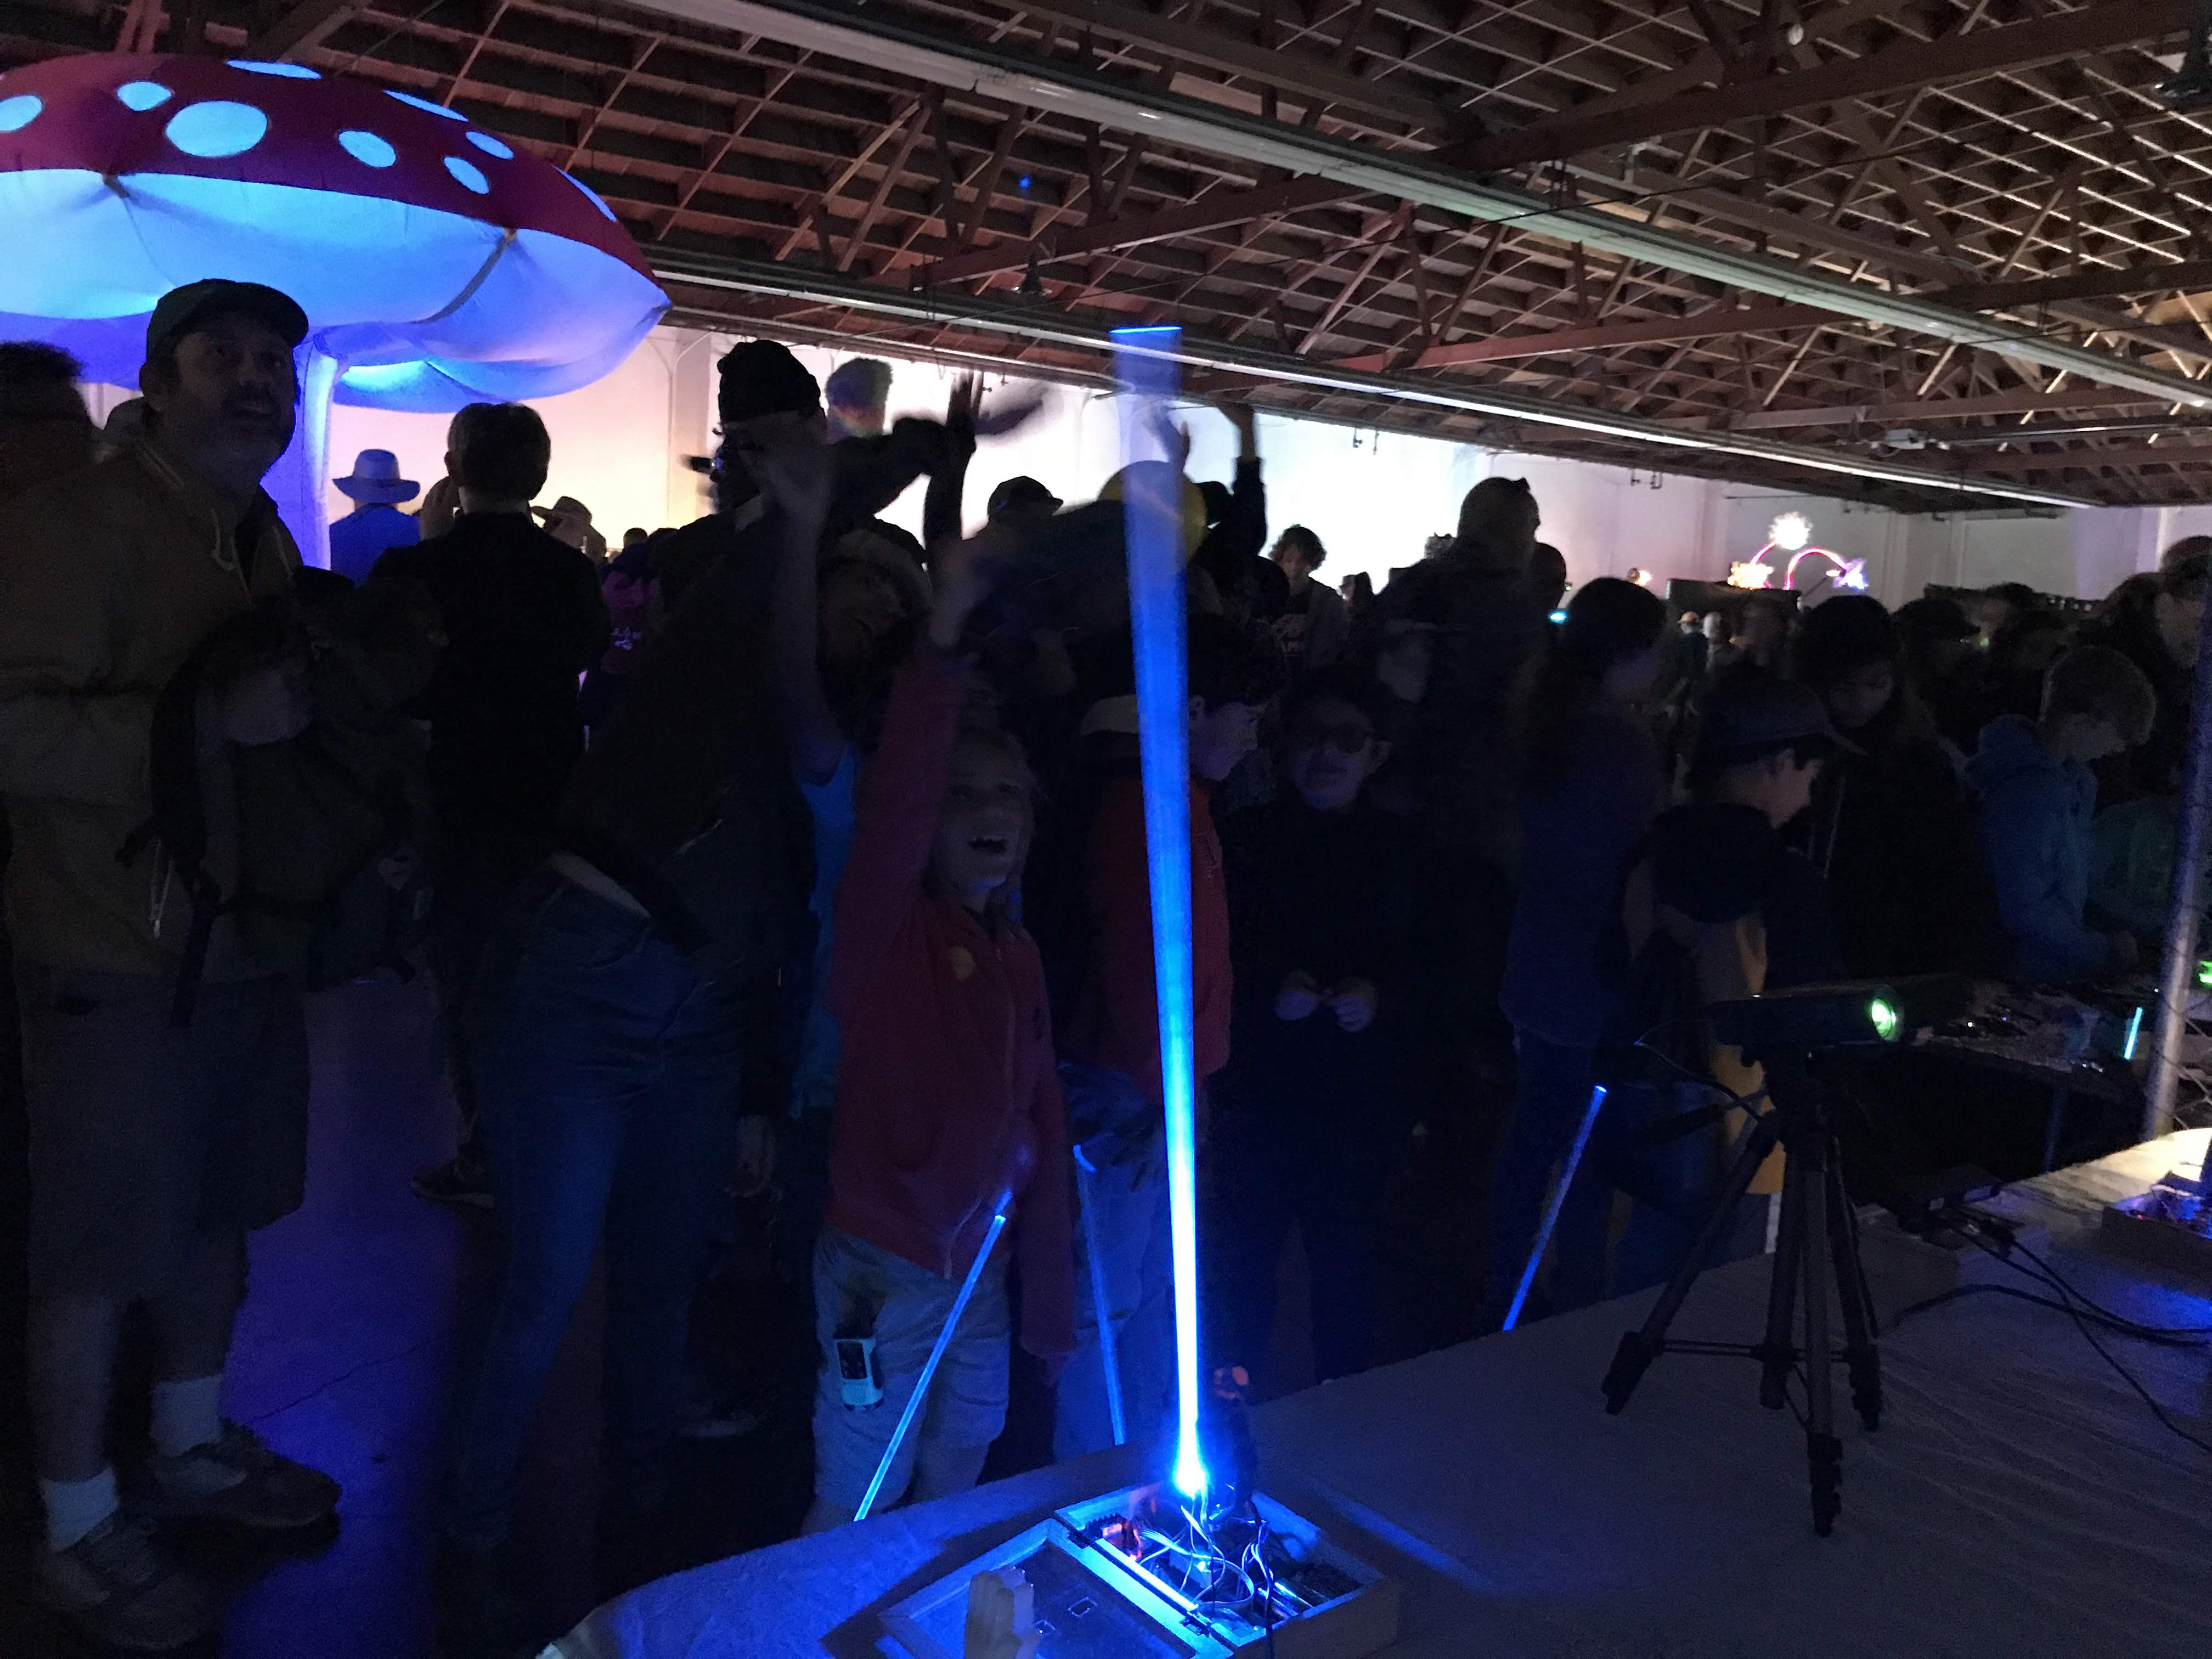
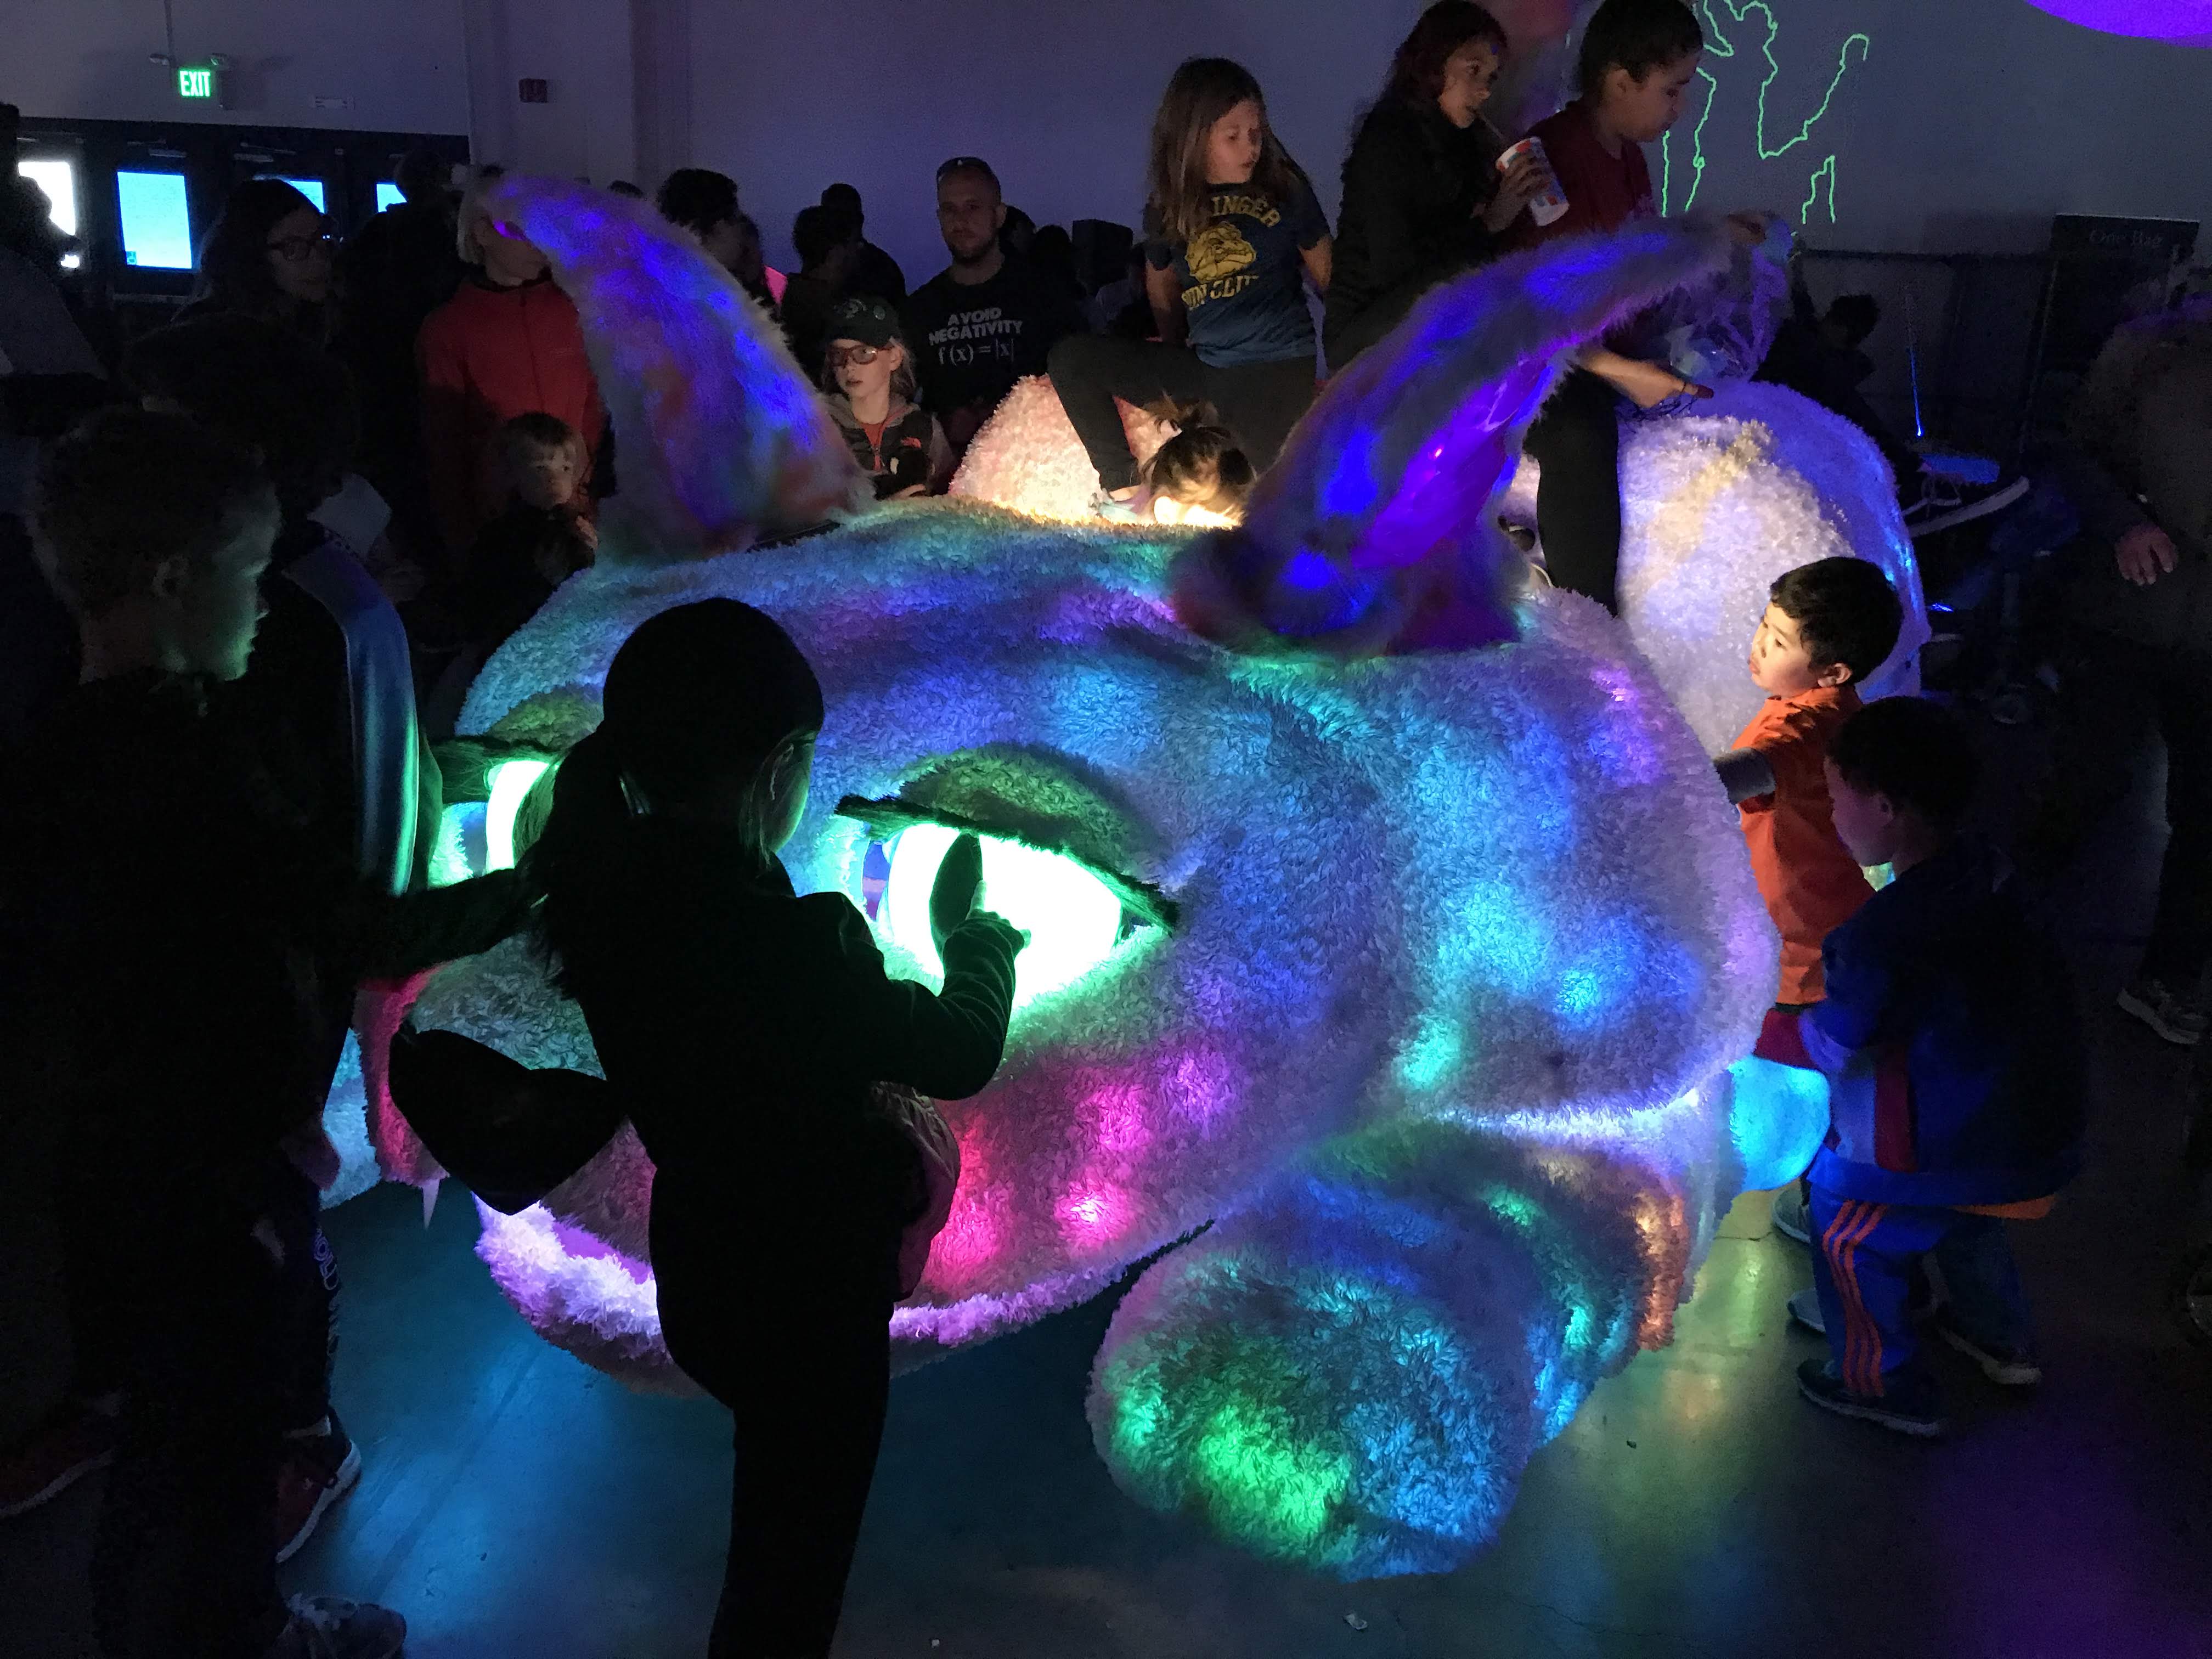
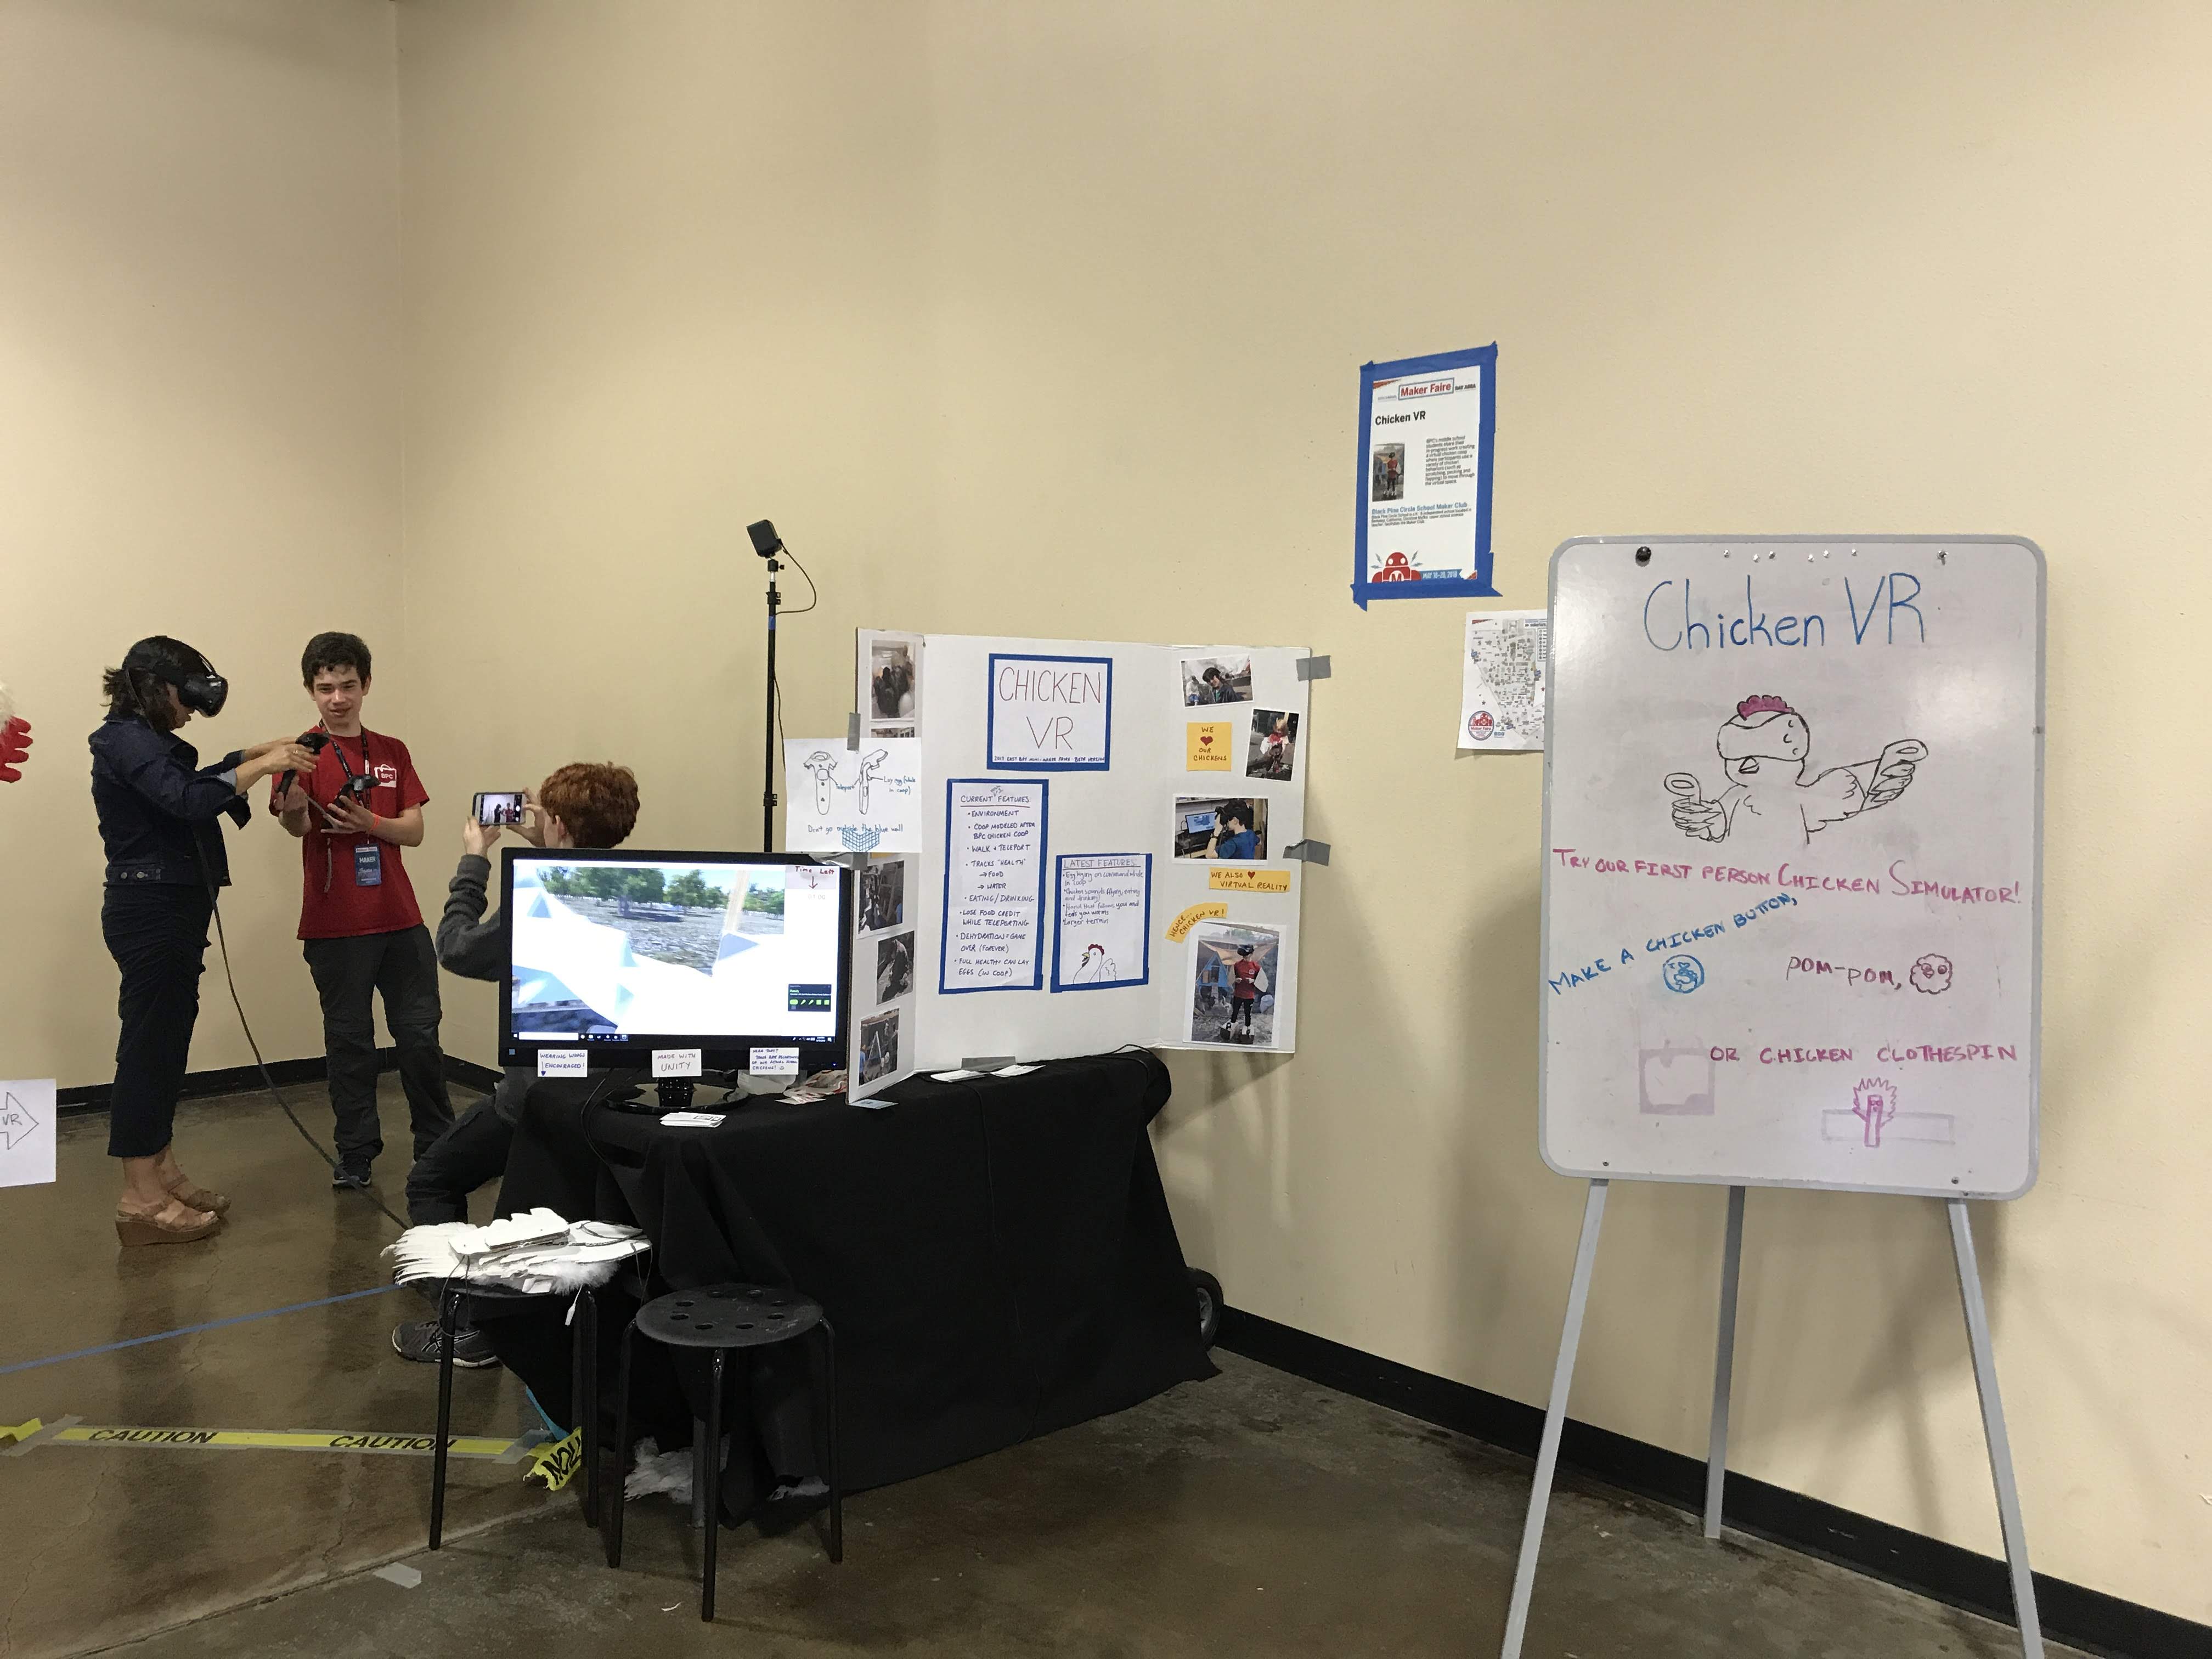
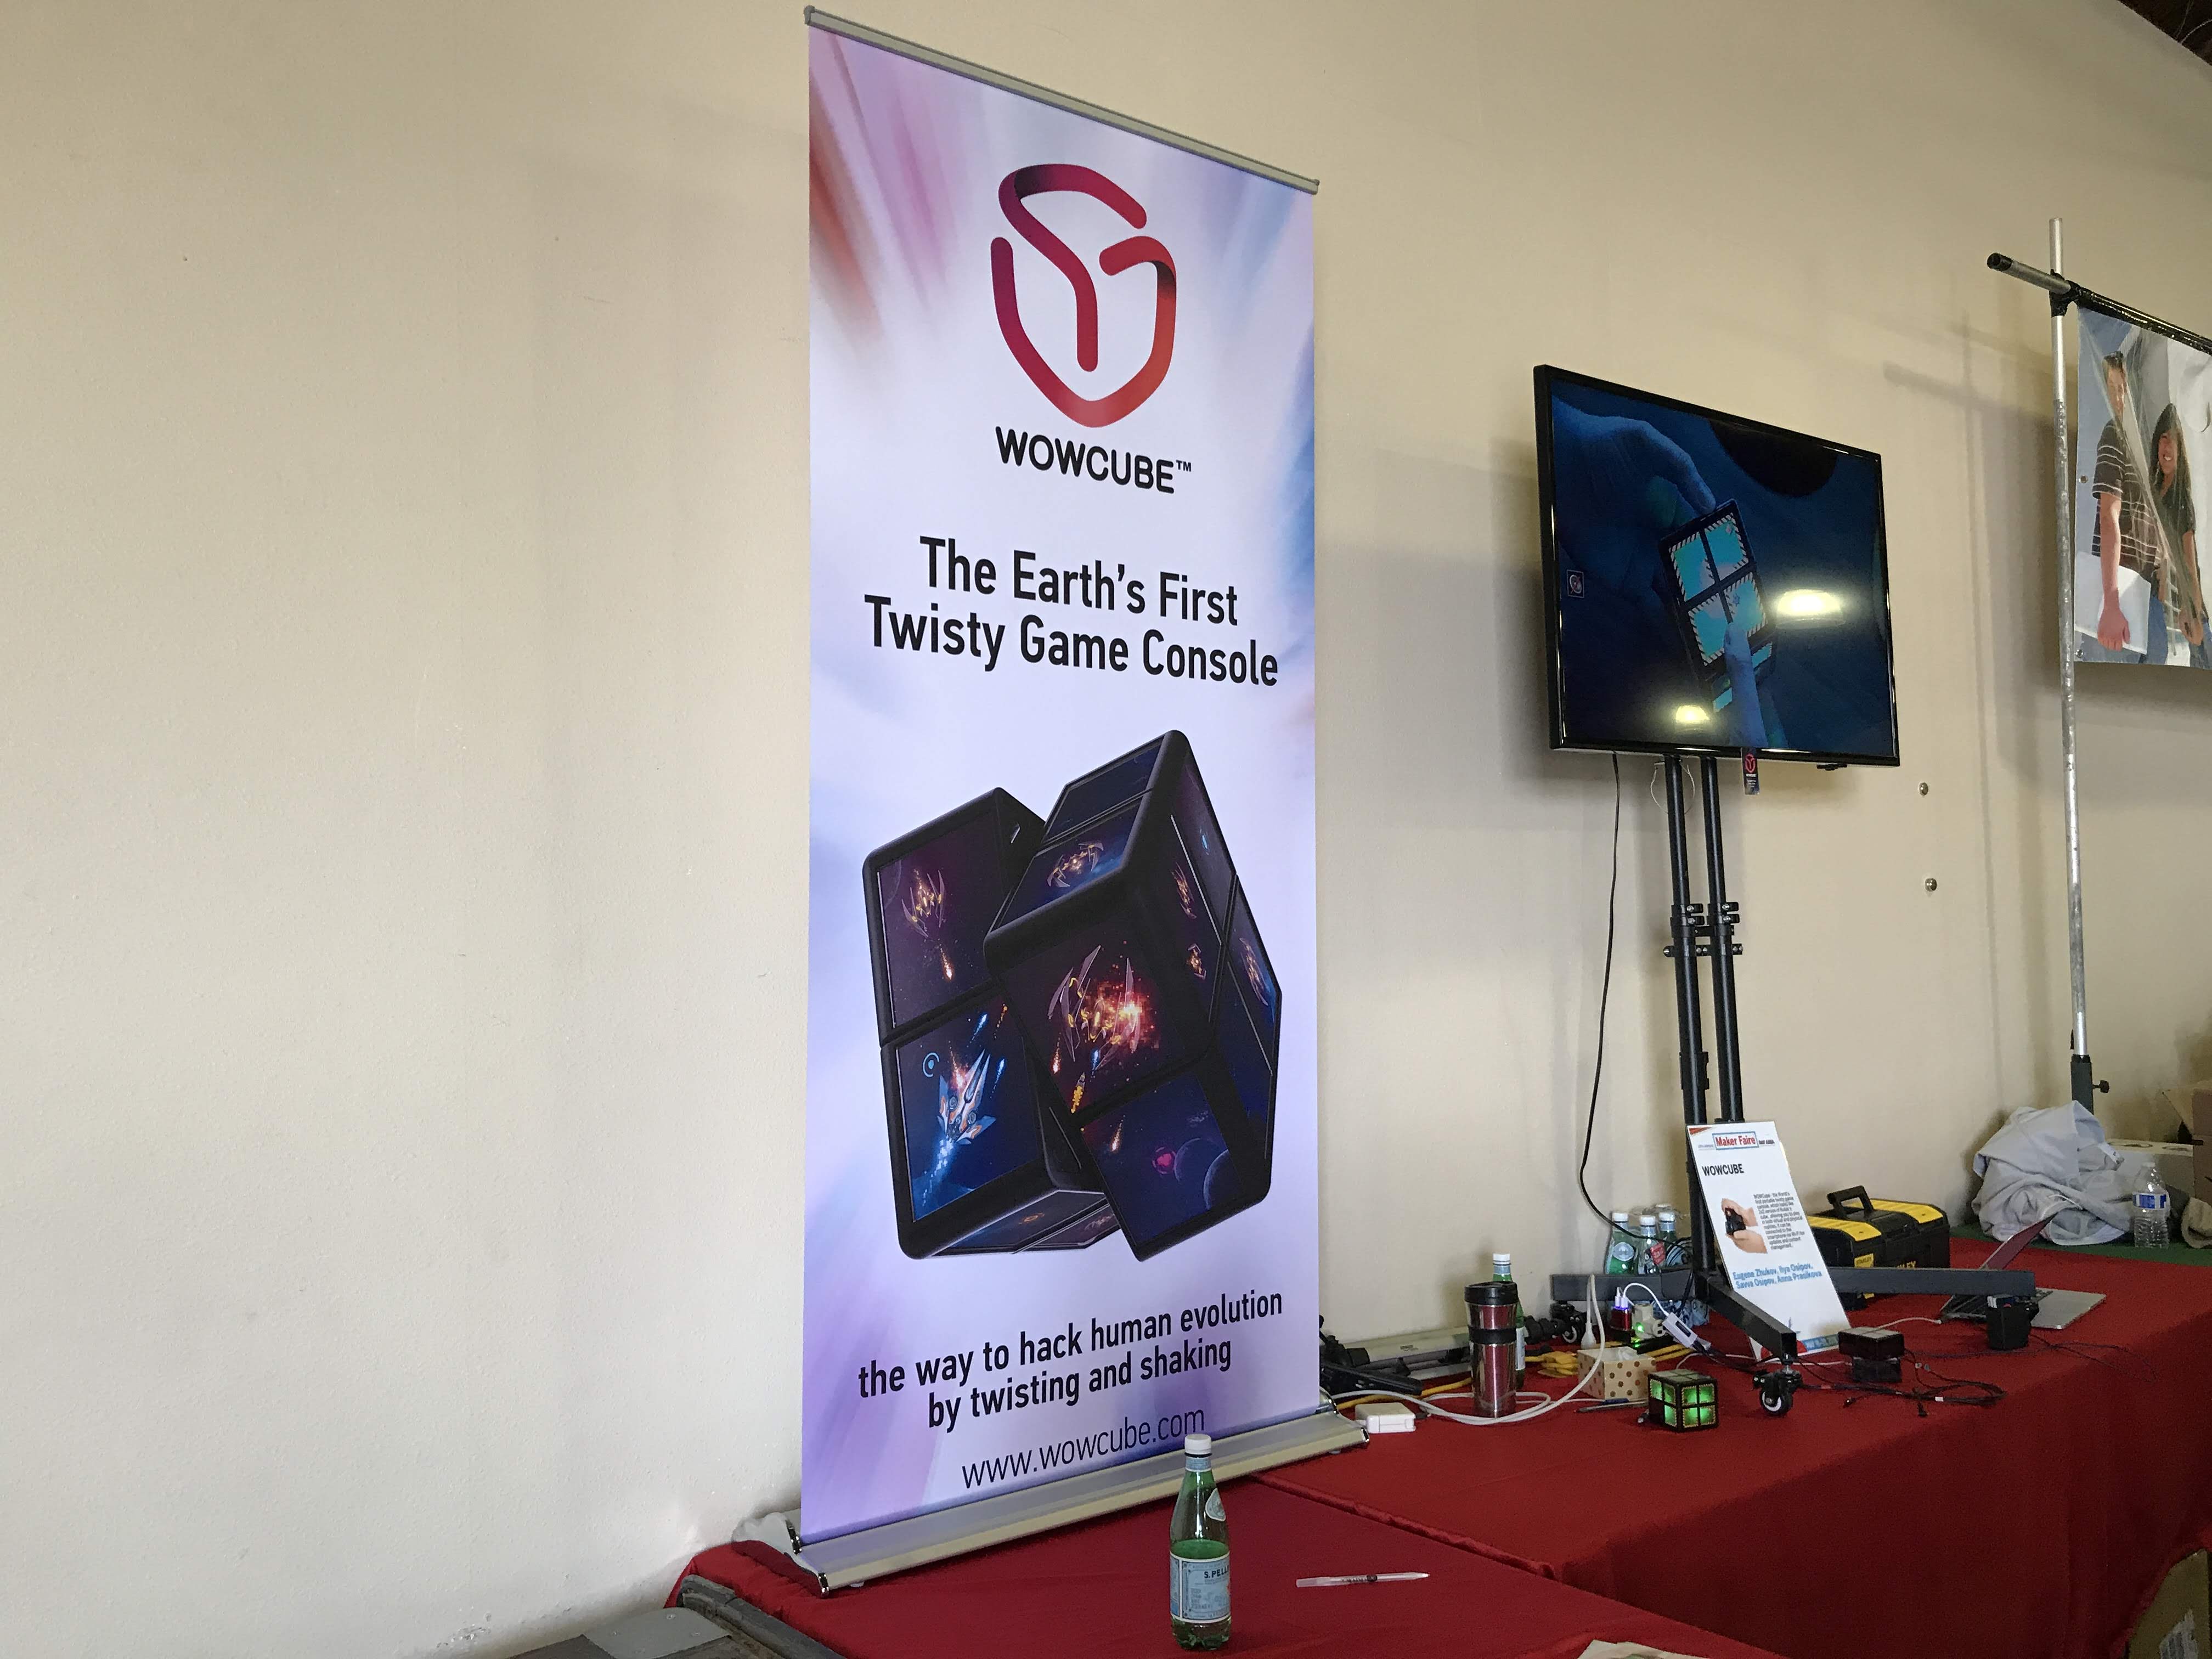
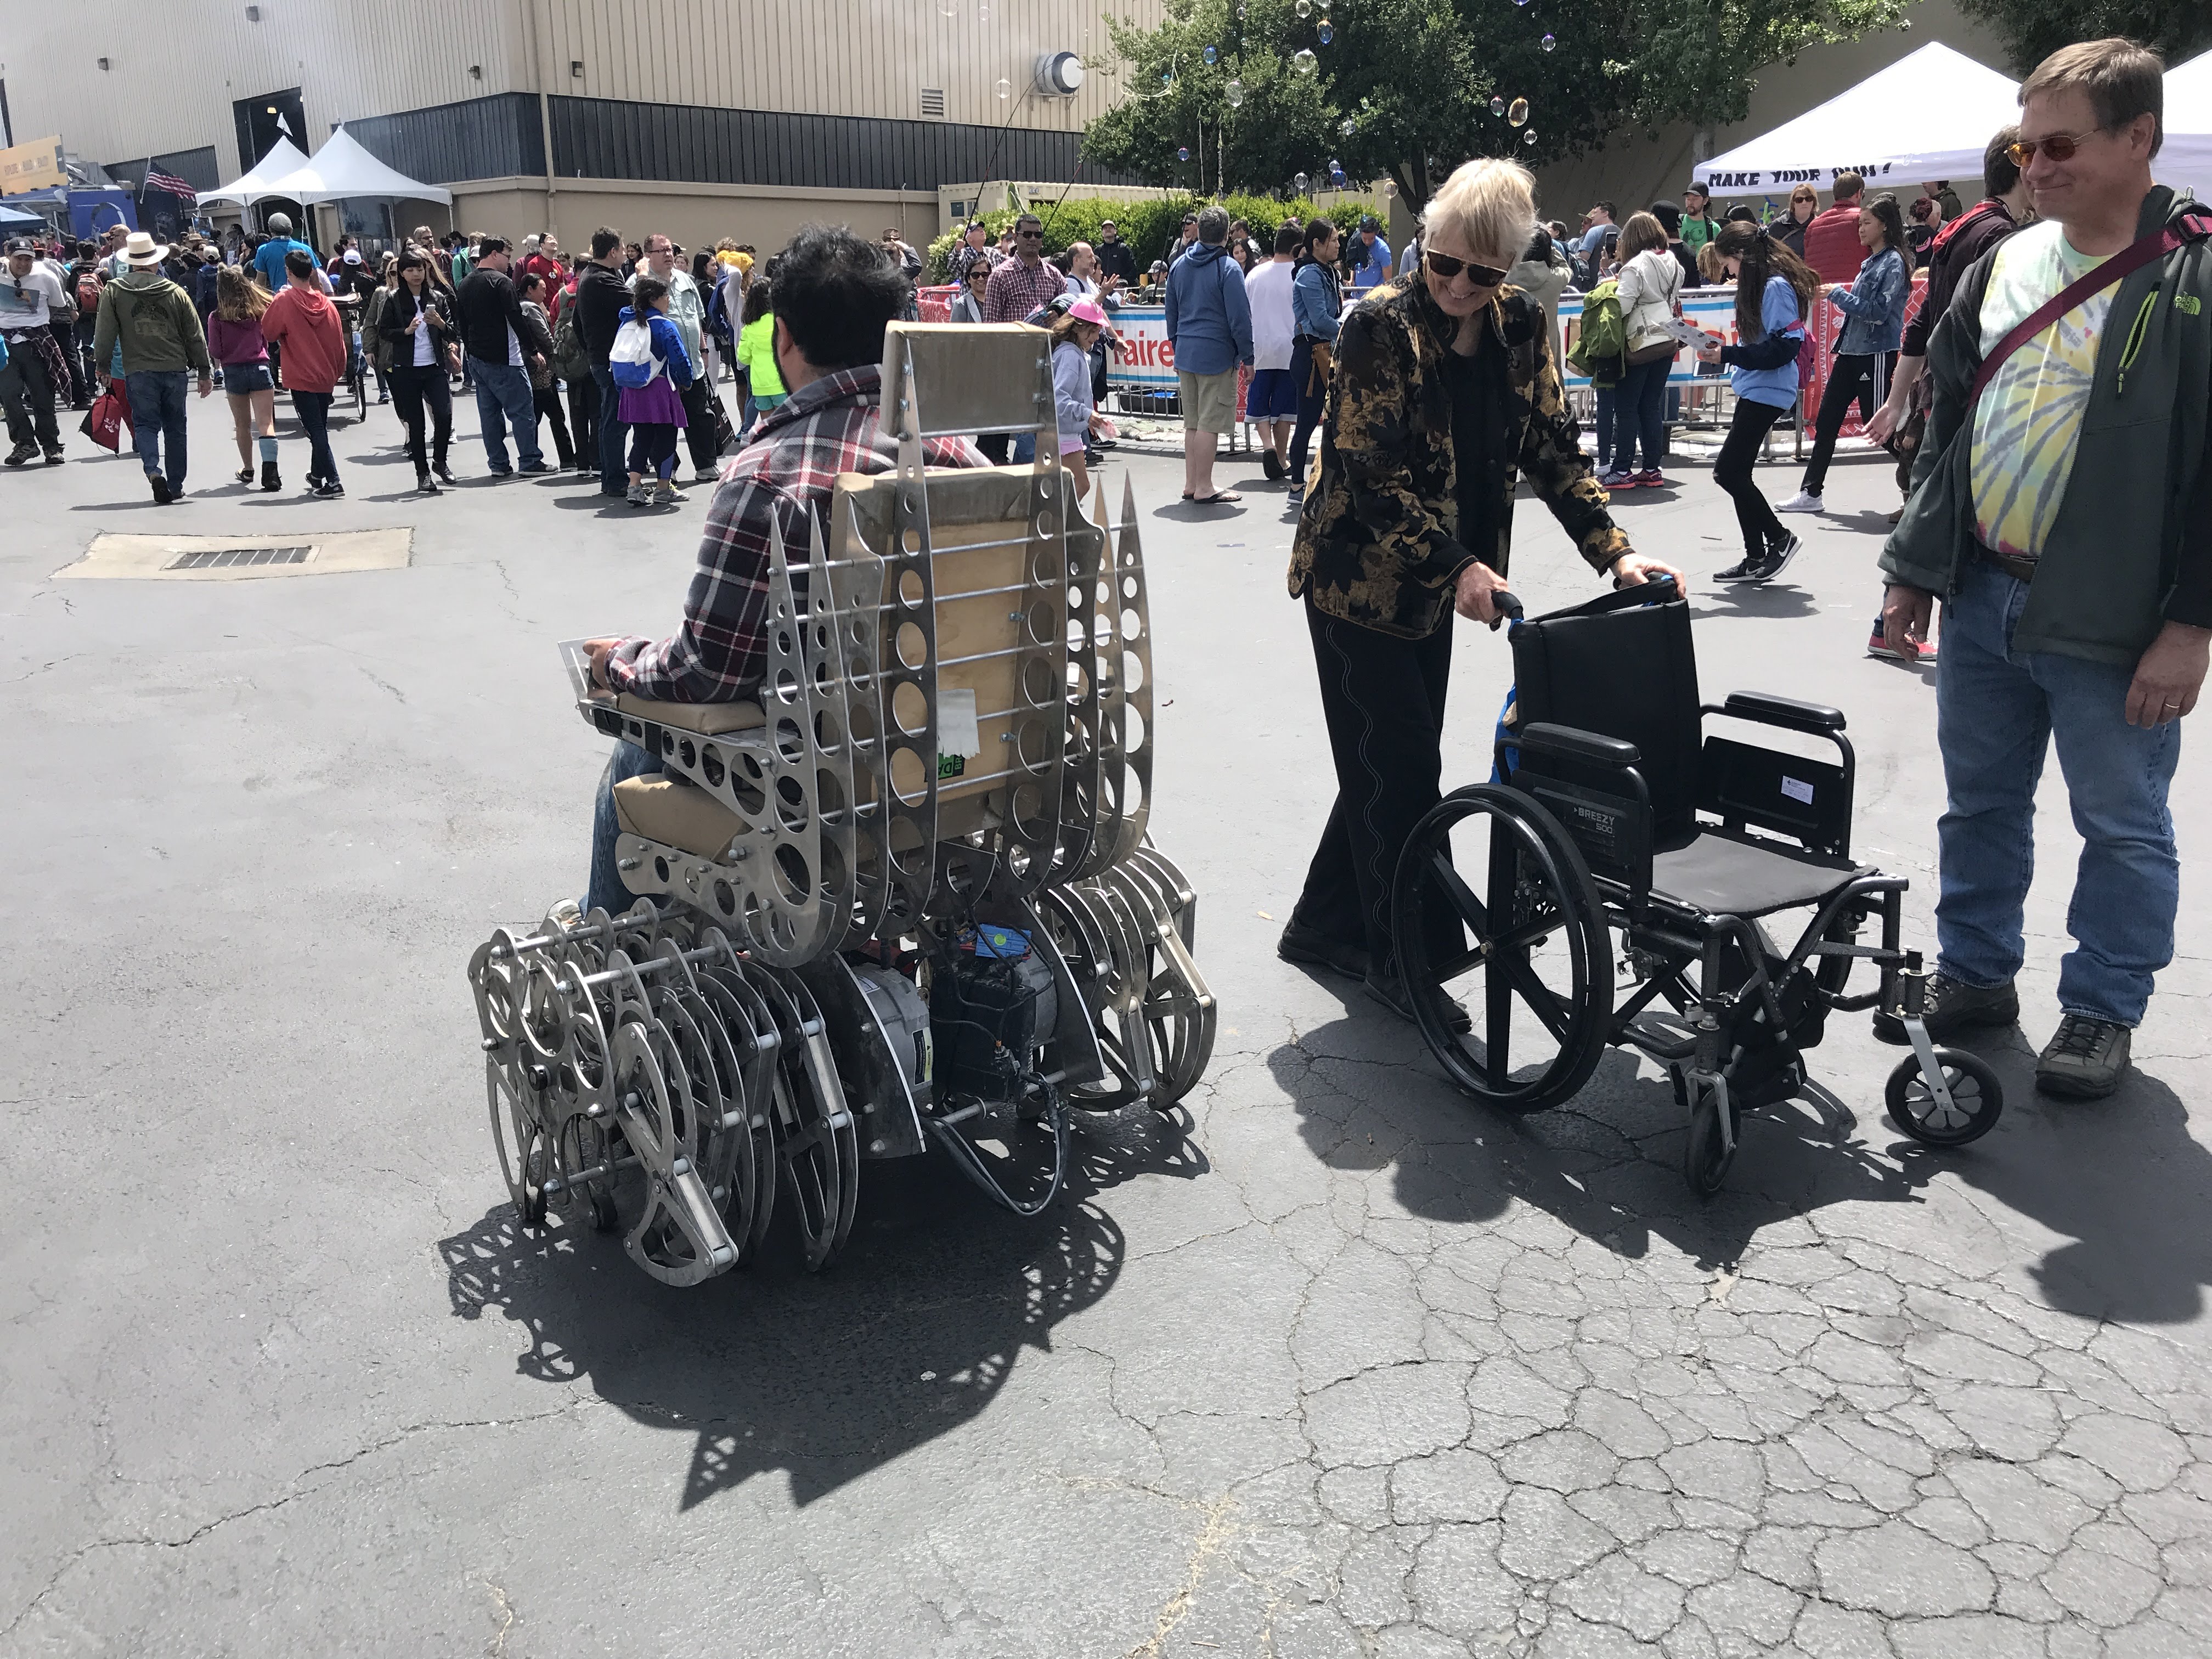
Maker Faire Bay Area 2018 報告会も終わって、ようやくblogを書く気になってきた。
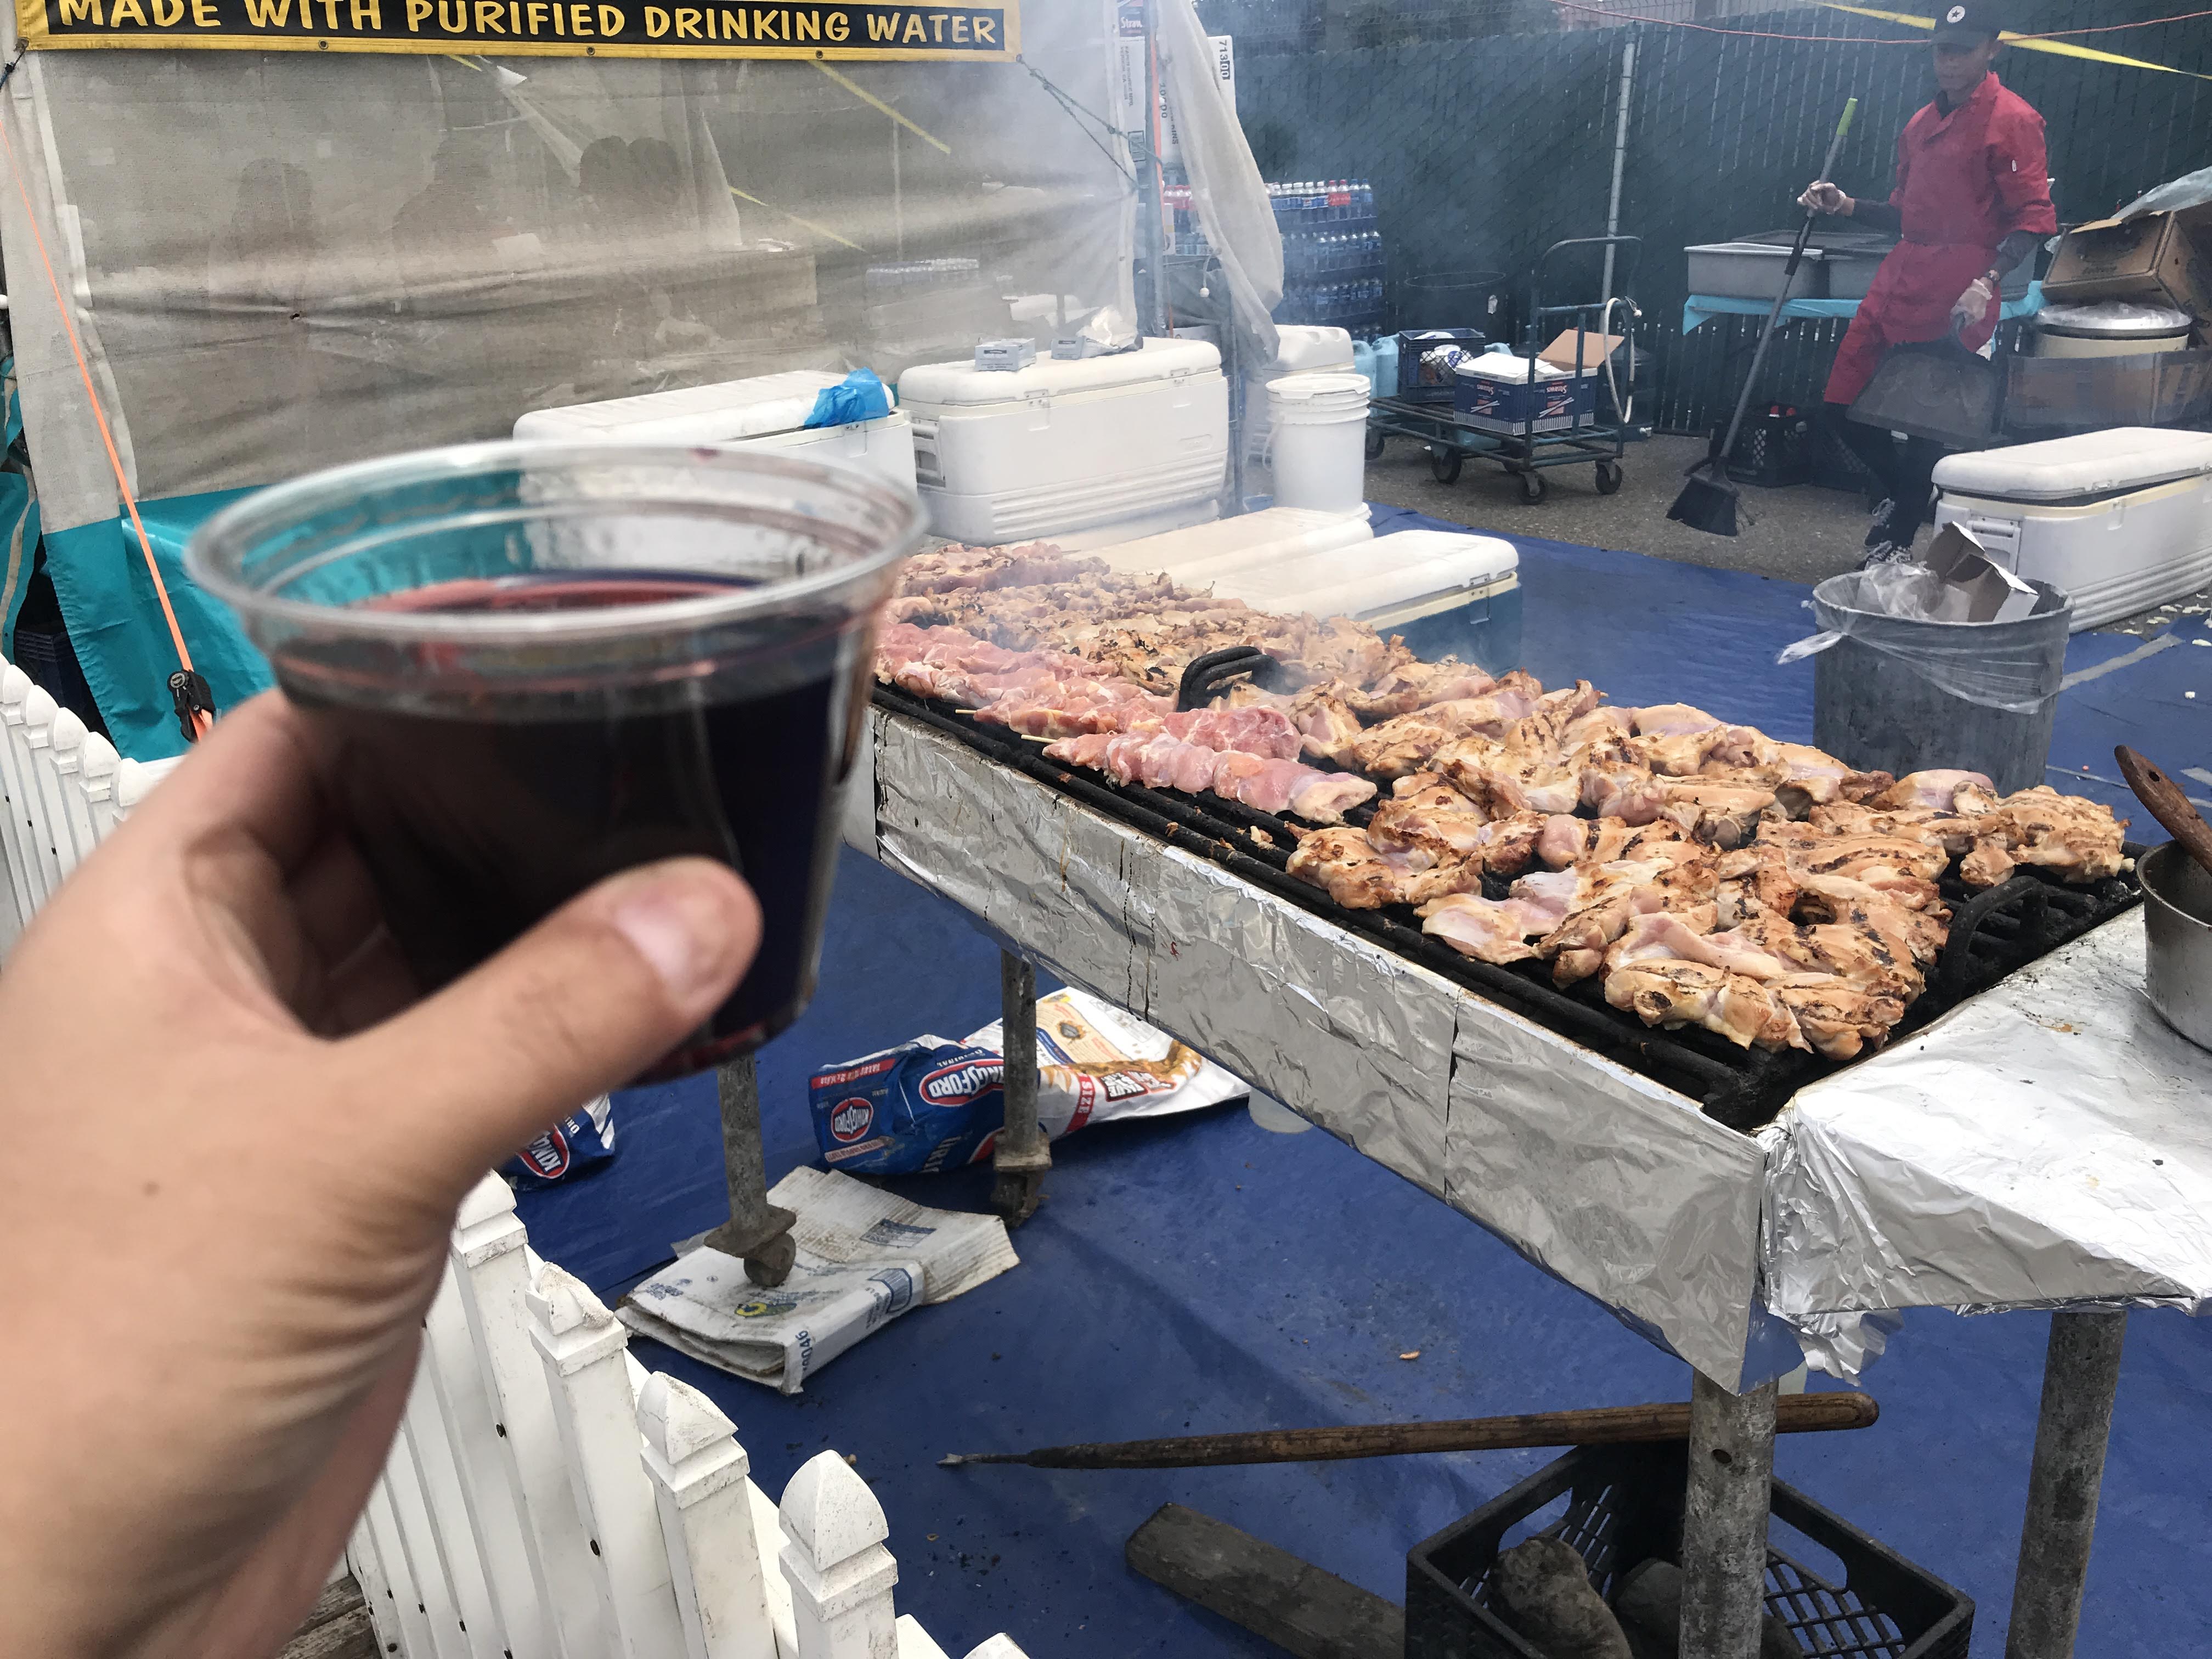
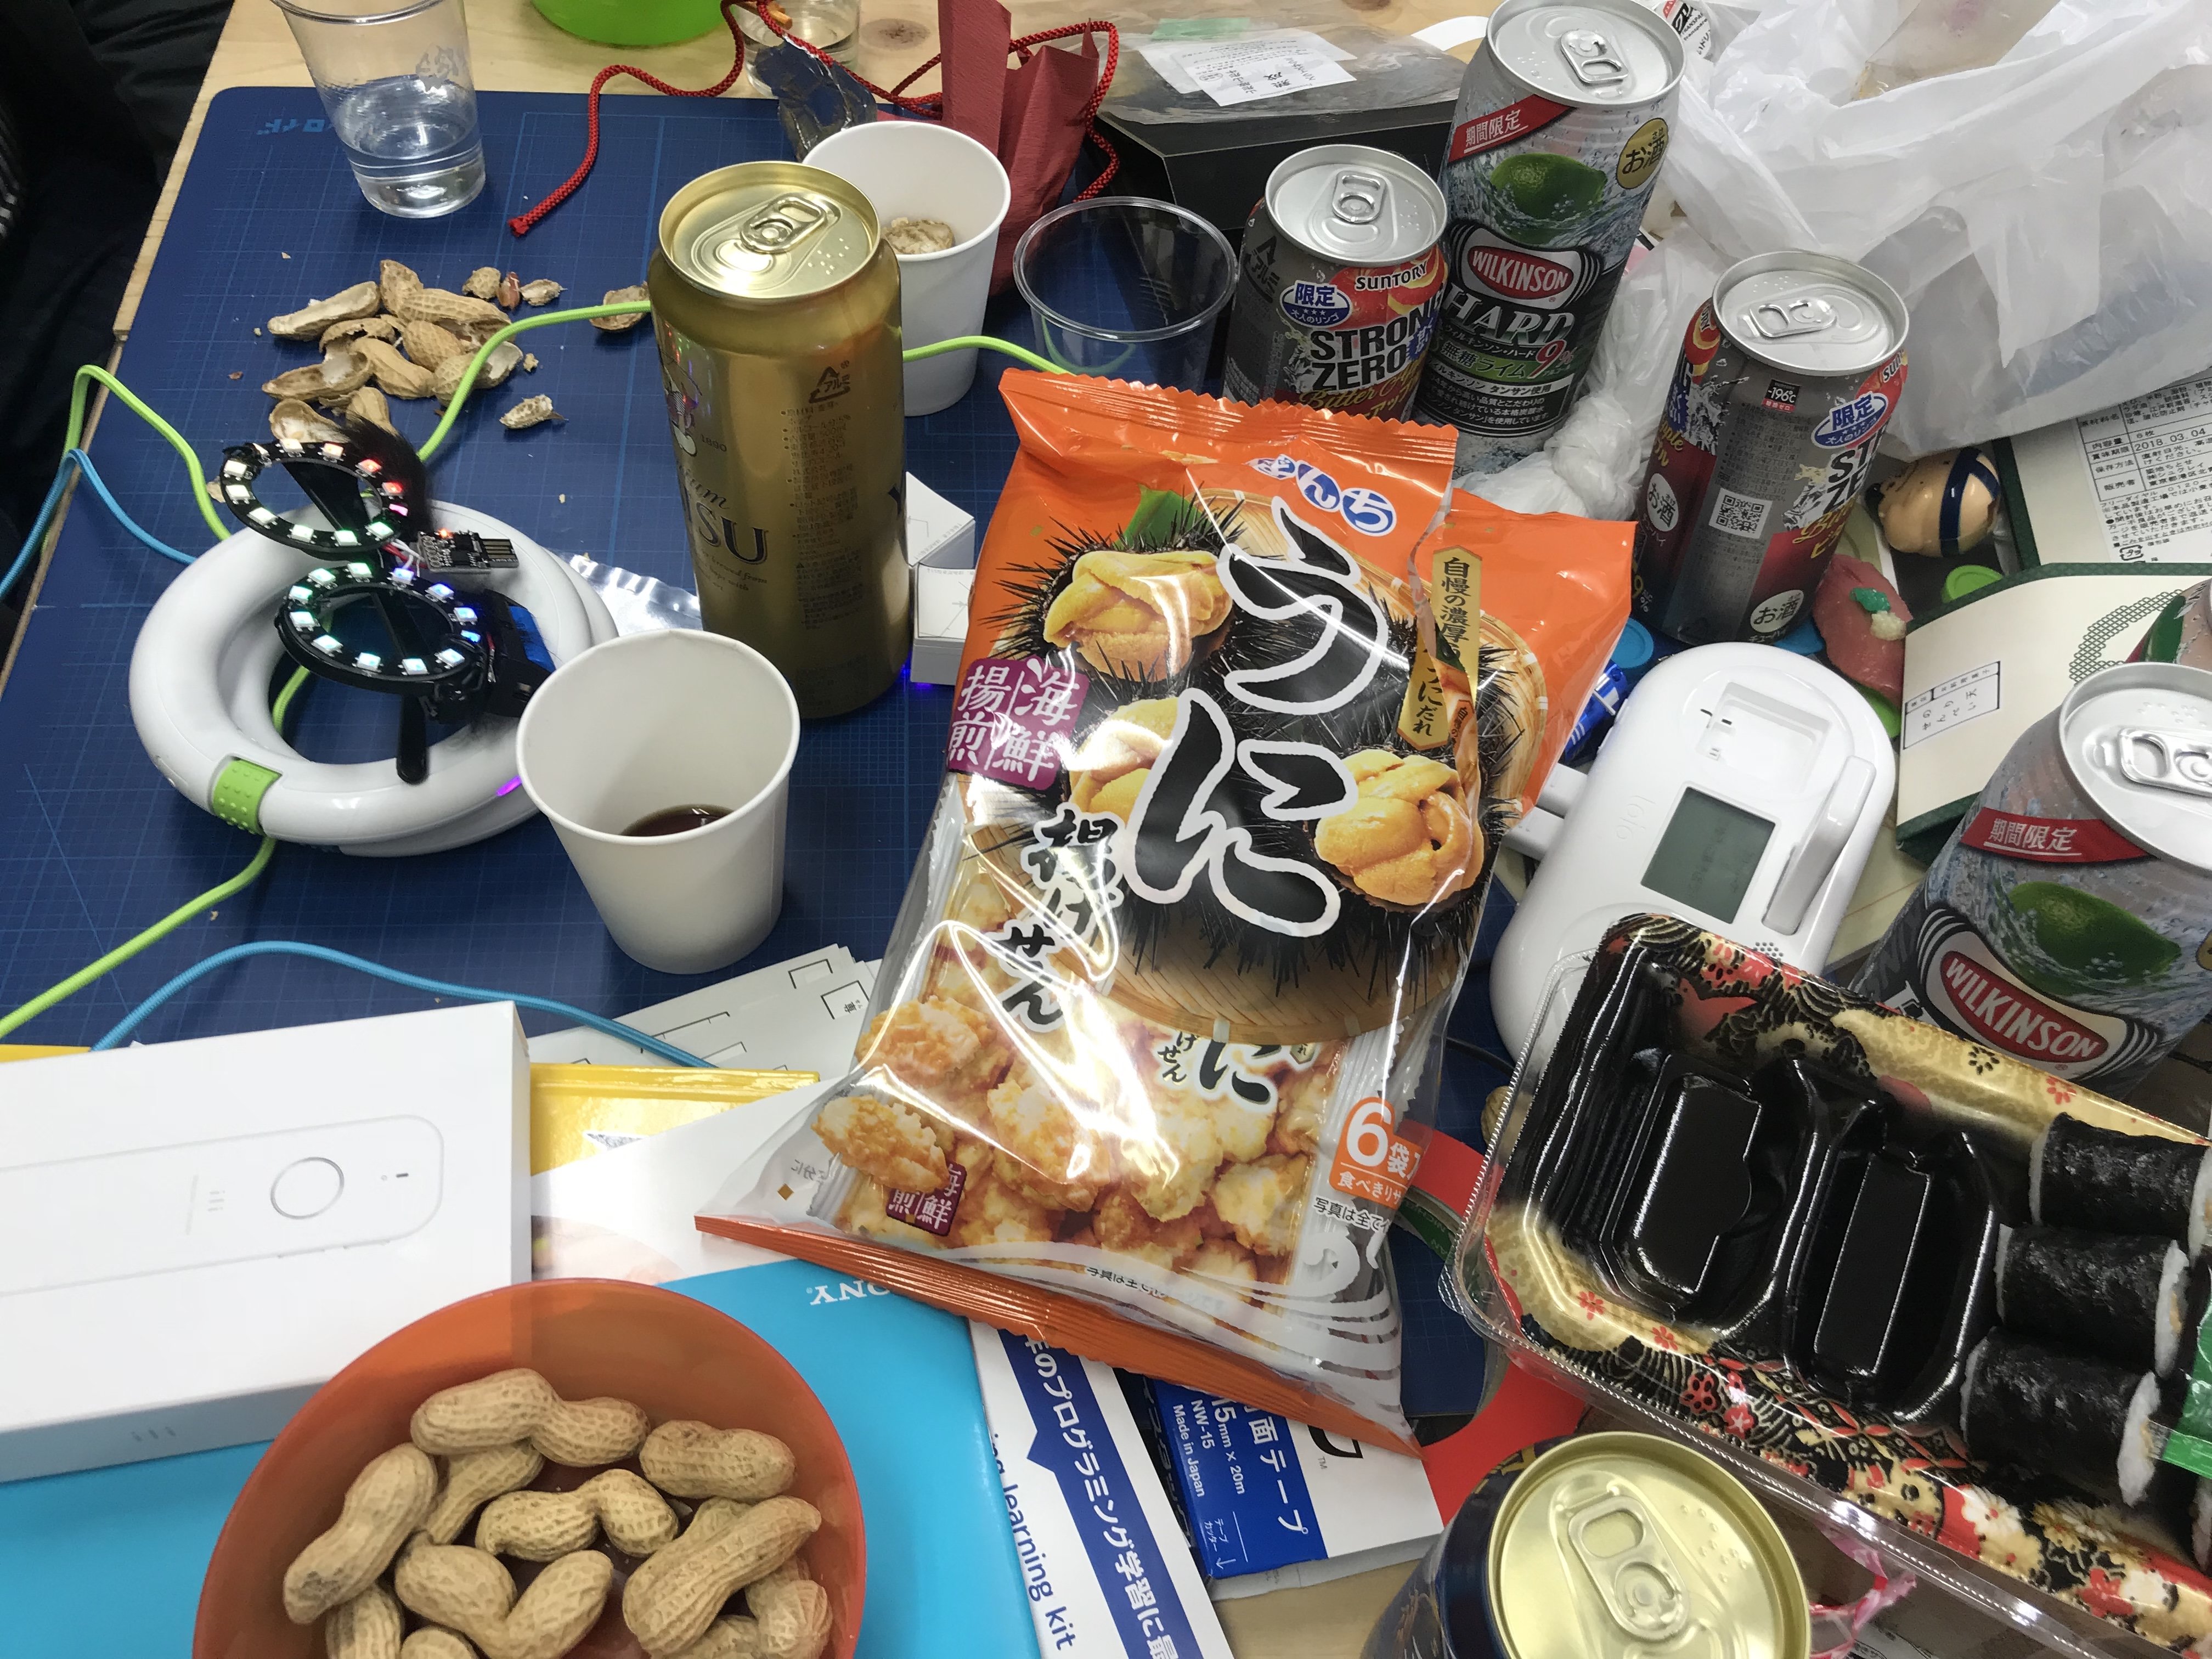
報告会はゆるい感じで良かった。飲み・食いものは自分で持ってきてね:)ということで、本当にありがたい事に大量の差し入れで、これは無くならないんじゃ…と思ったけど、きれいに無くなってビックリした。
ちなみに自分は始まる前から、すでに酔っていた。あまりに太ってしまったせいで、ココナッツオイル(MCT)減量を懲りずにはじめいた。昼を食べてなかったせいもあって、空きっ腹にアルコール。すぐ良い感じになってしまった。
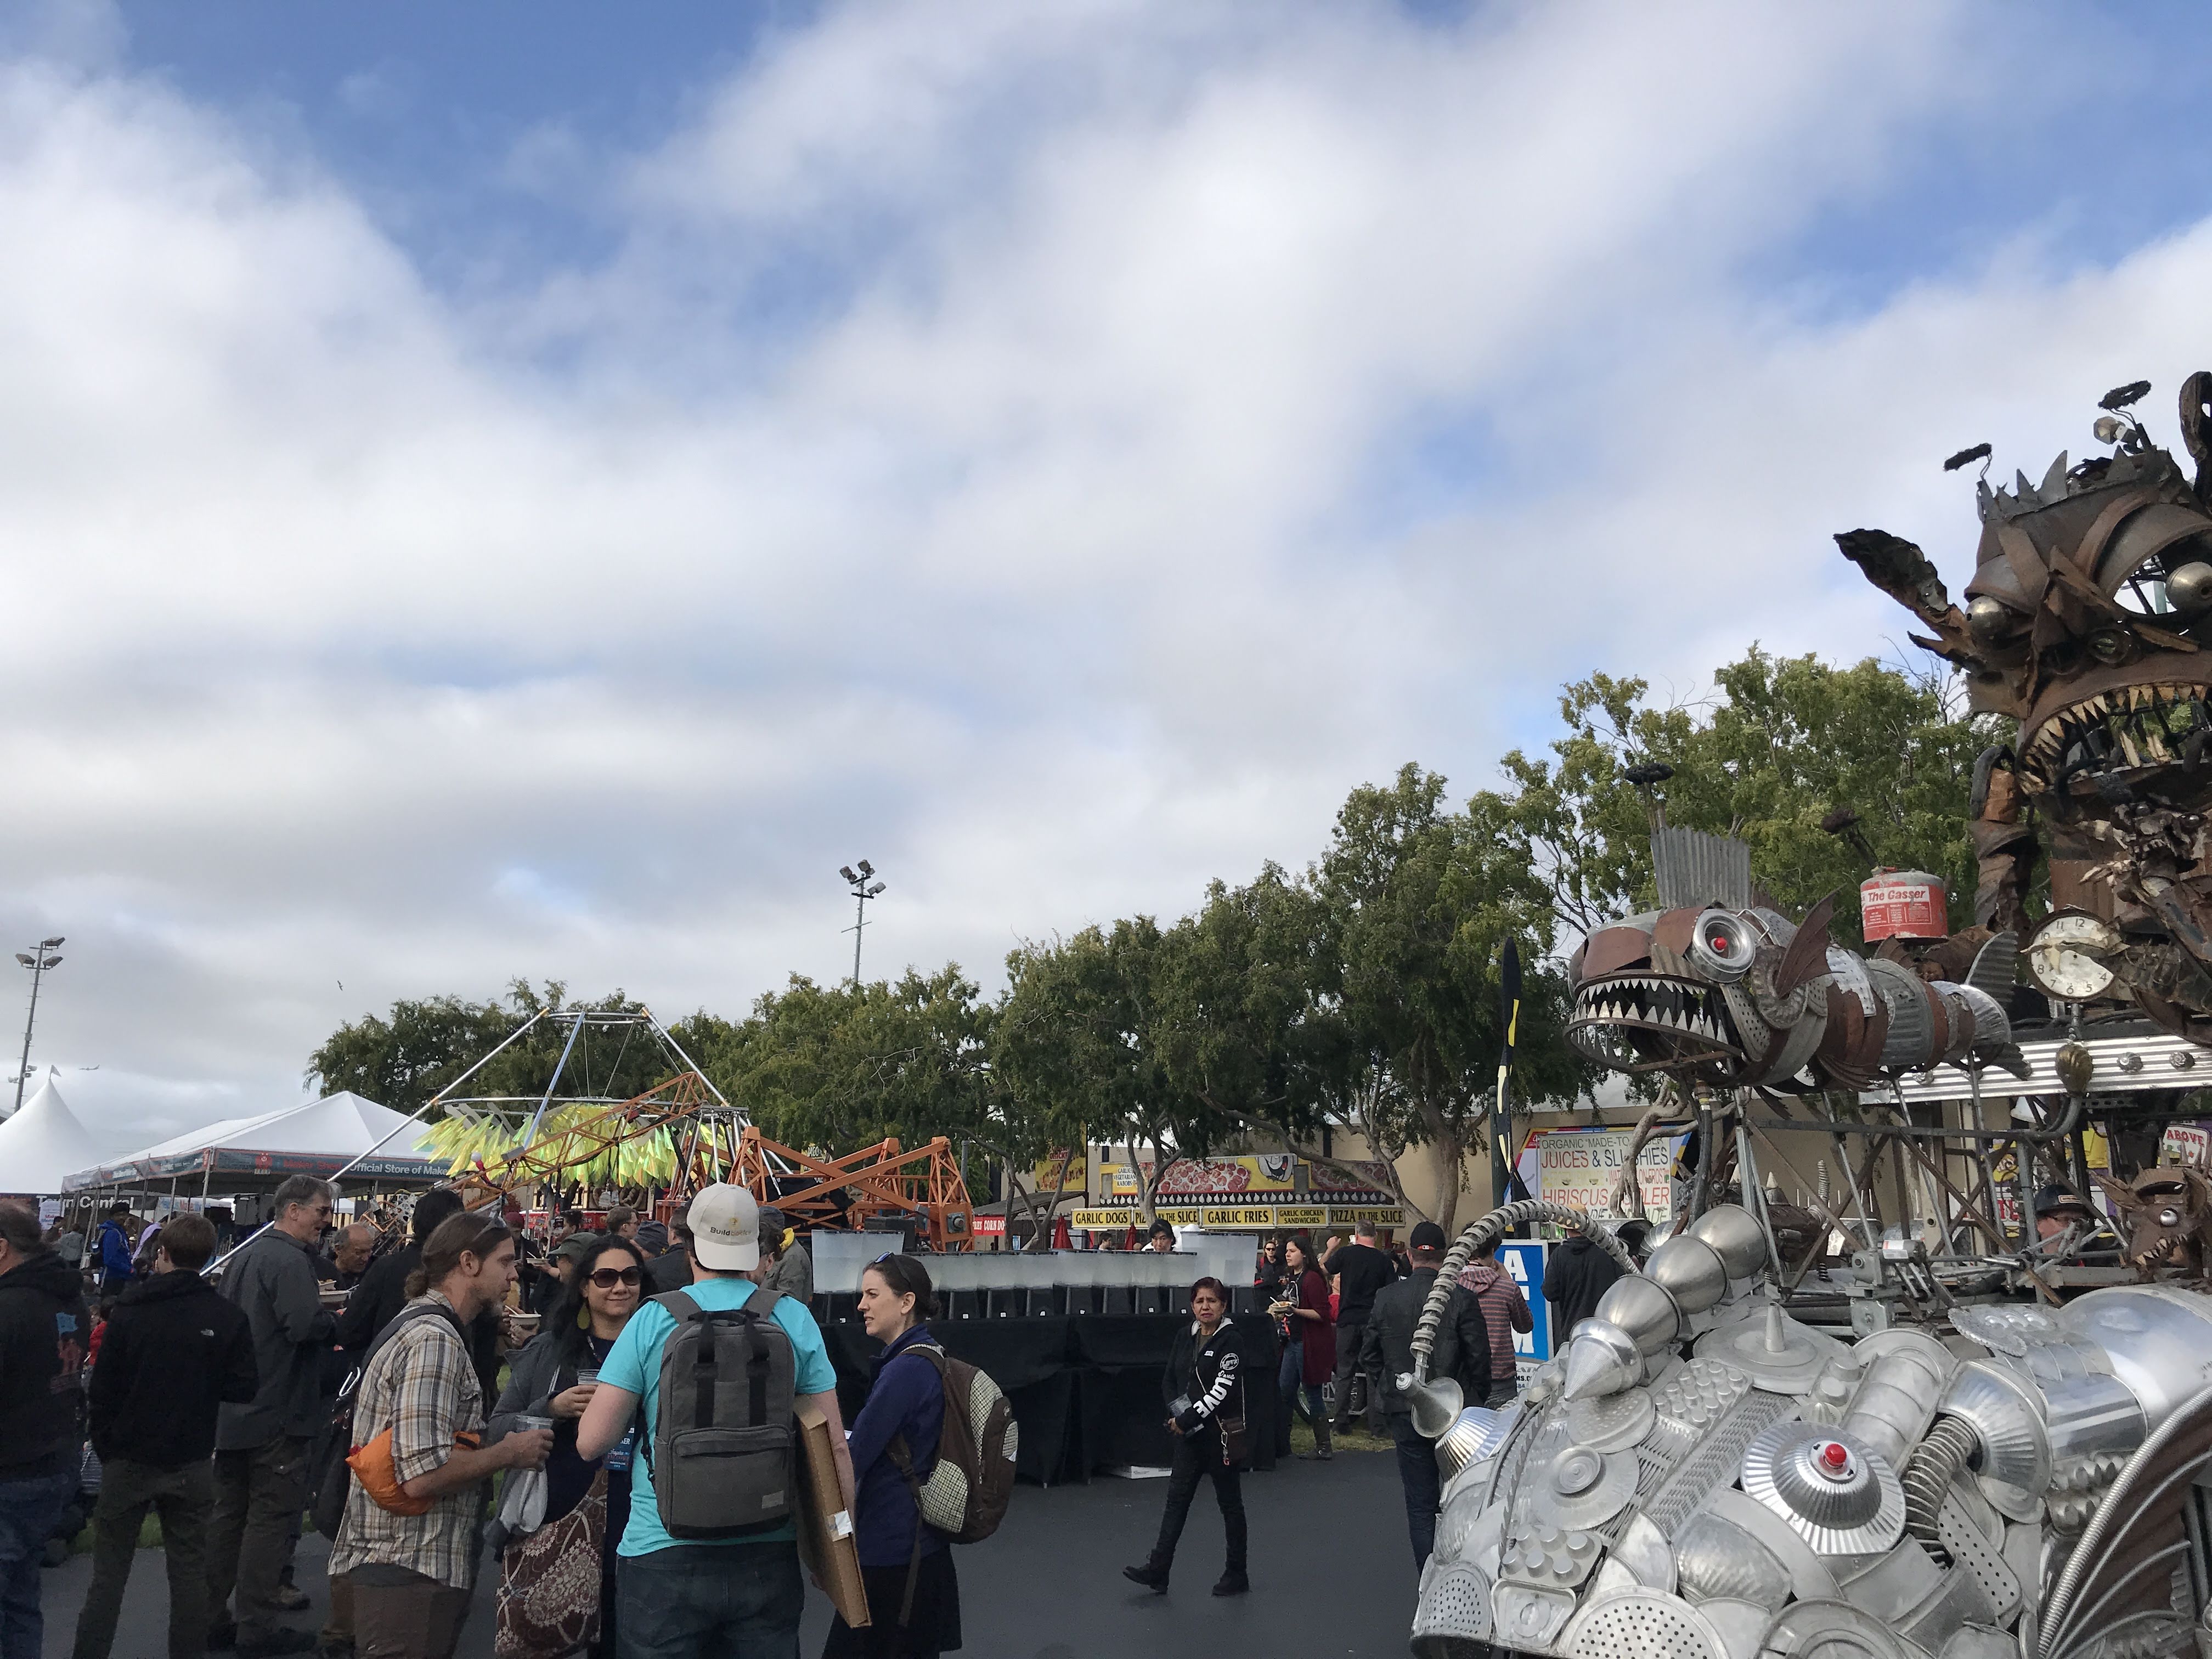
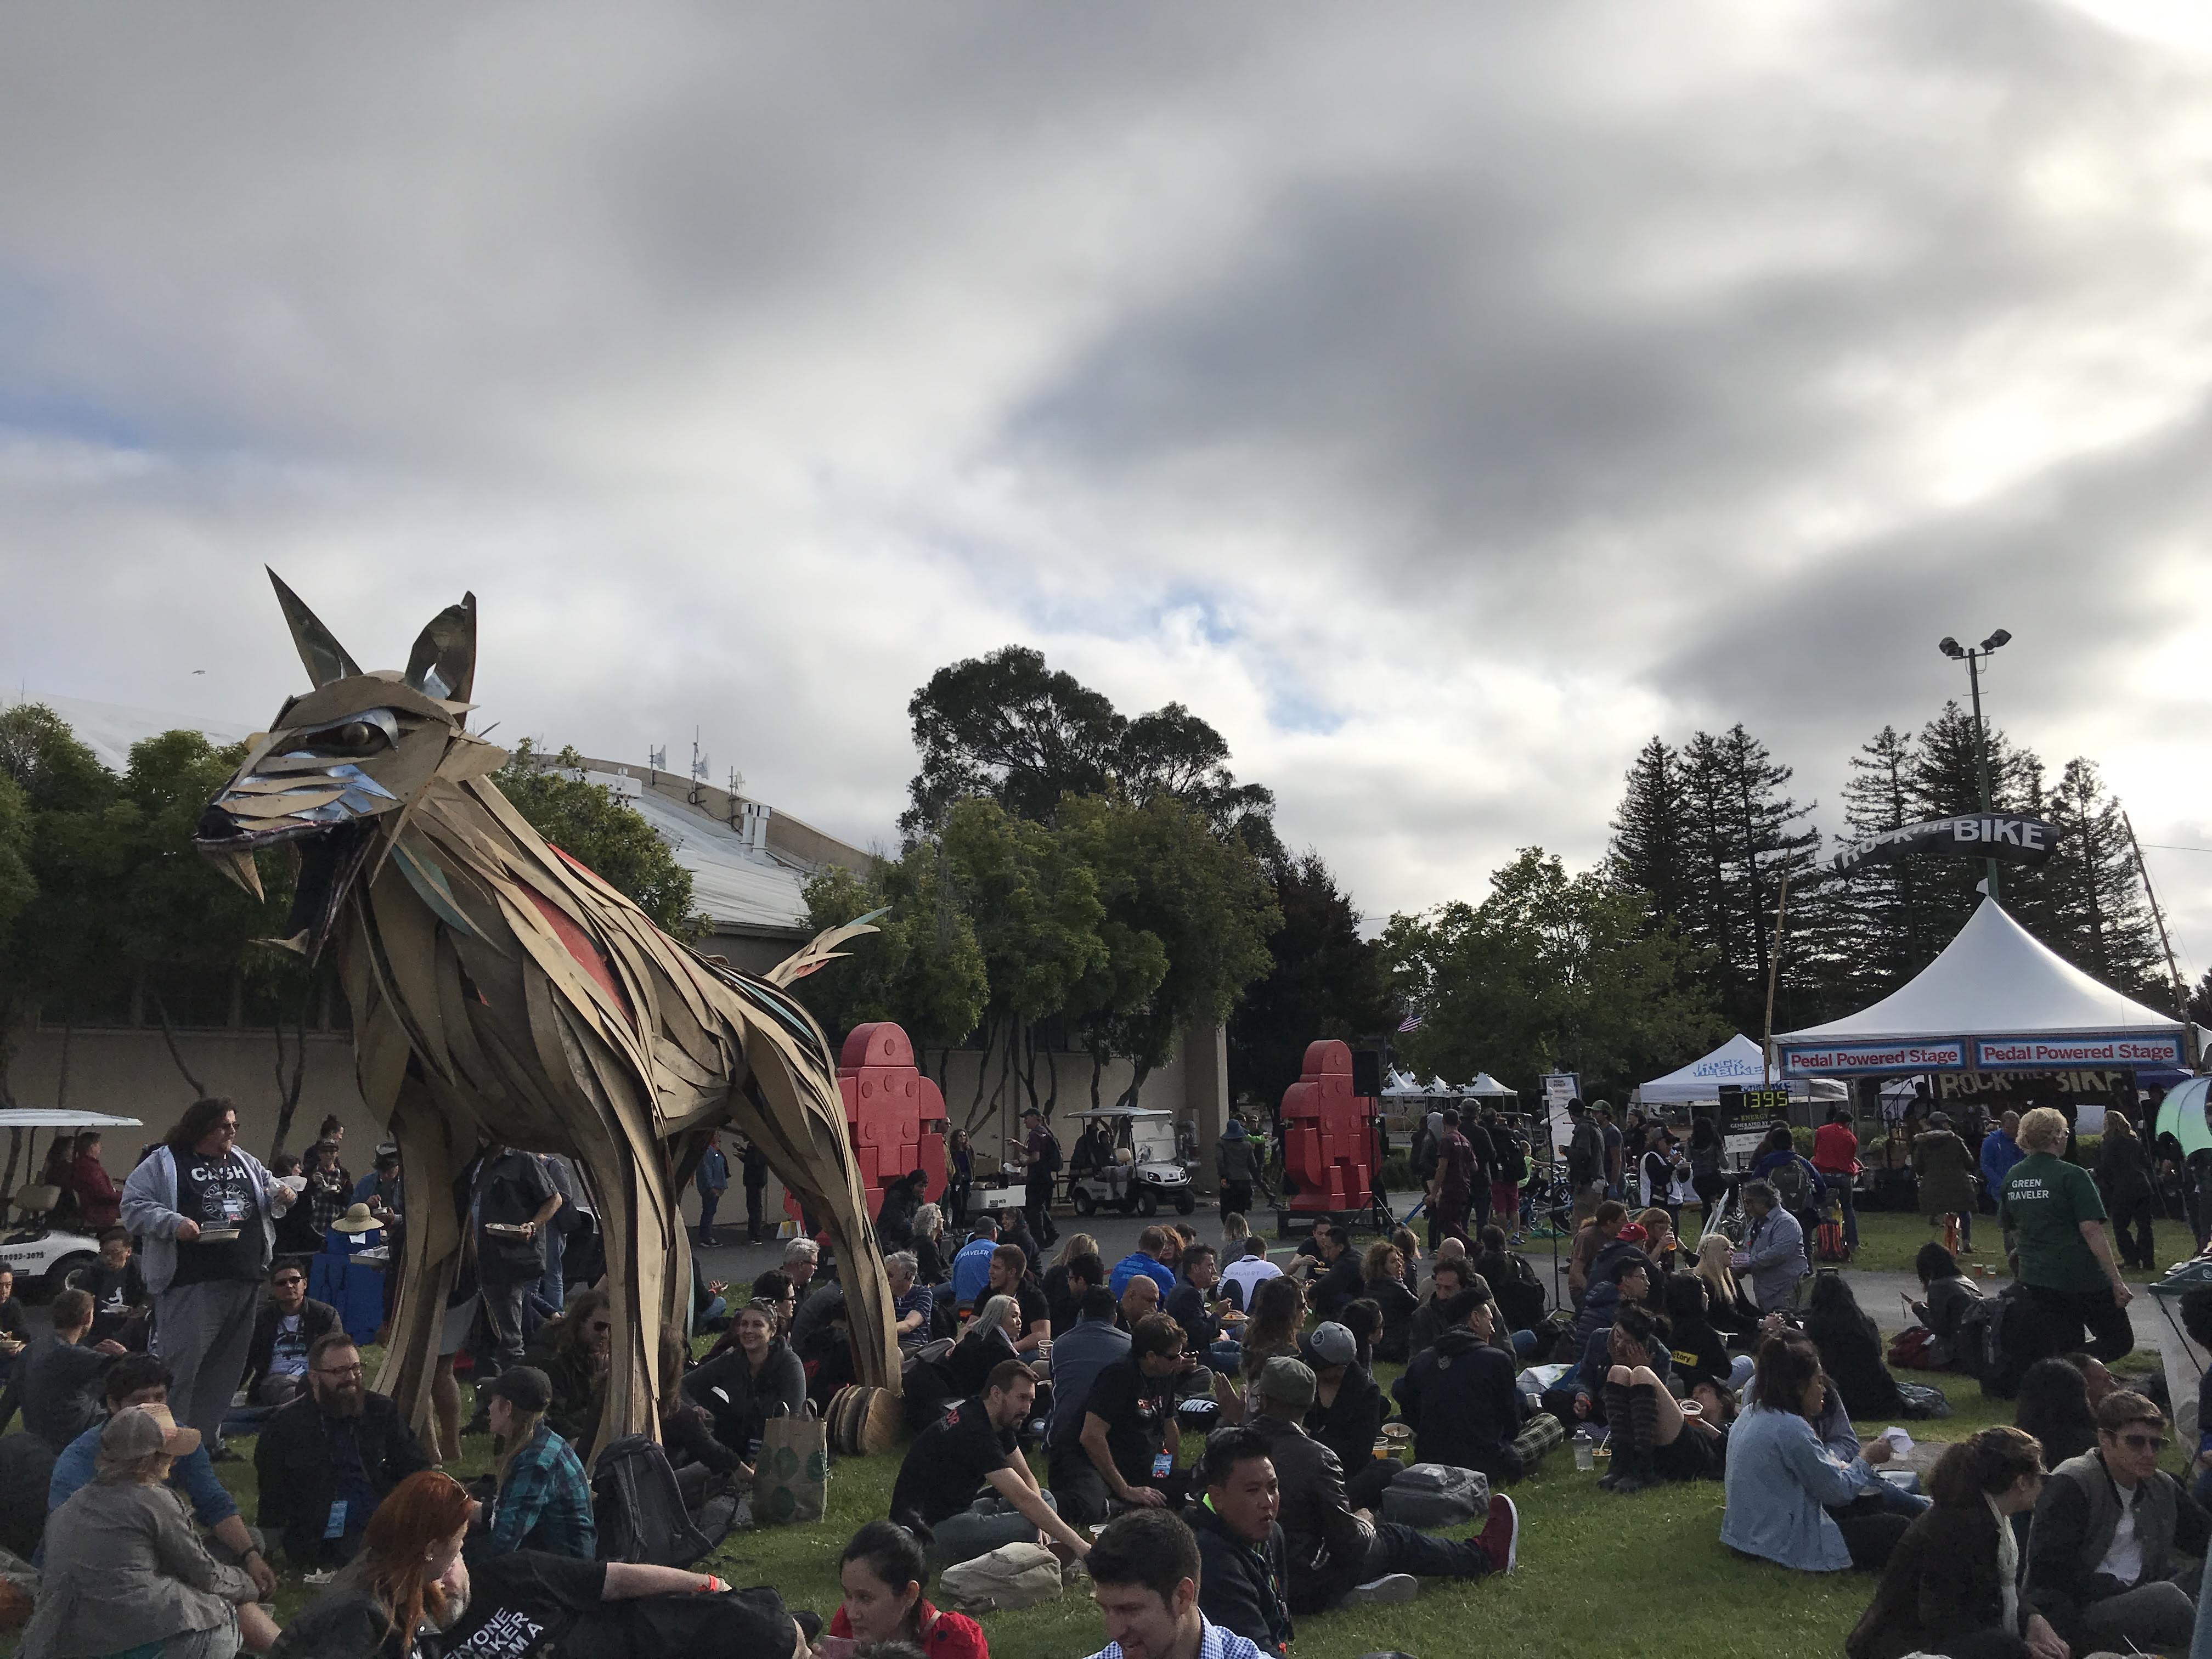
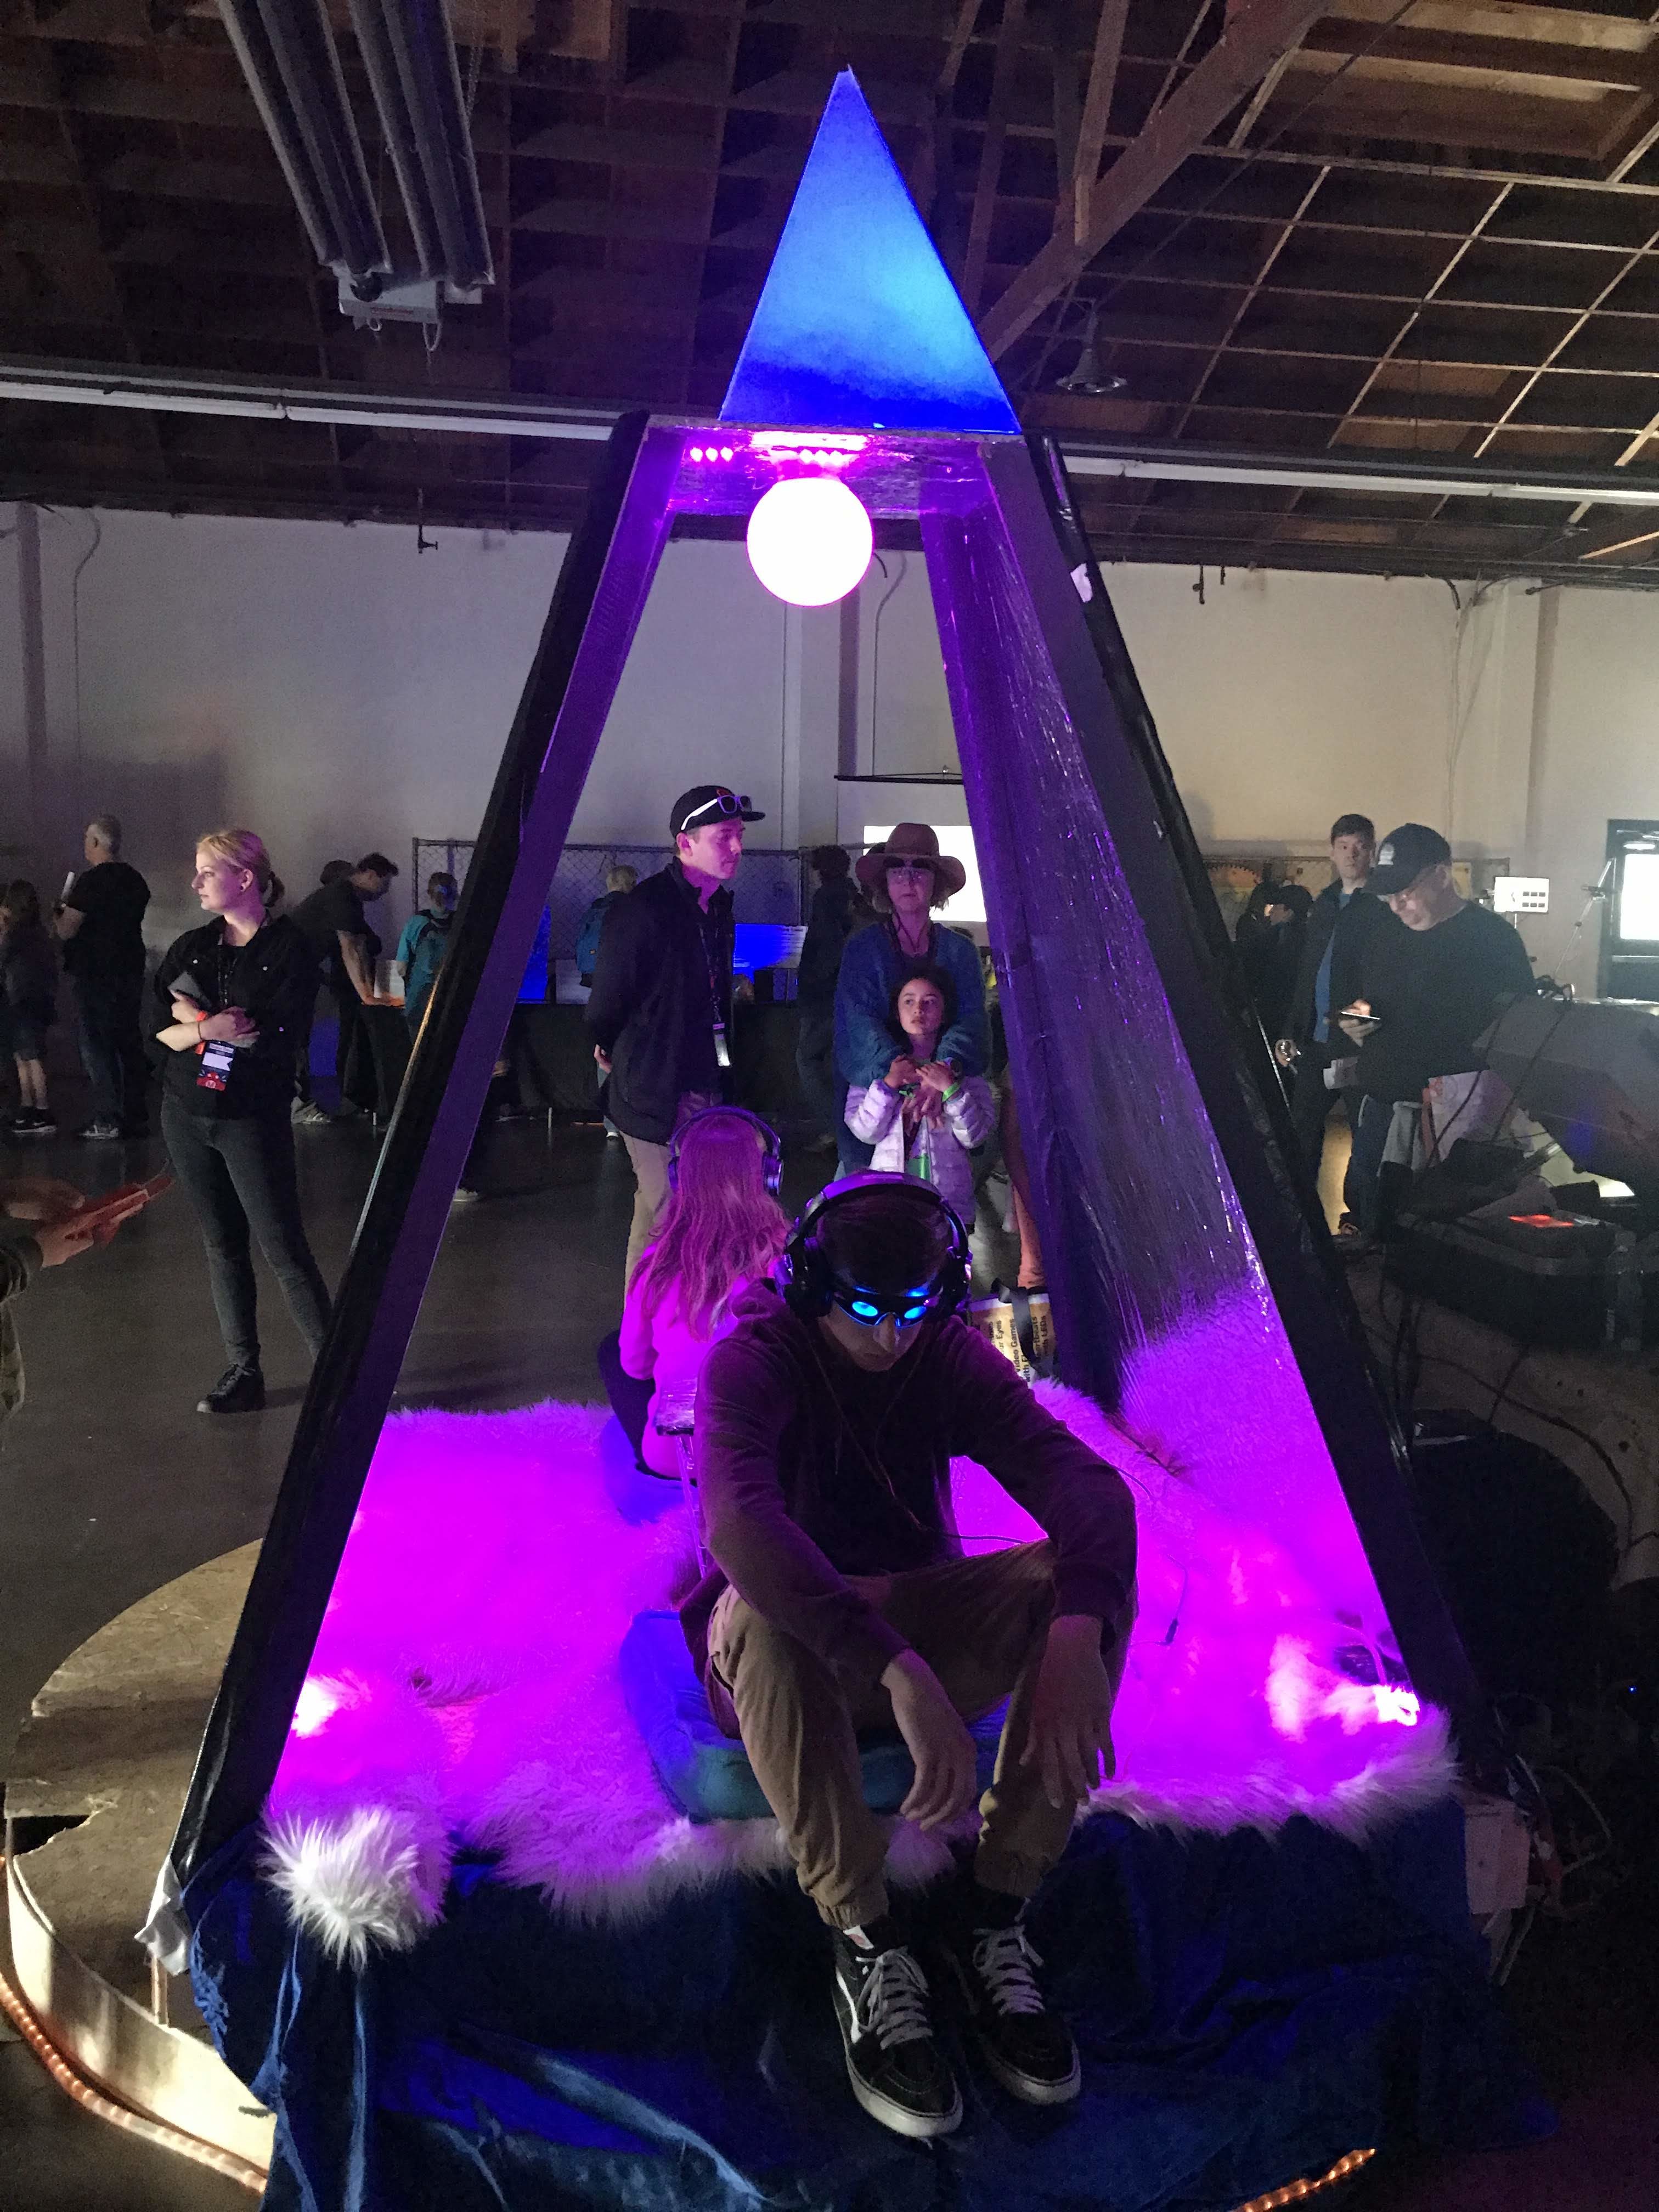
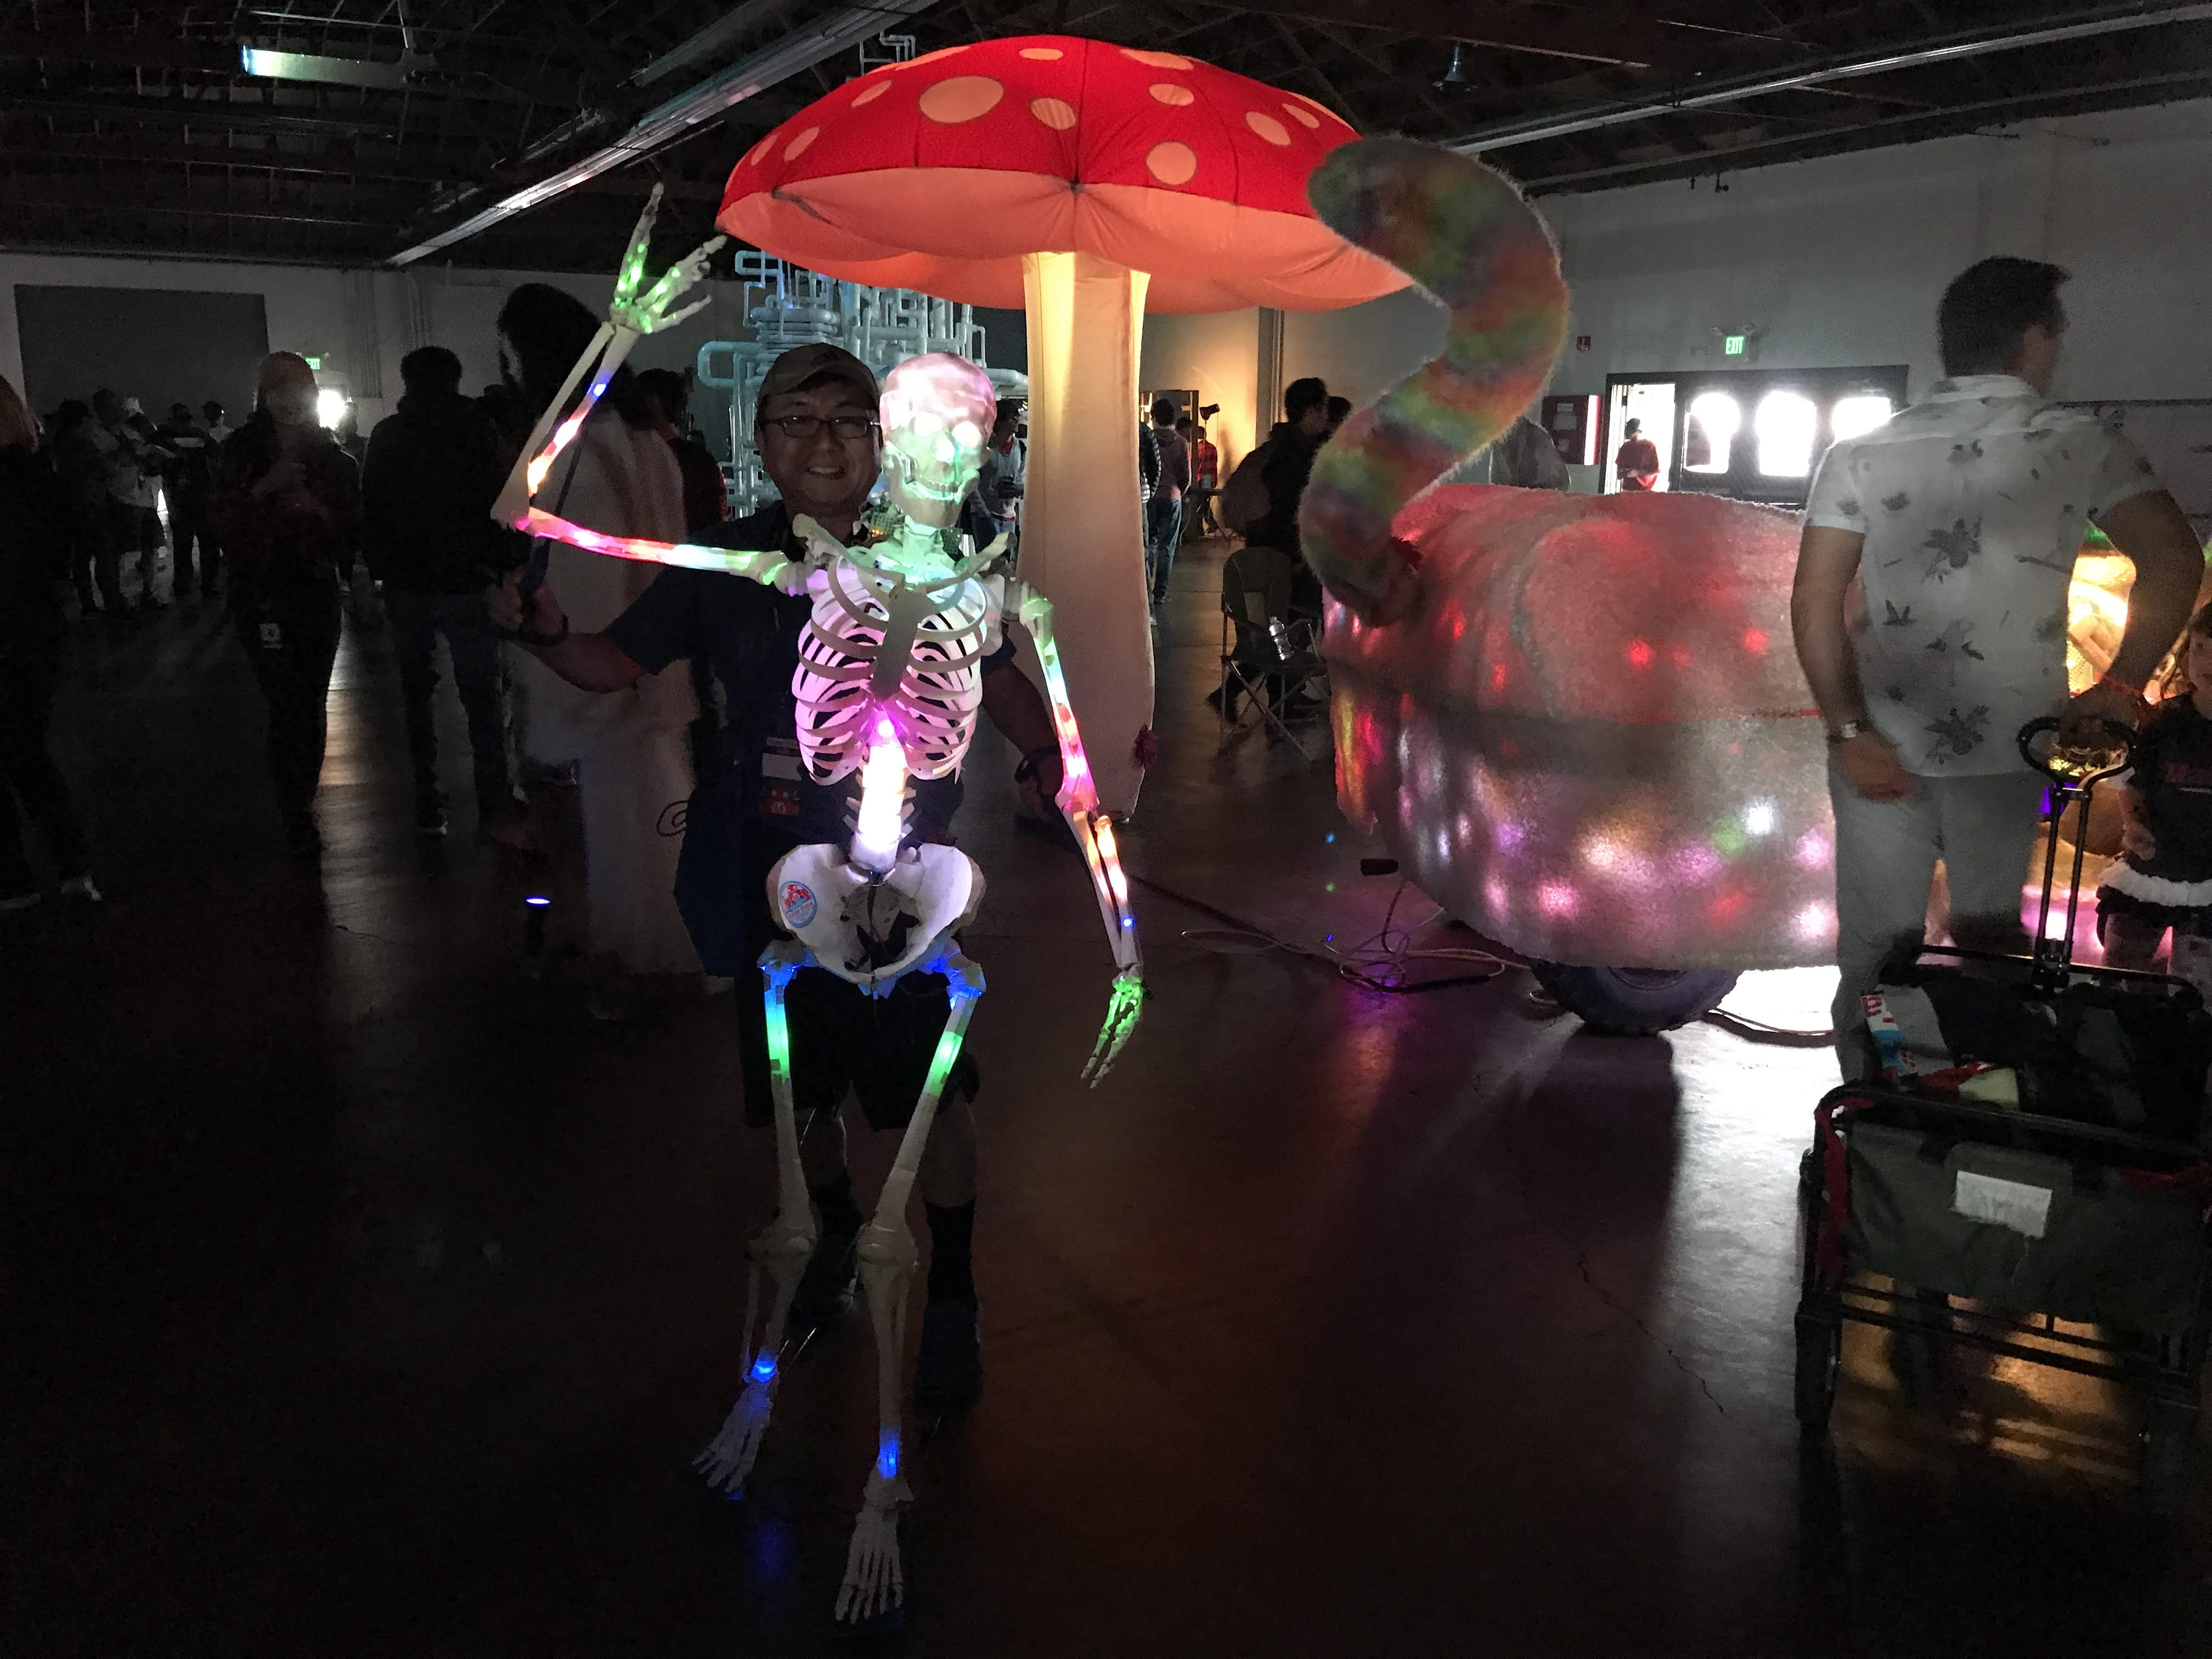
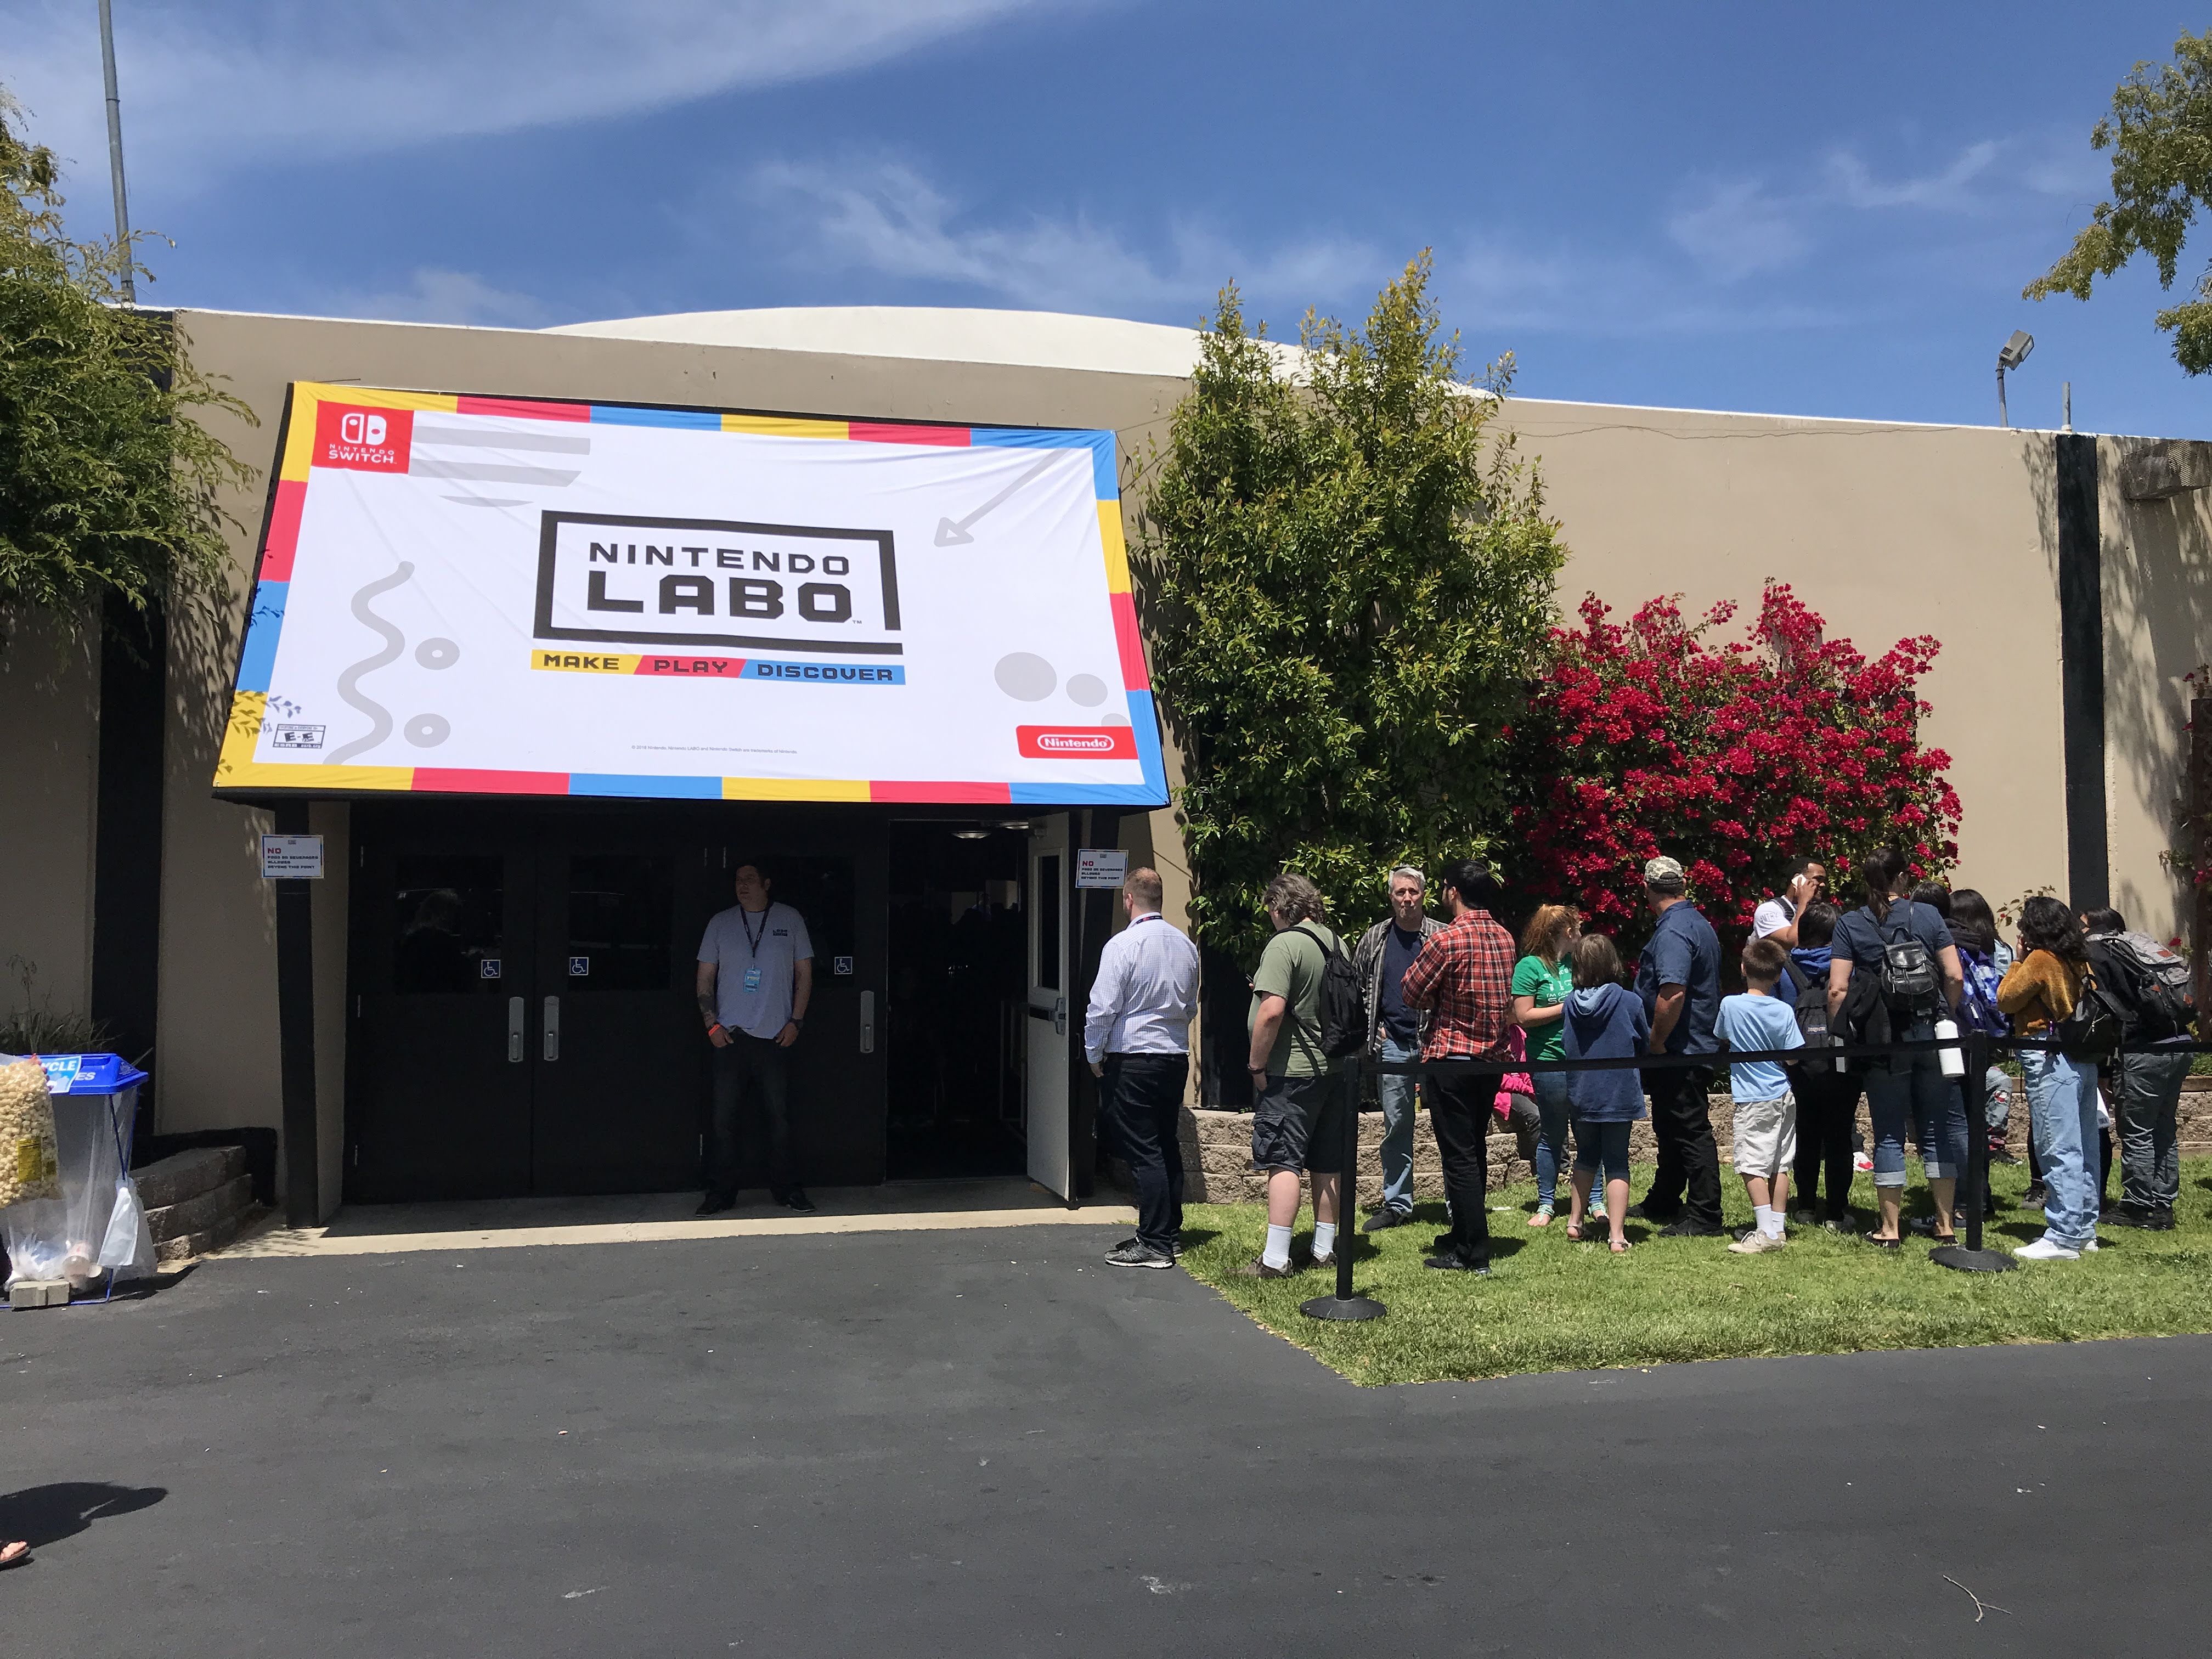
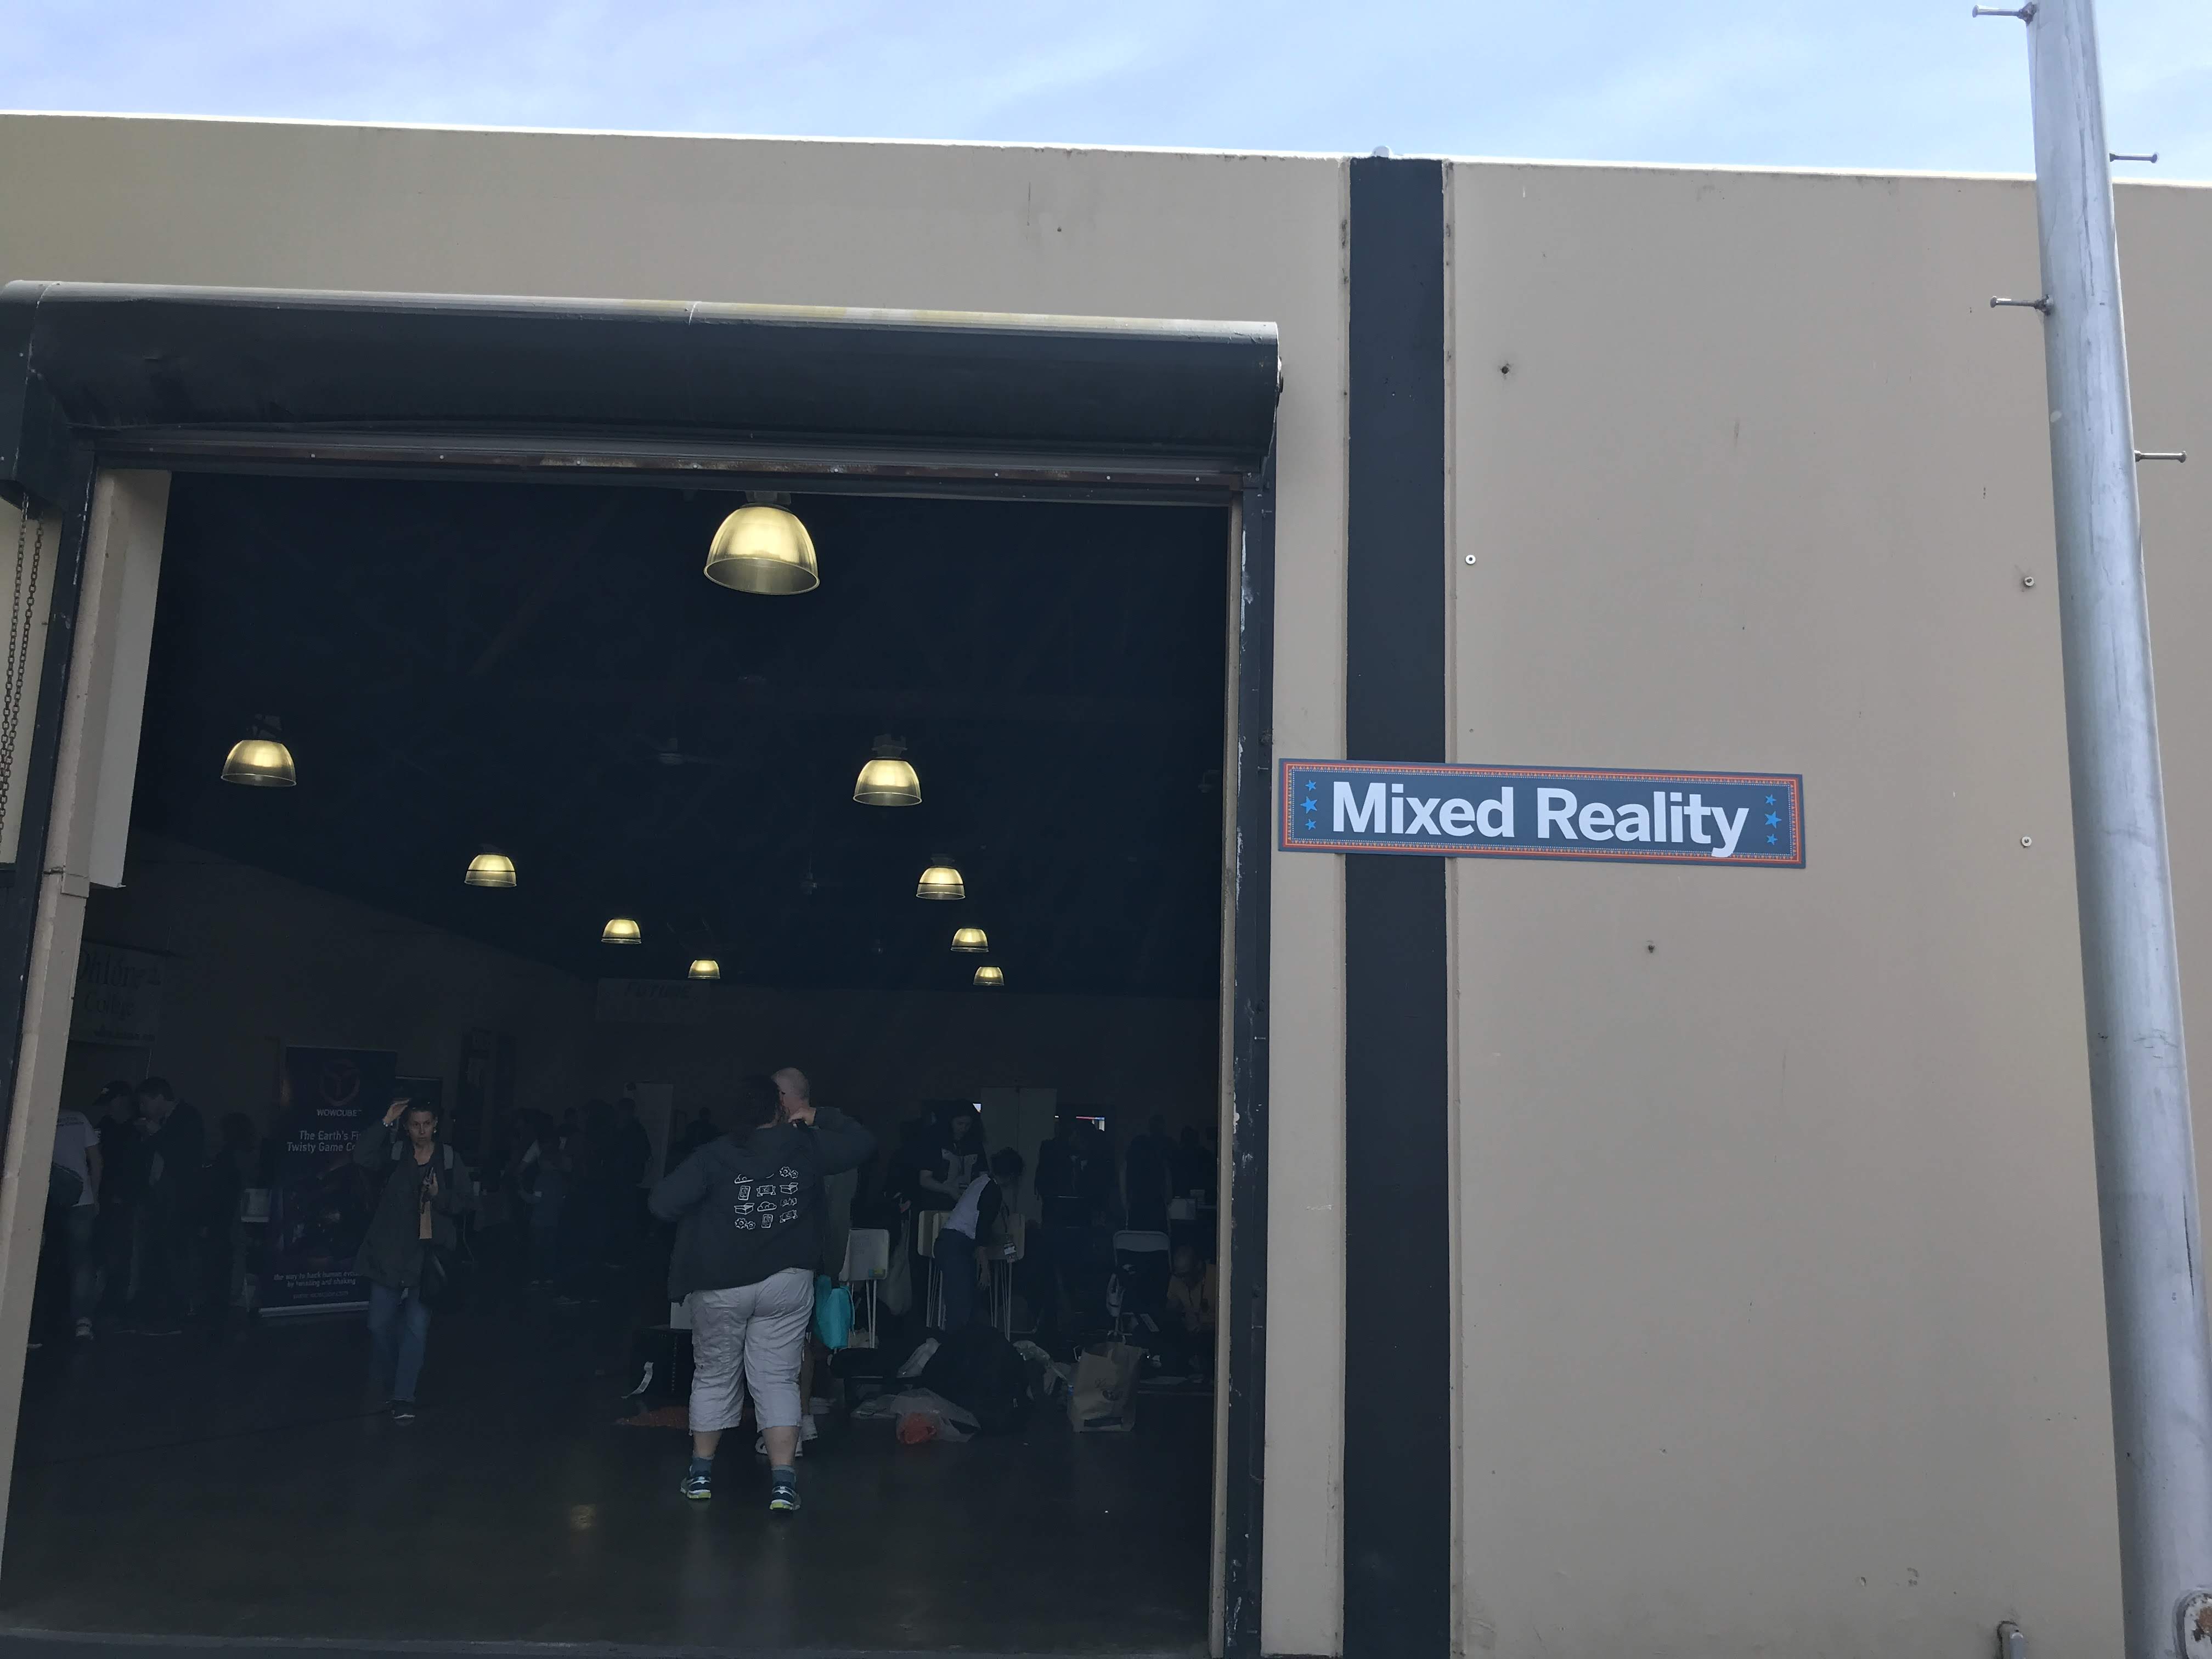
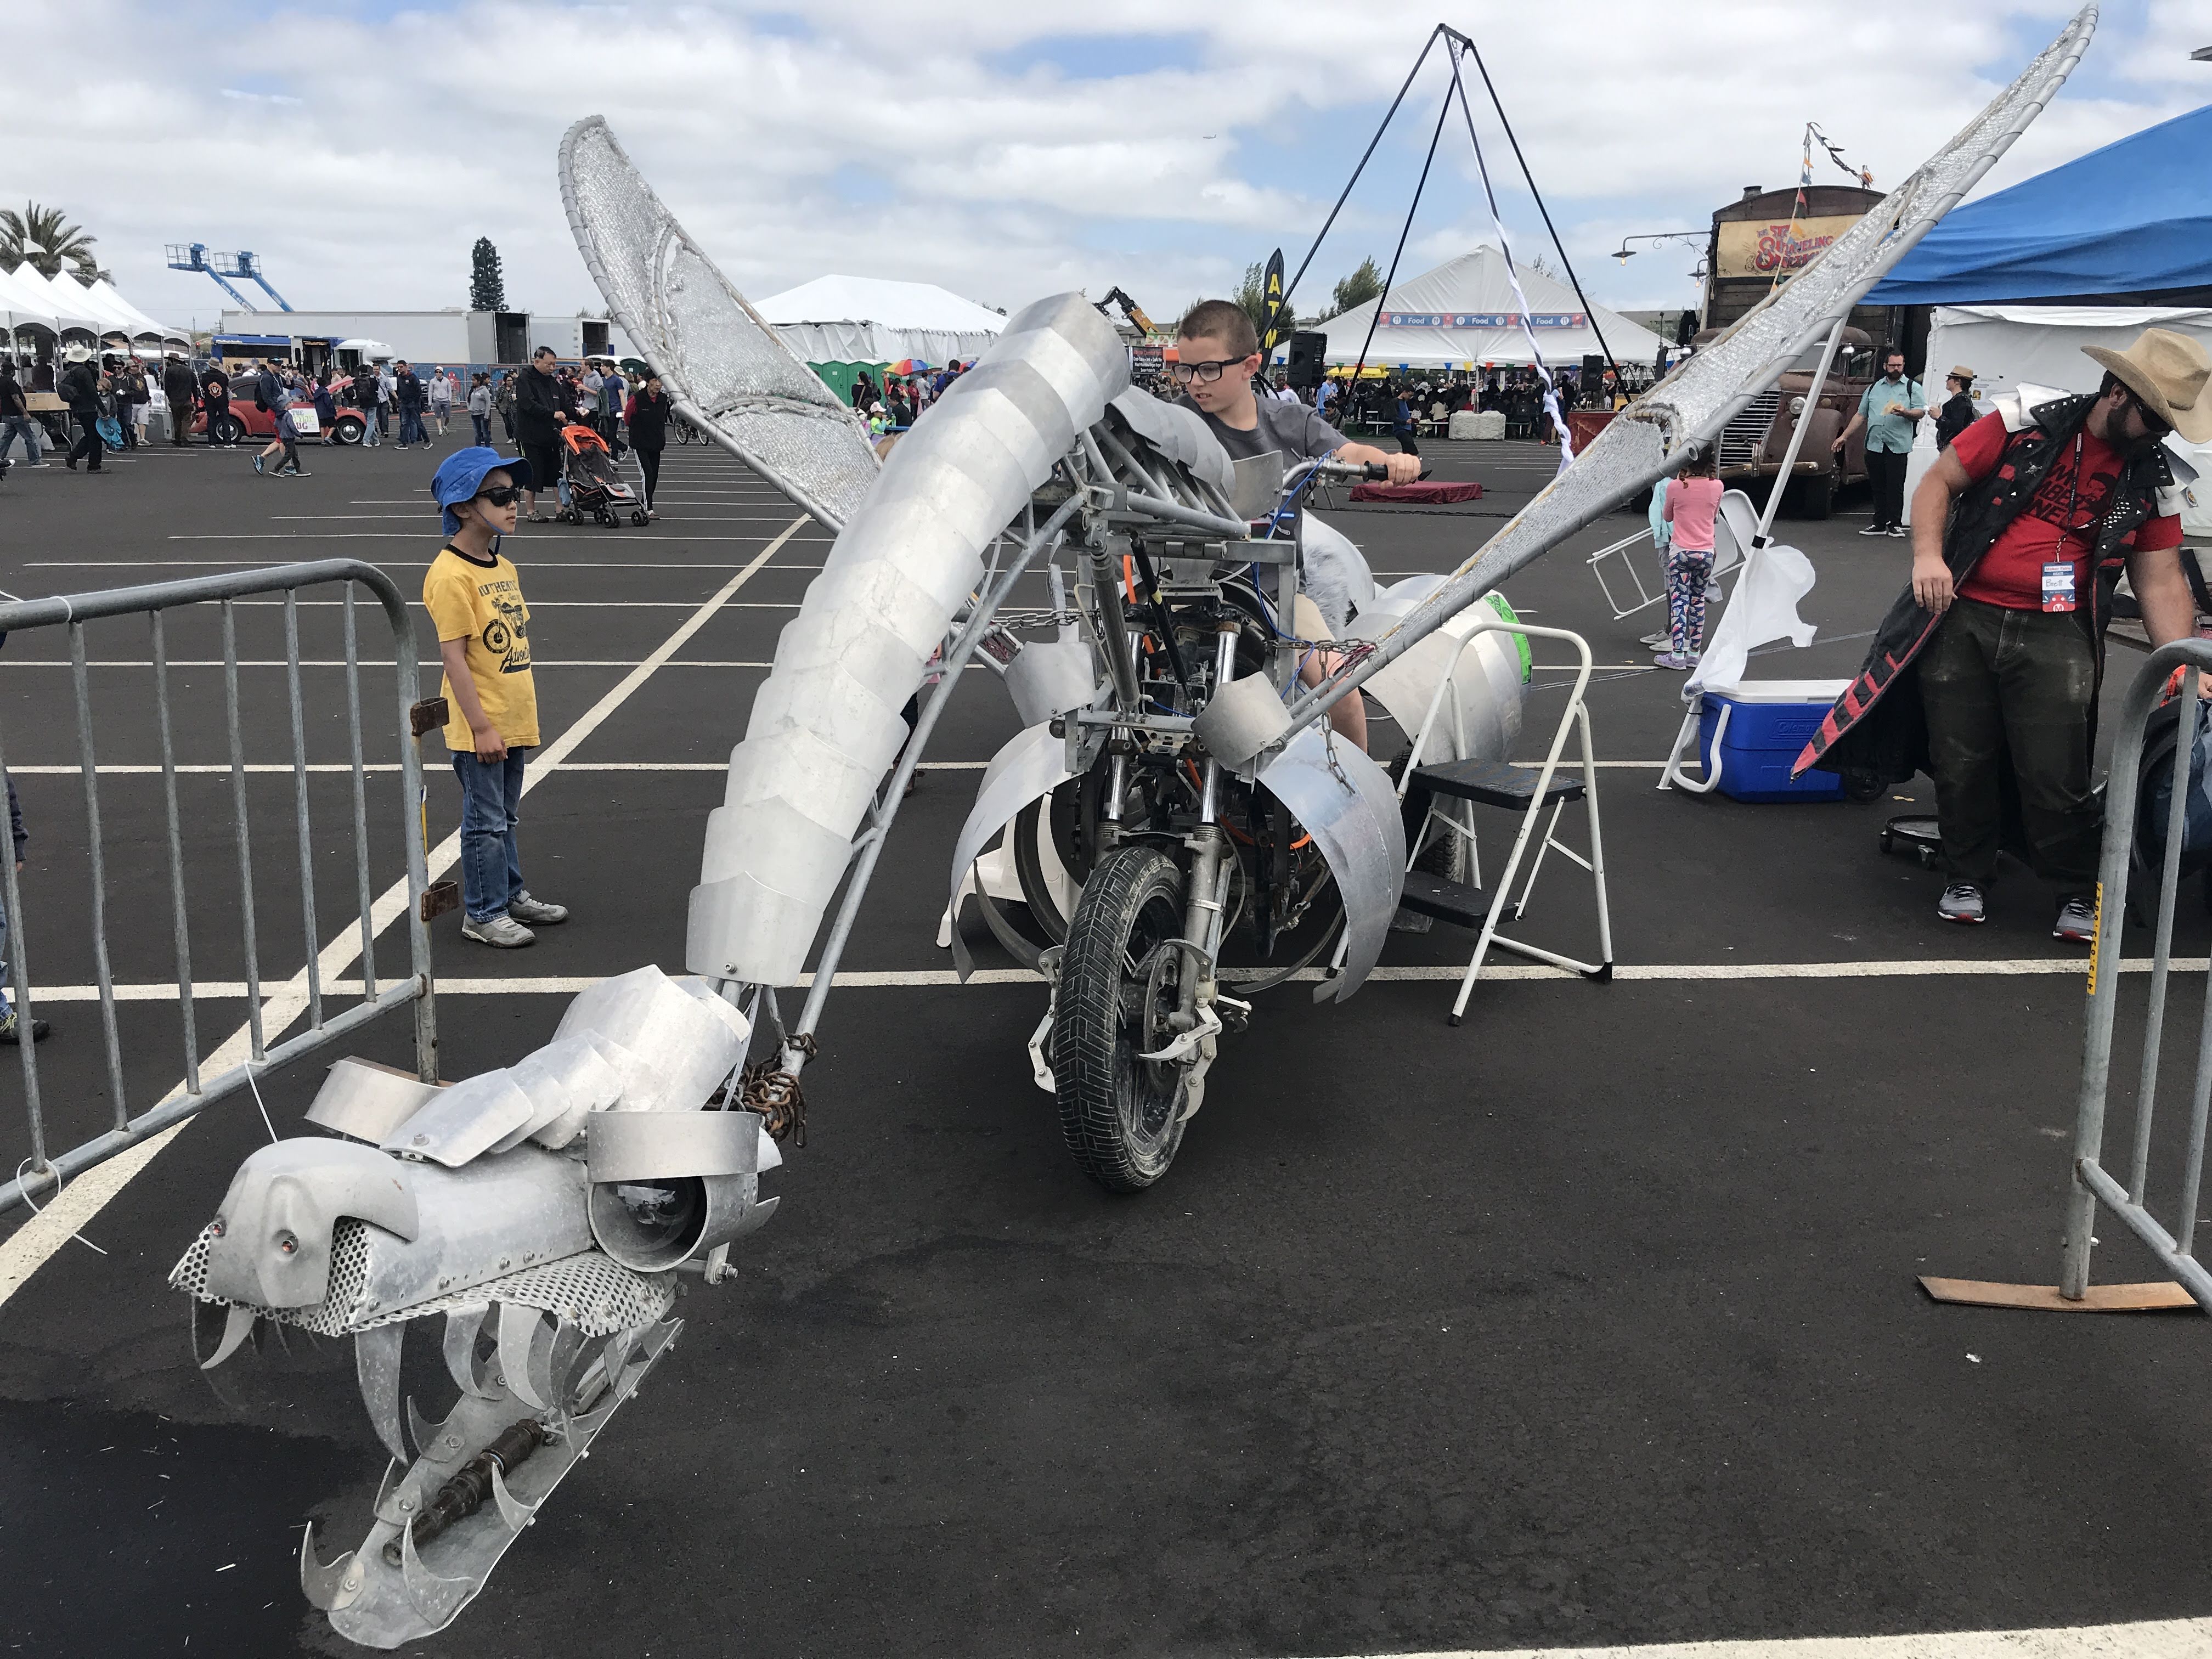
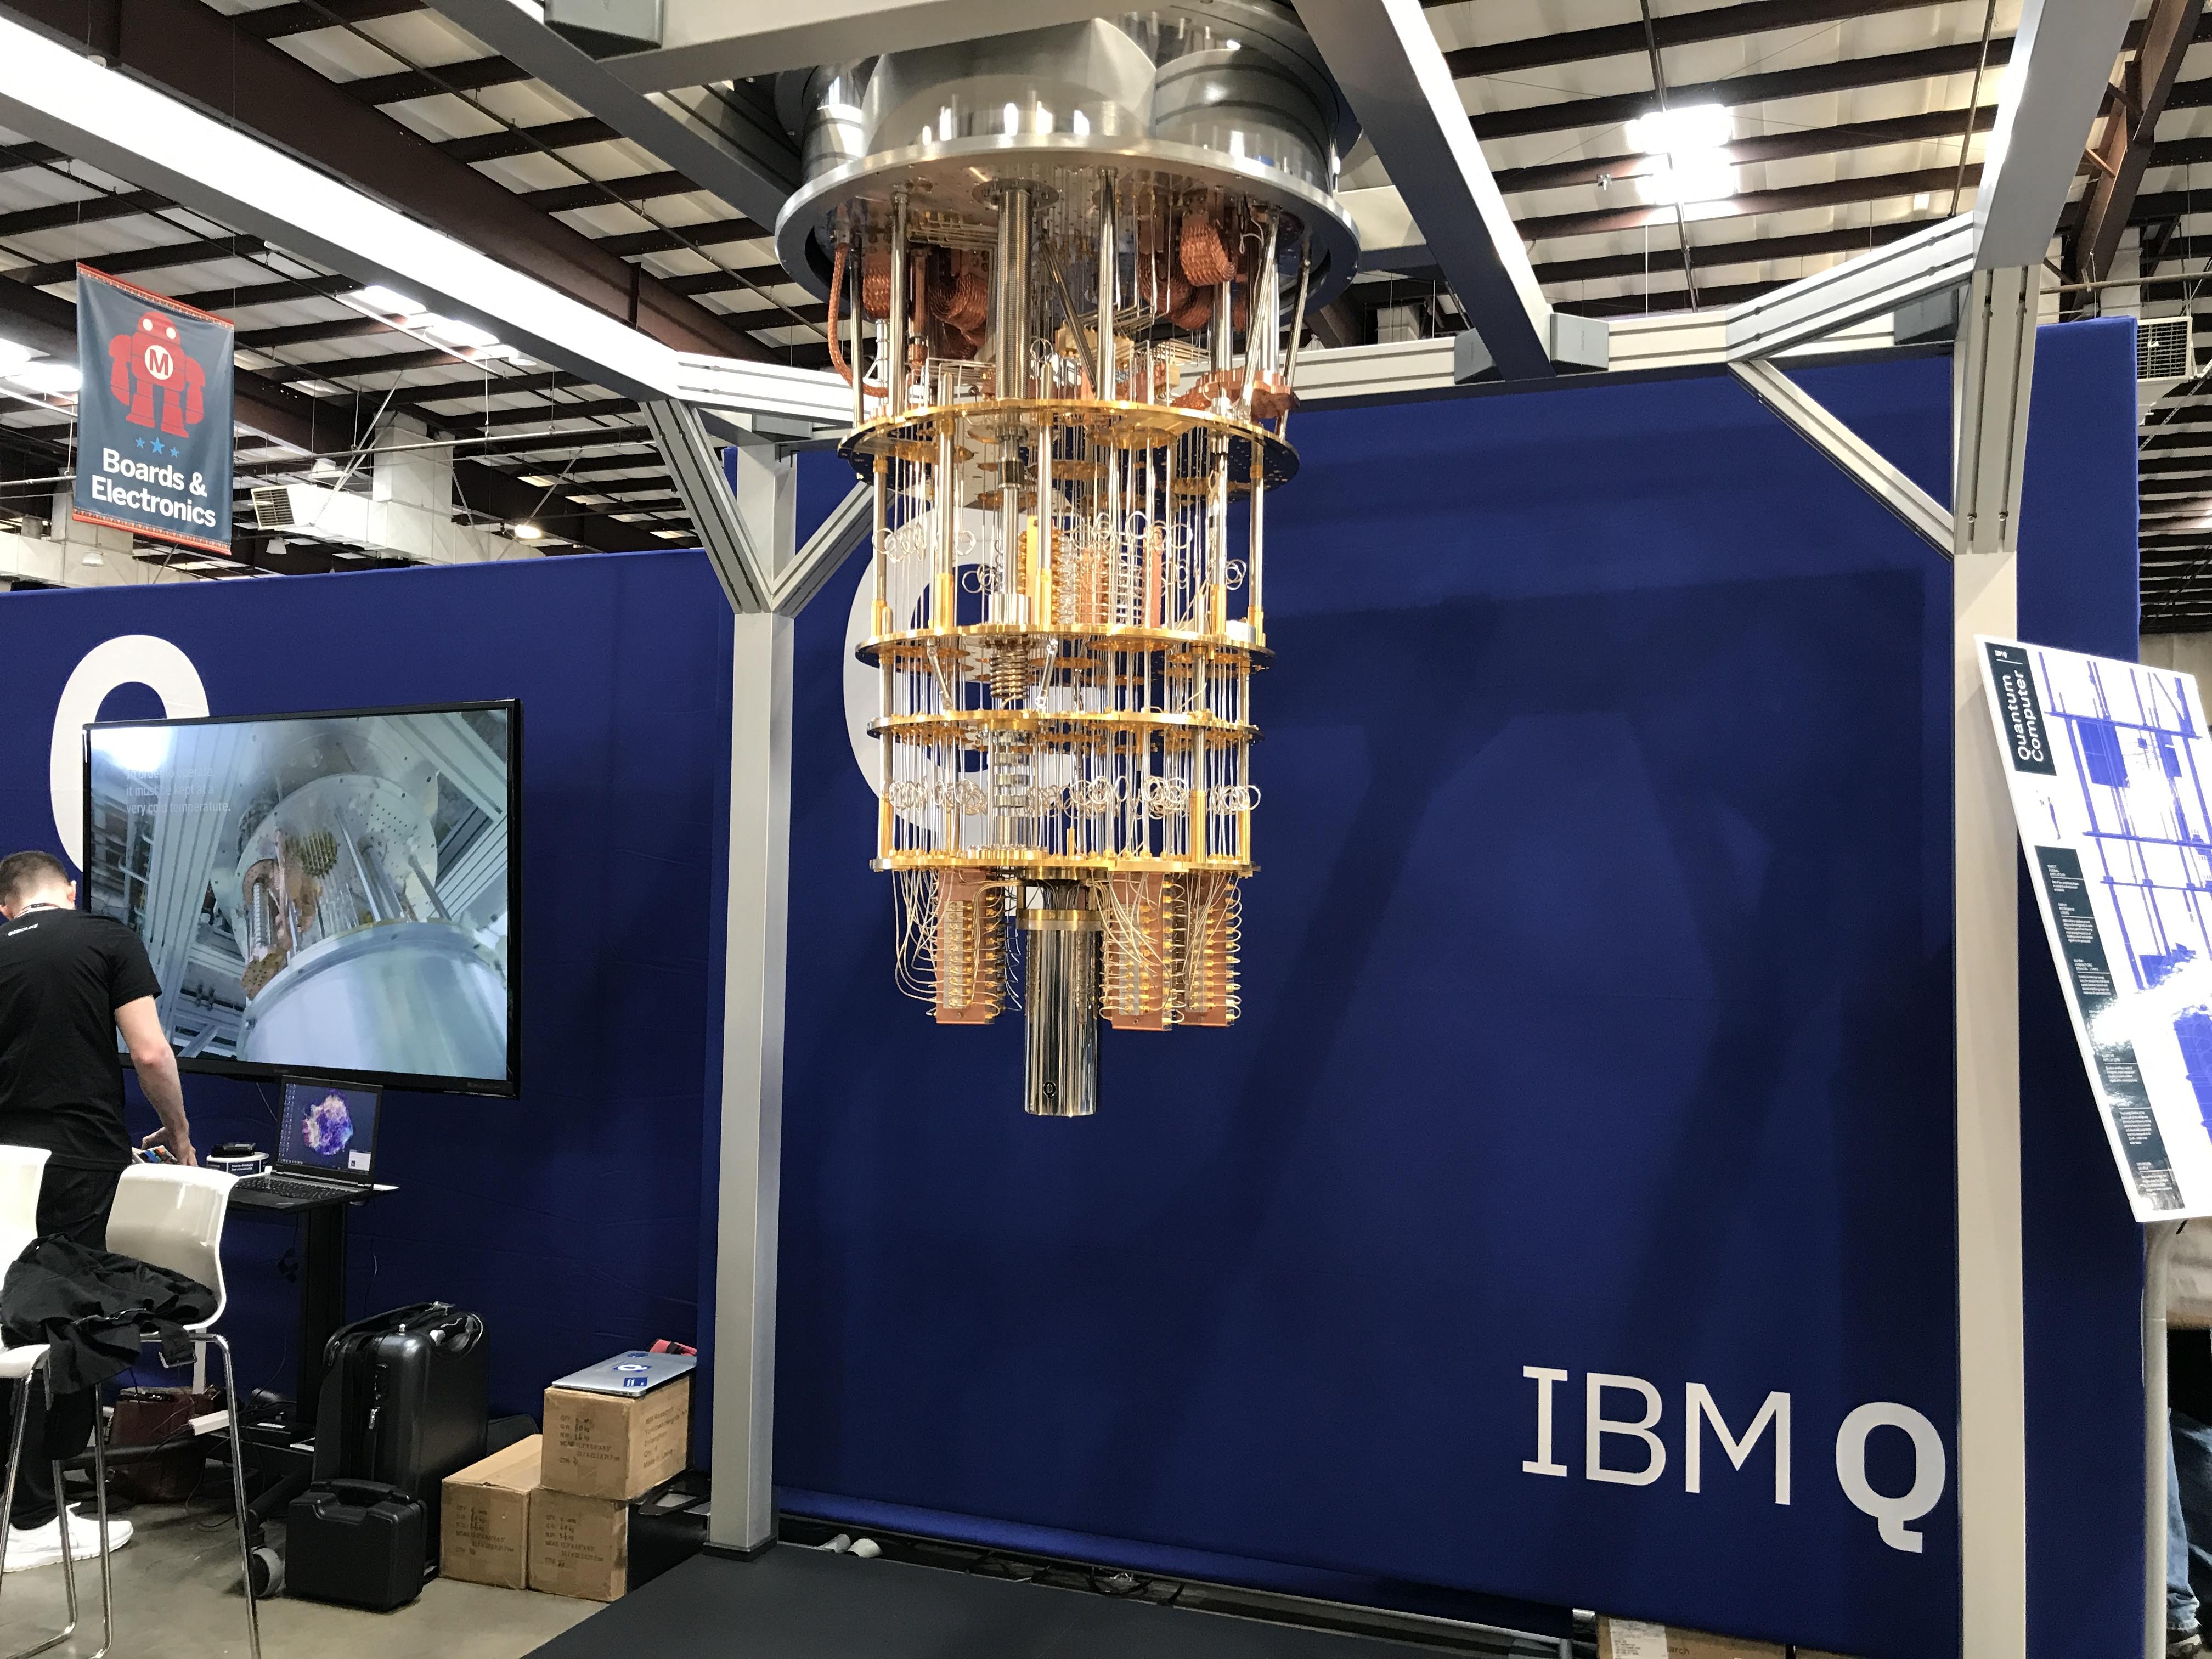
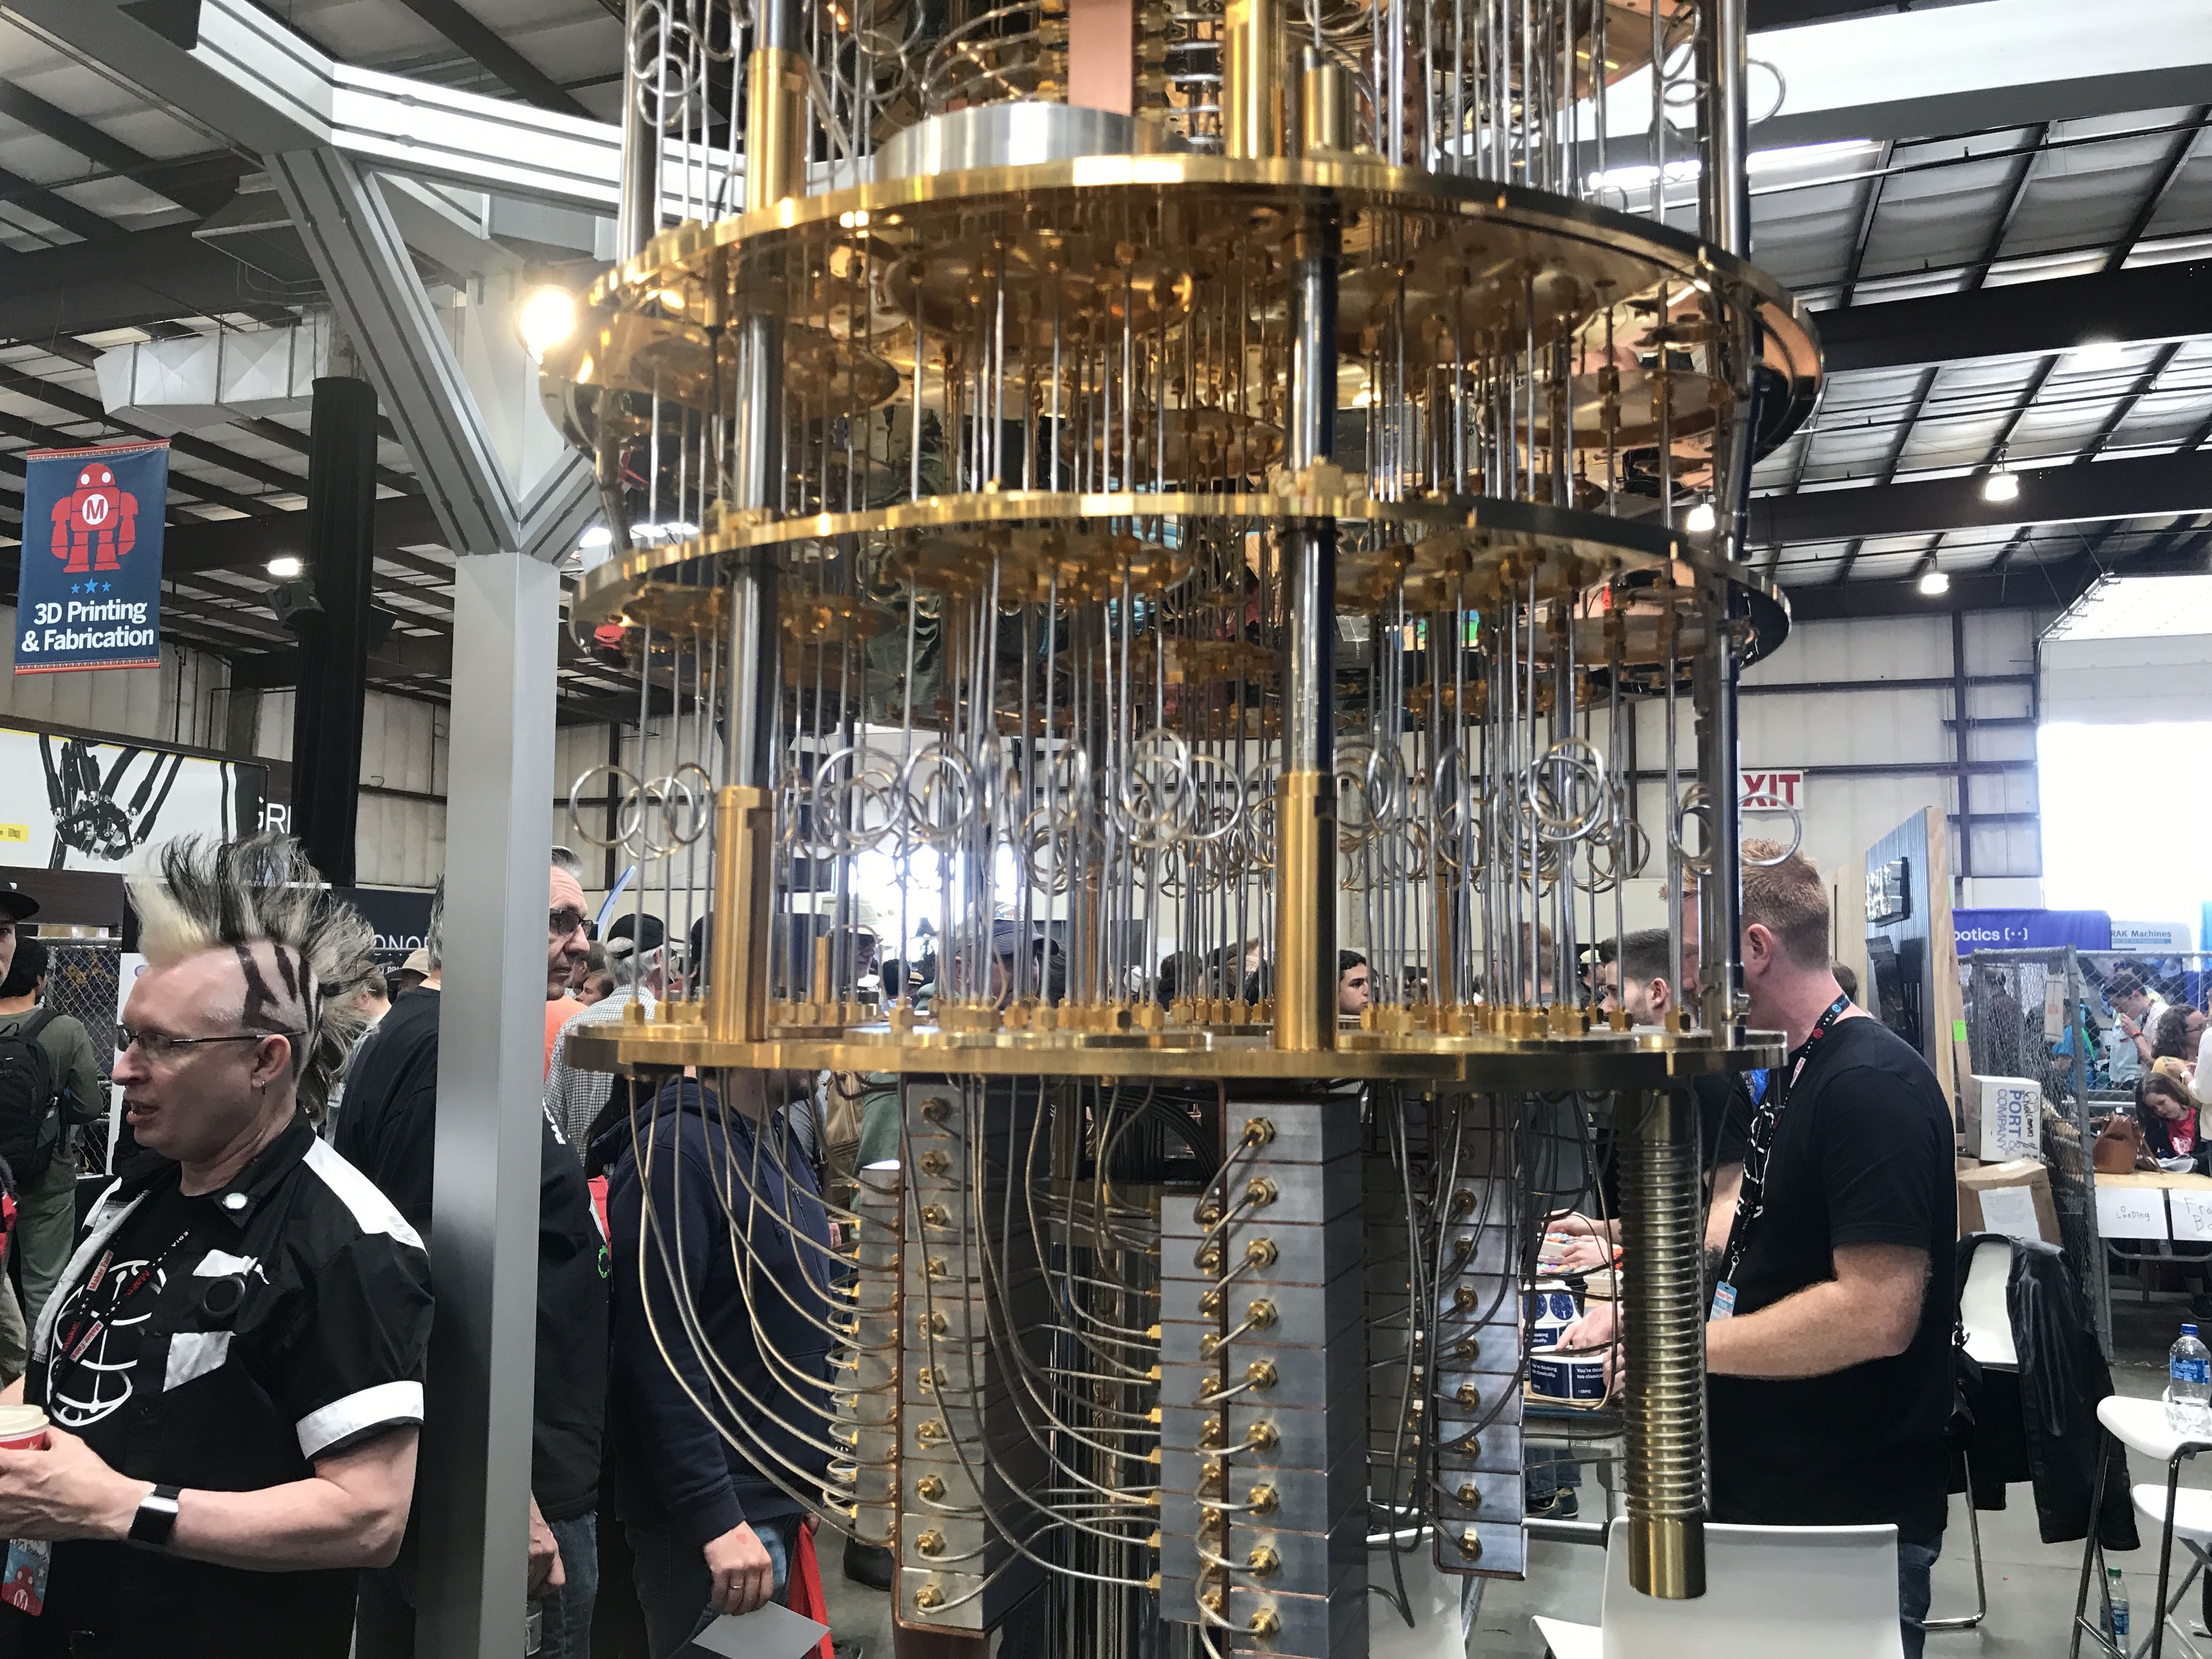
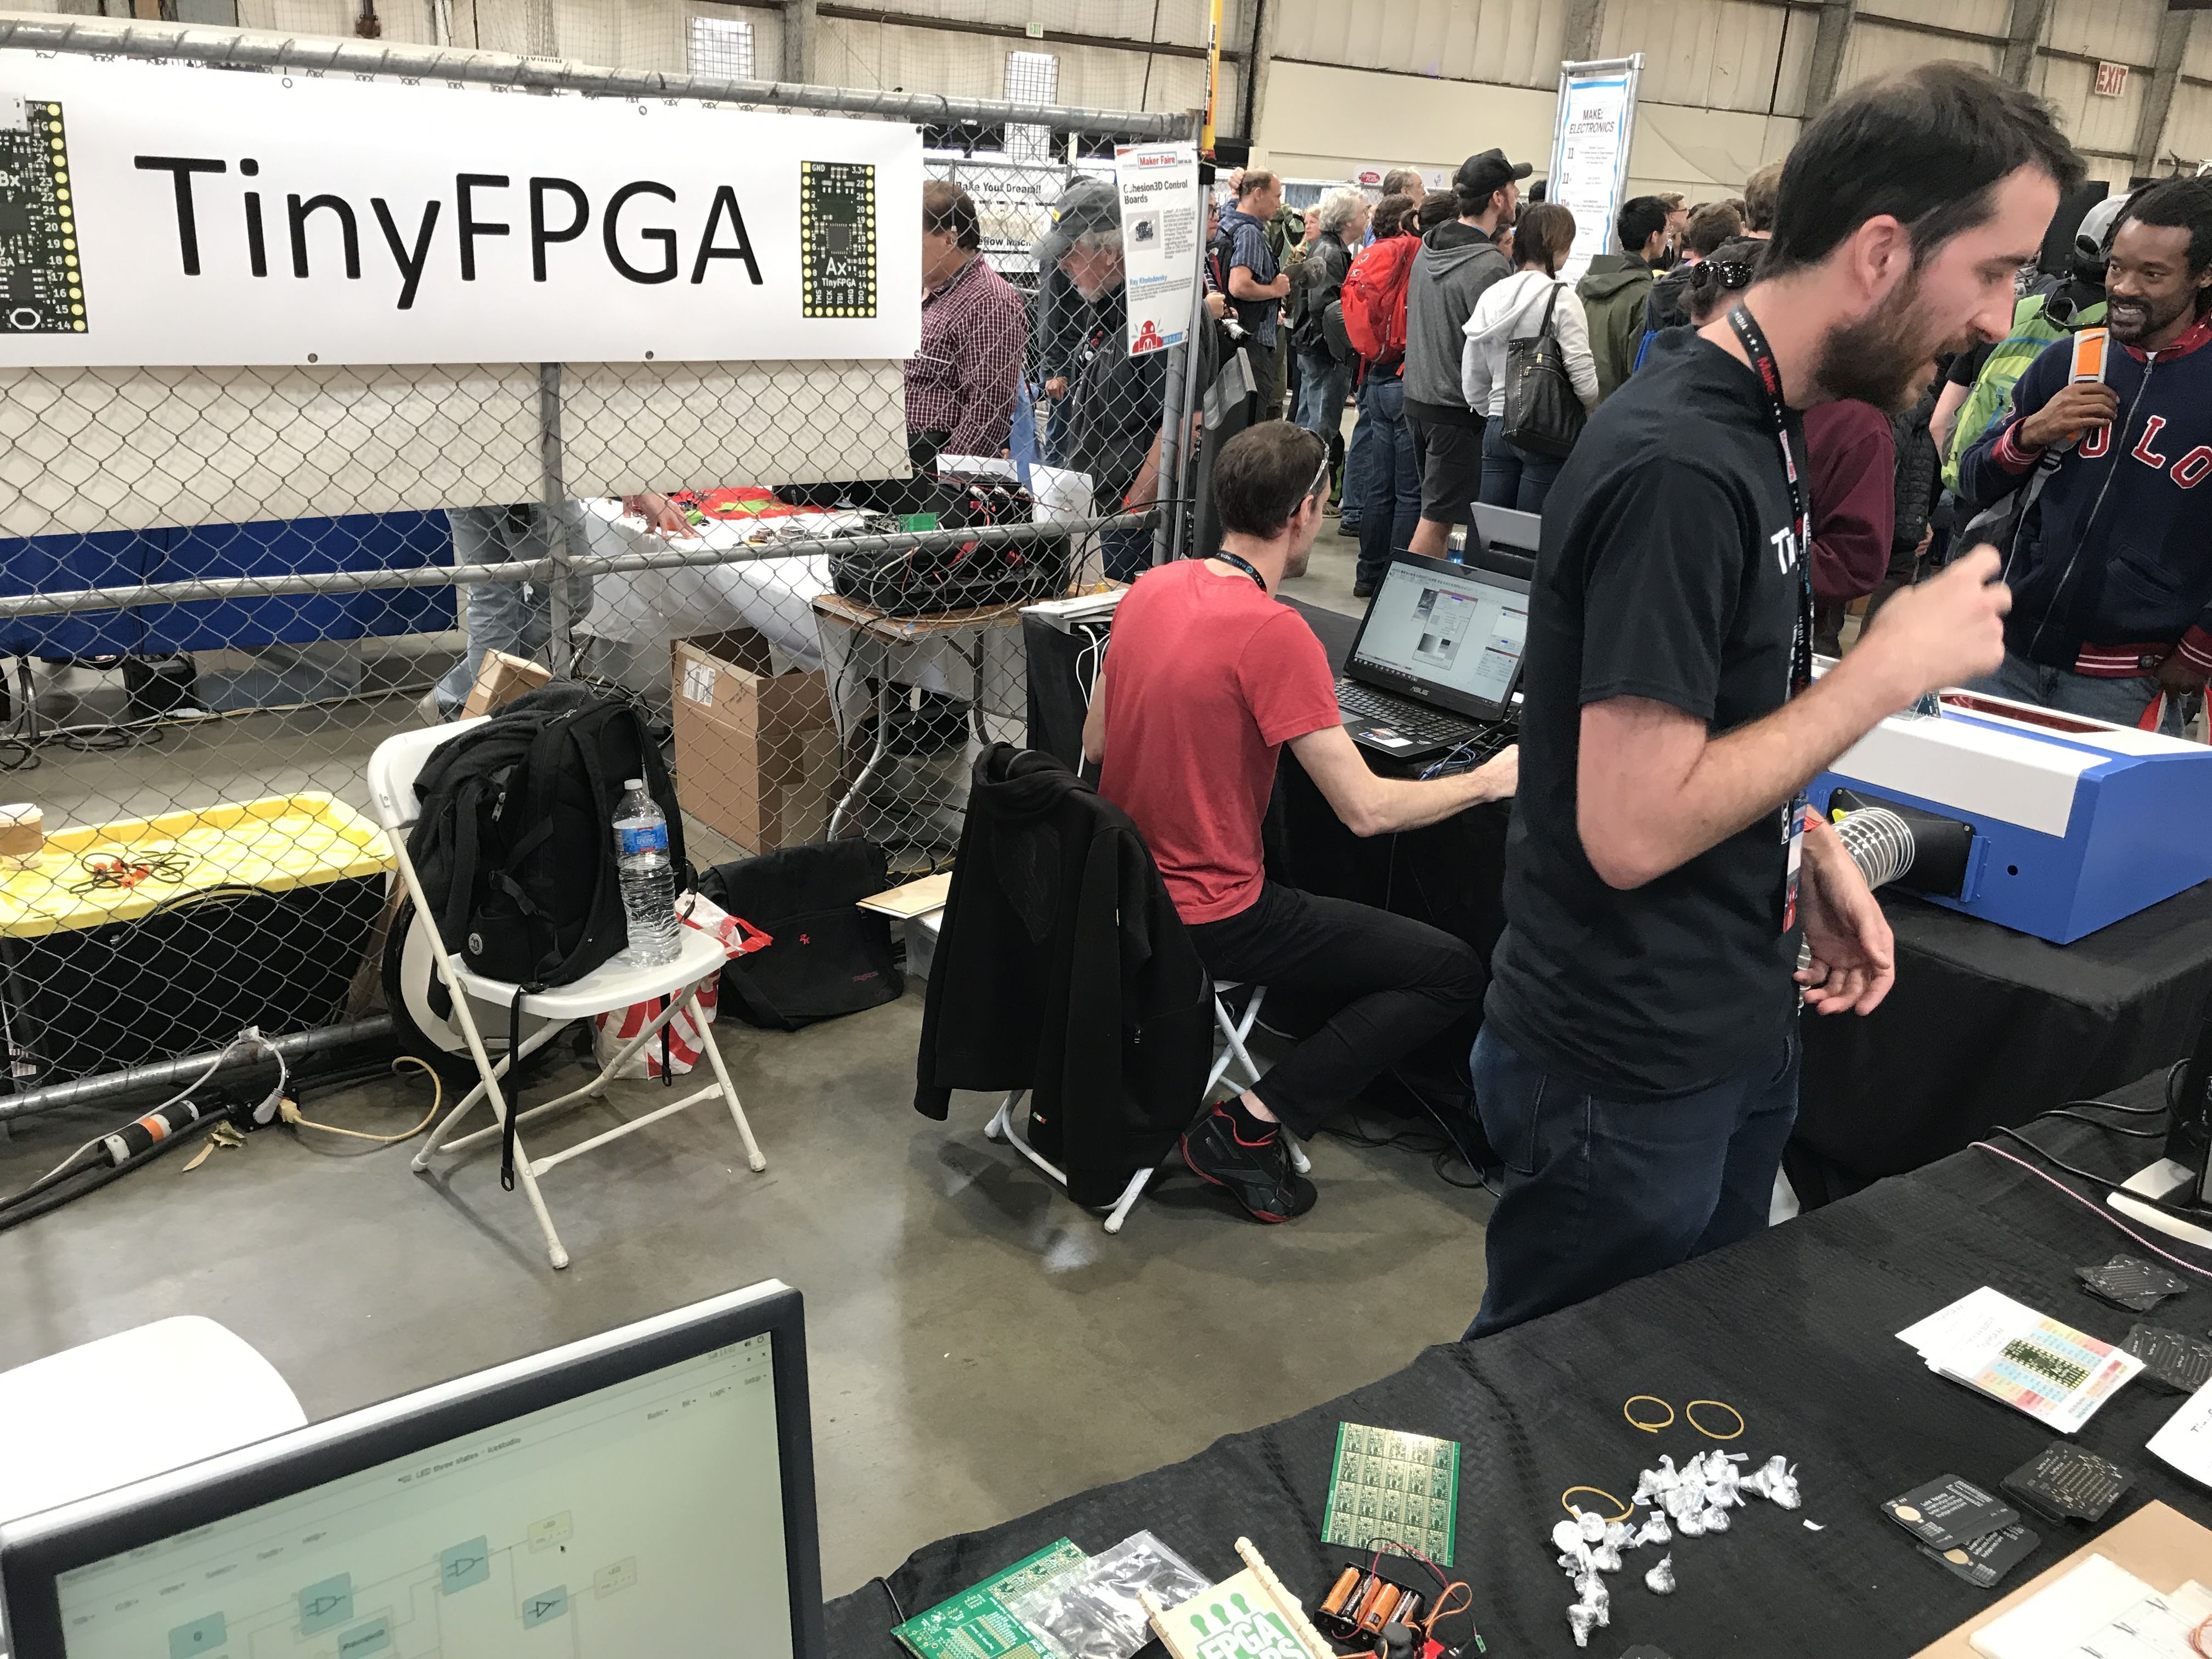
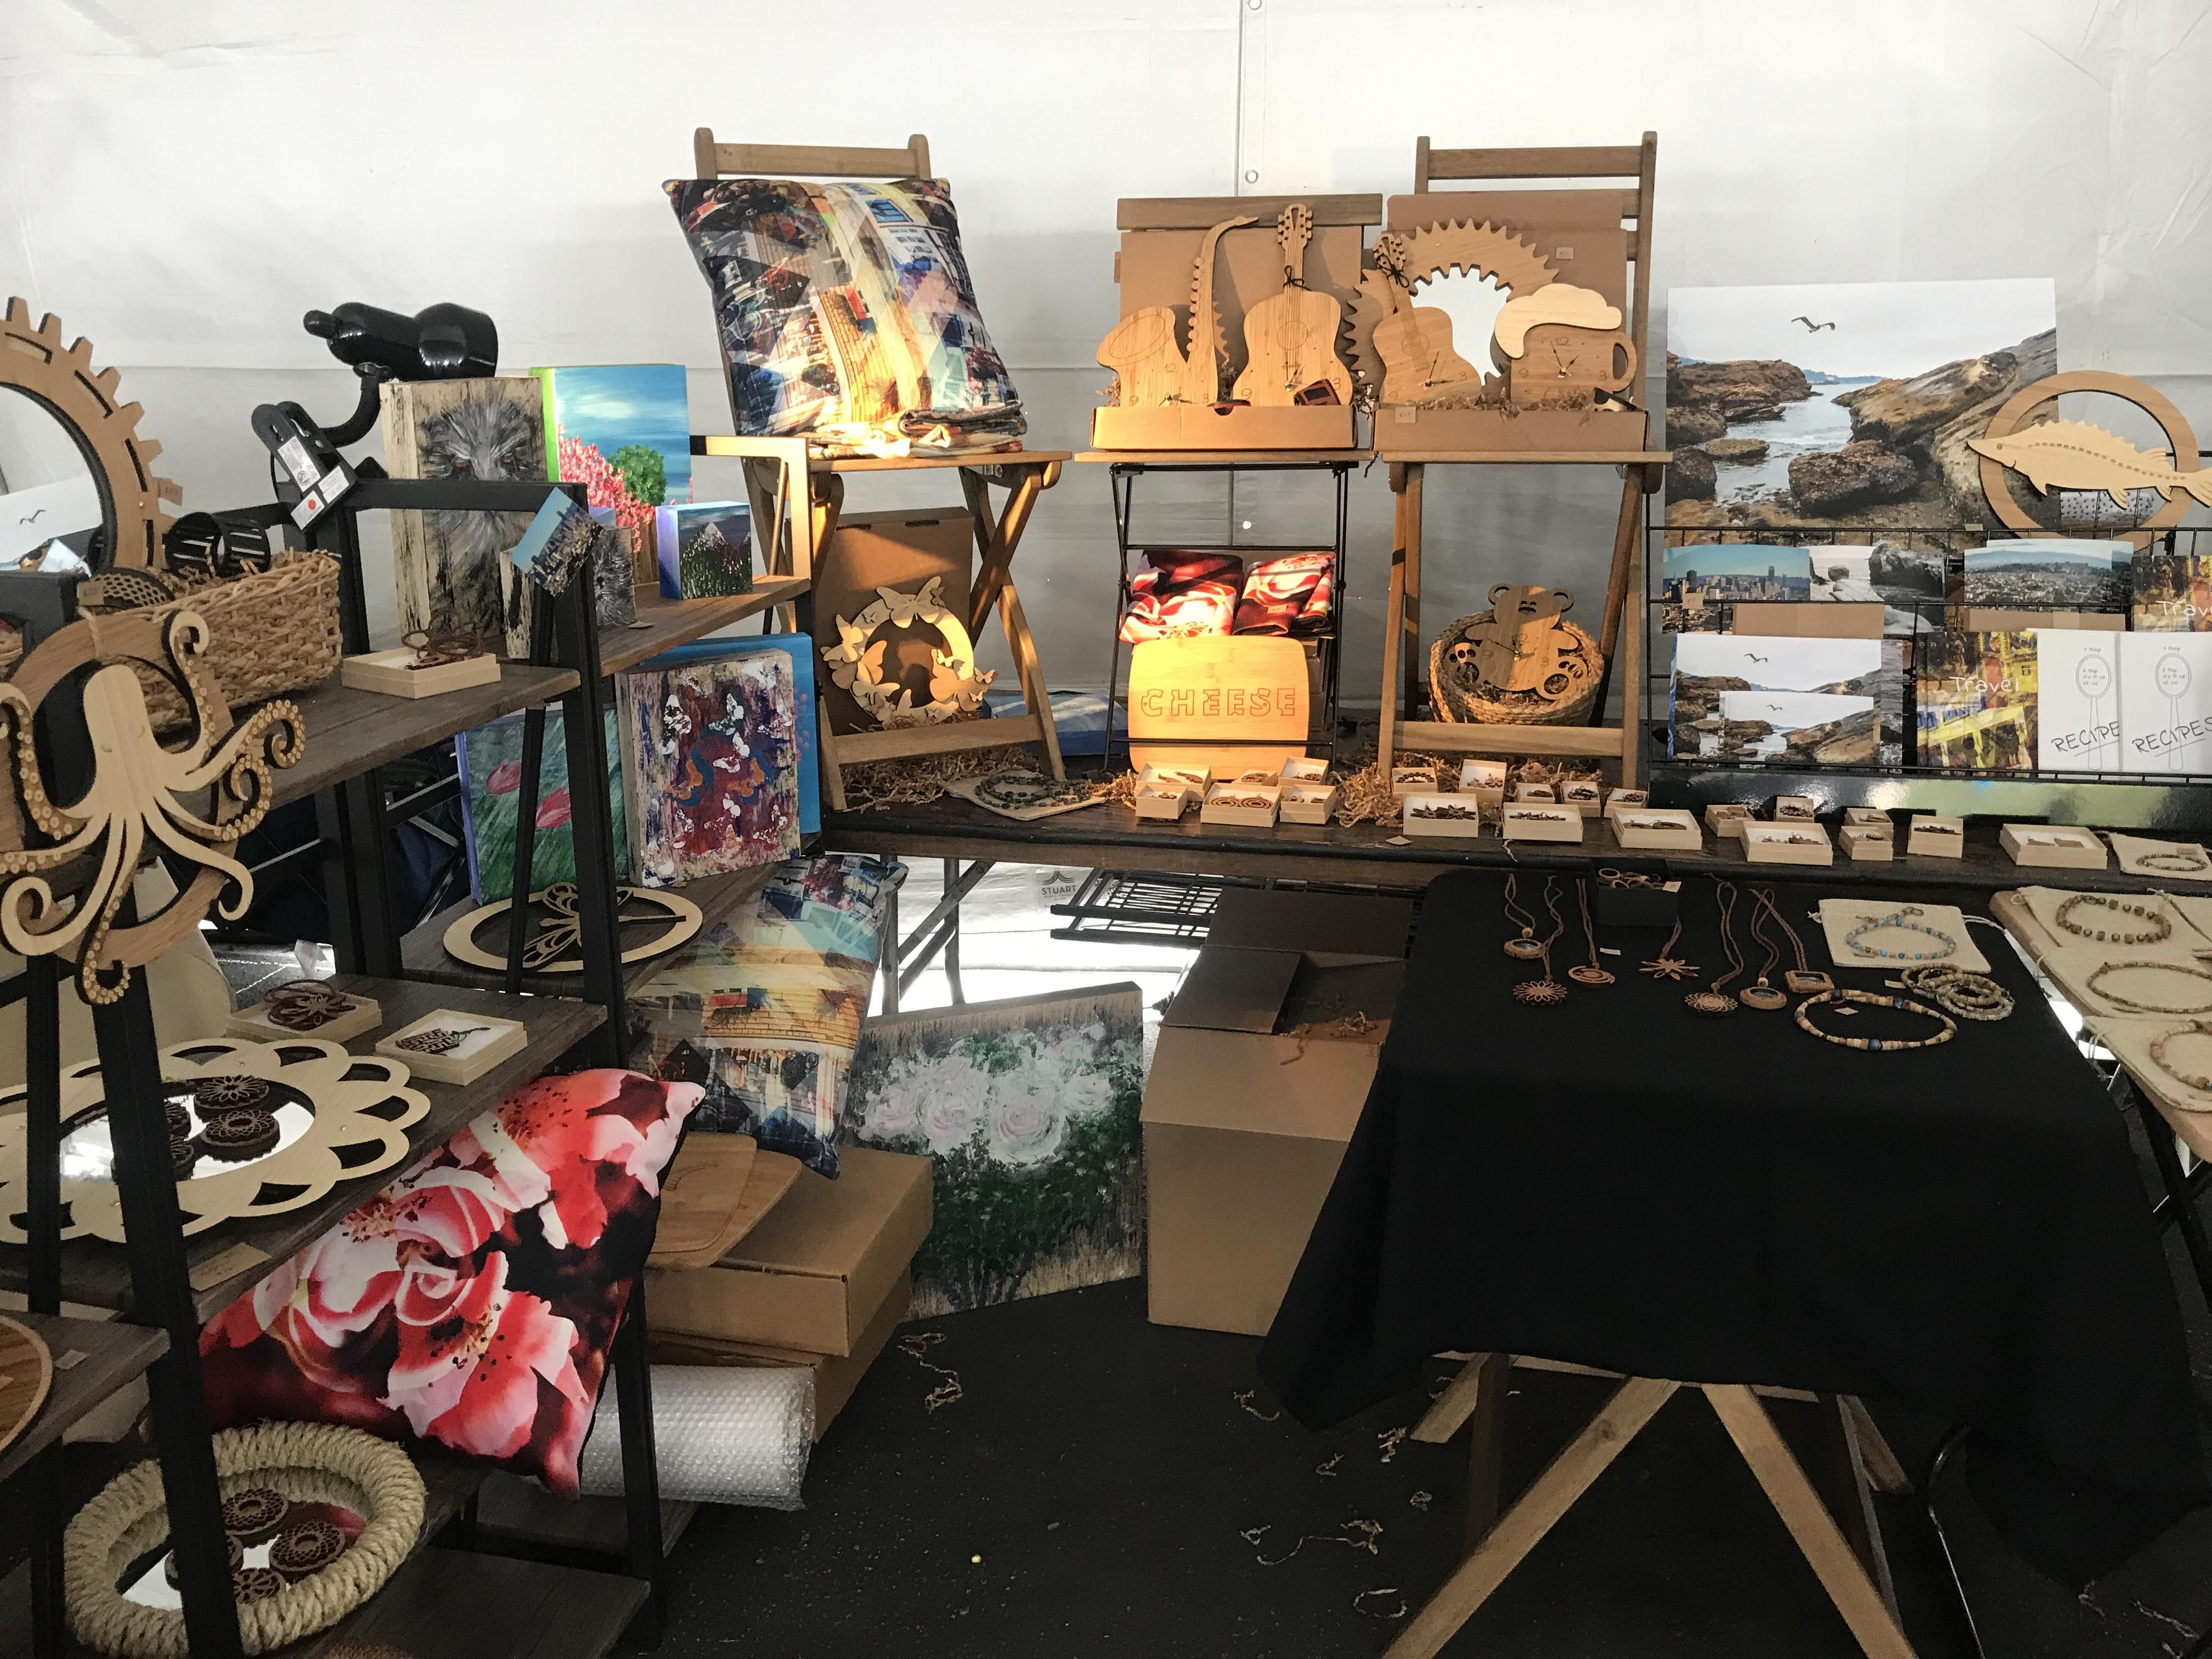
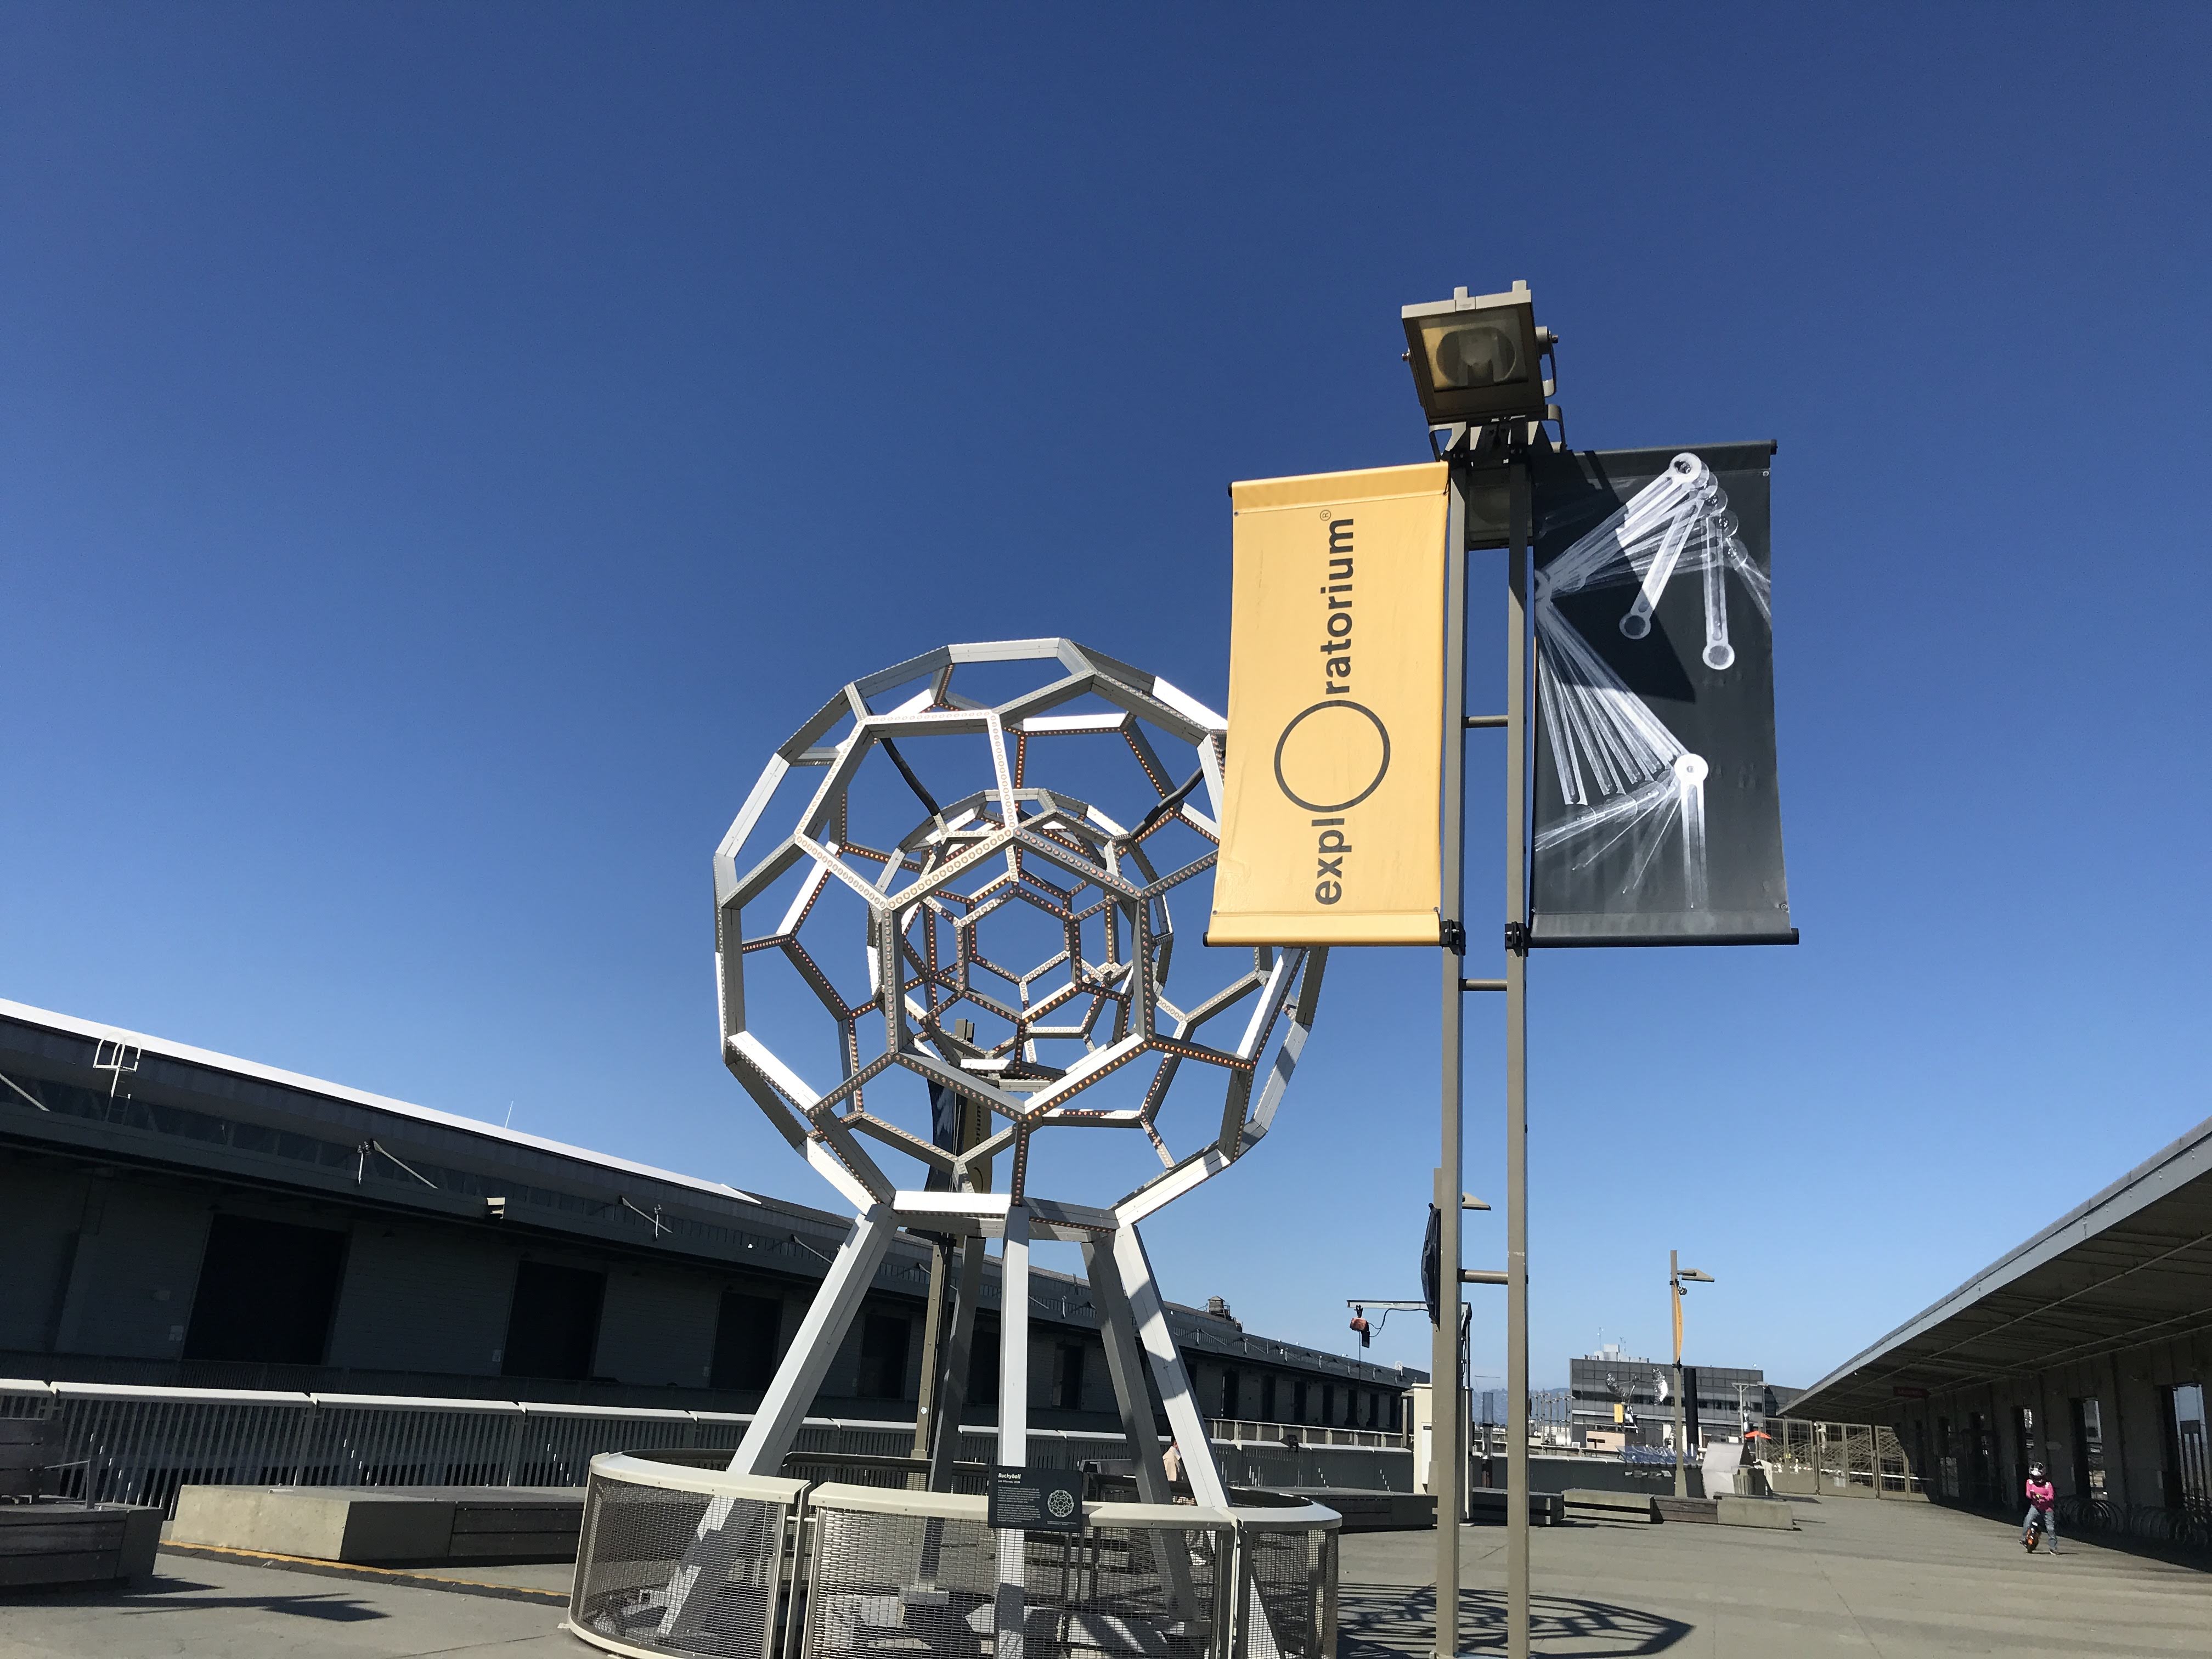
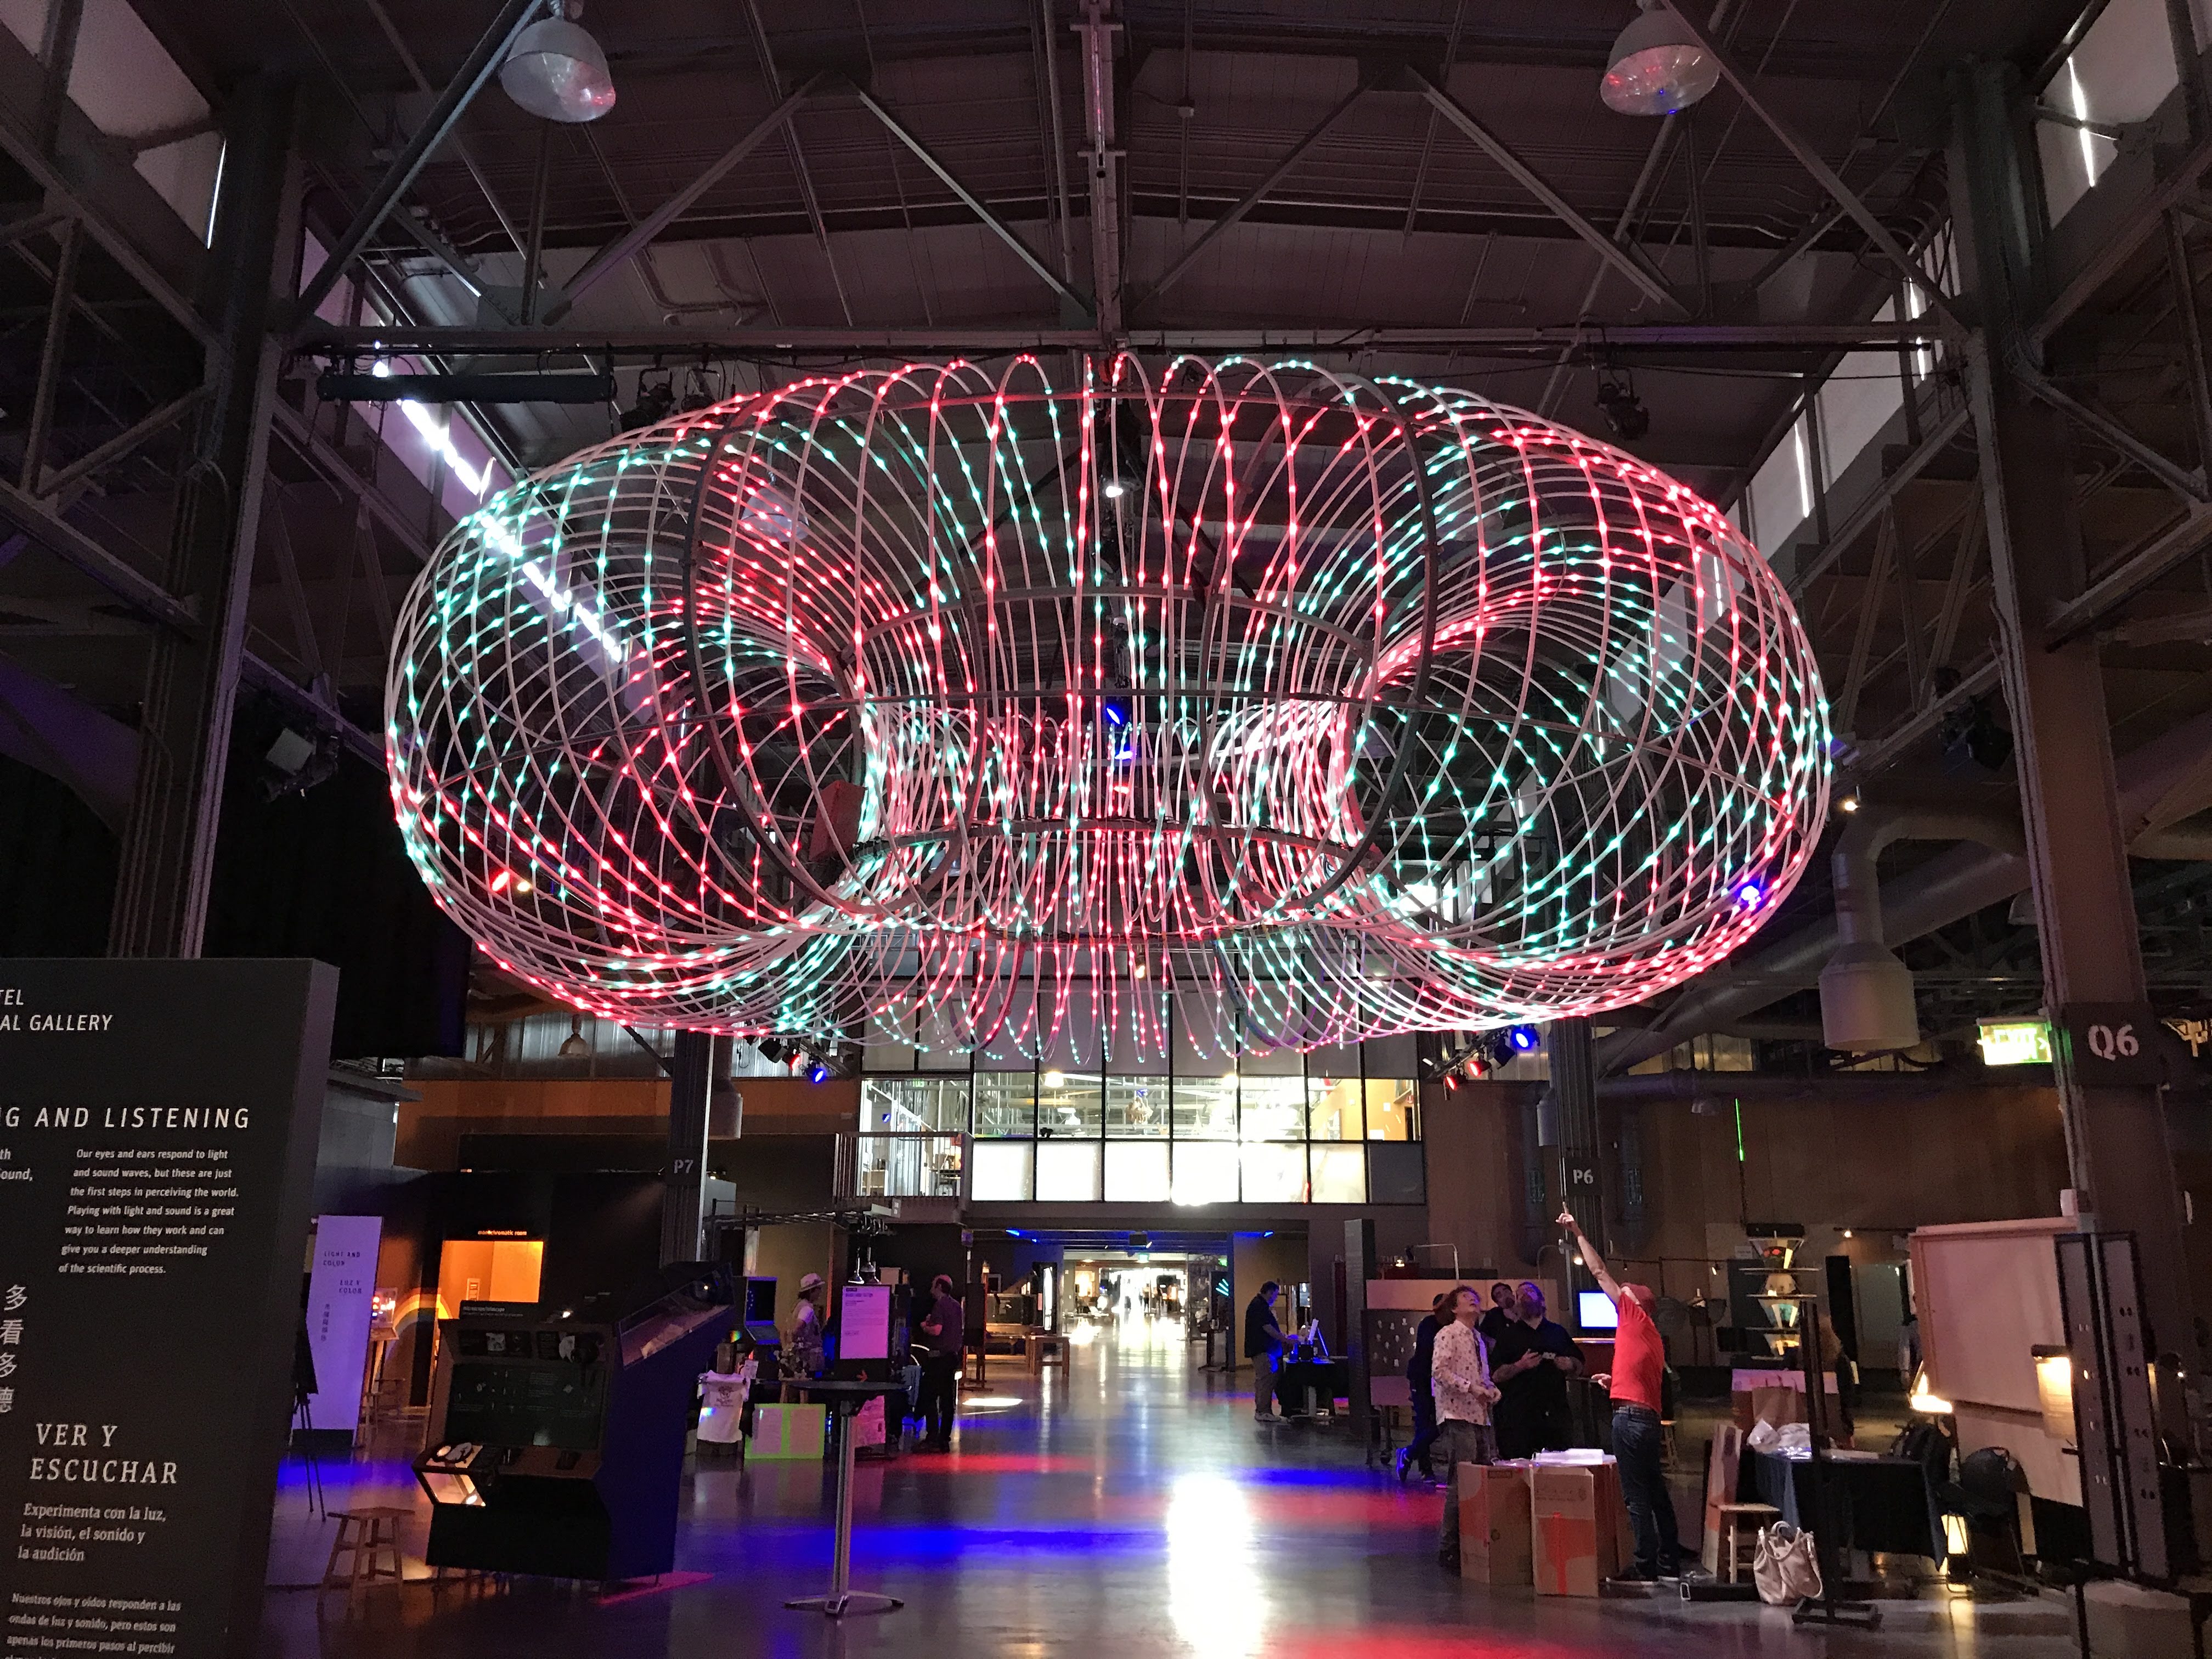
という事で、今年も行ってきたMaker Faire Bay Area 2018について。まずはExploratoriumから。
■スケジュール
今年はこんな感じの予定で行ってきた。
5/16:出国
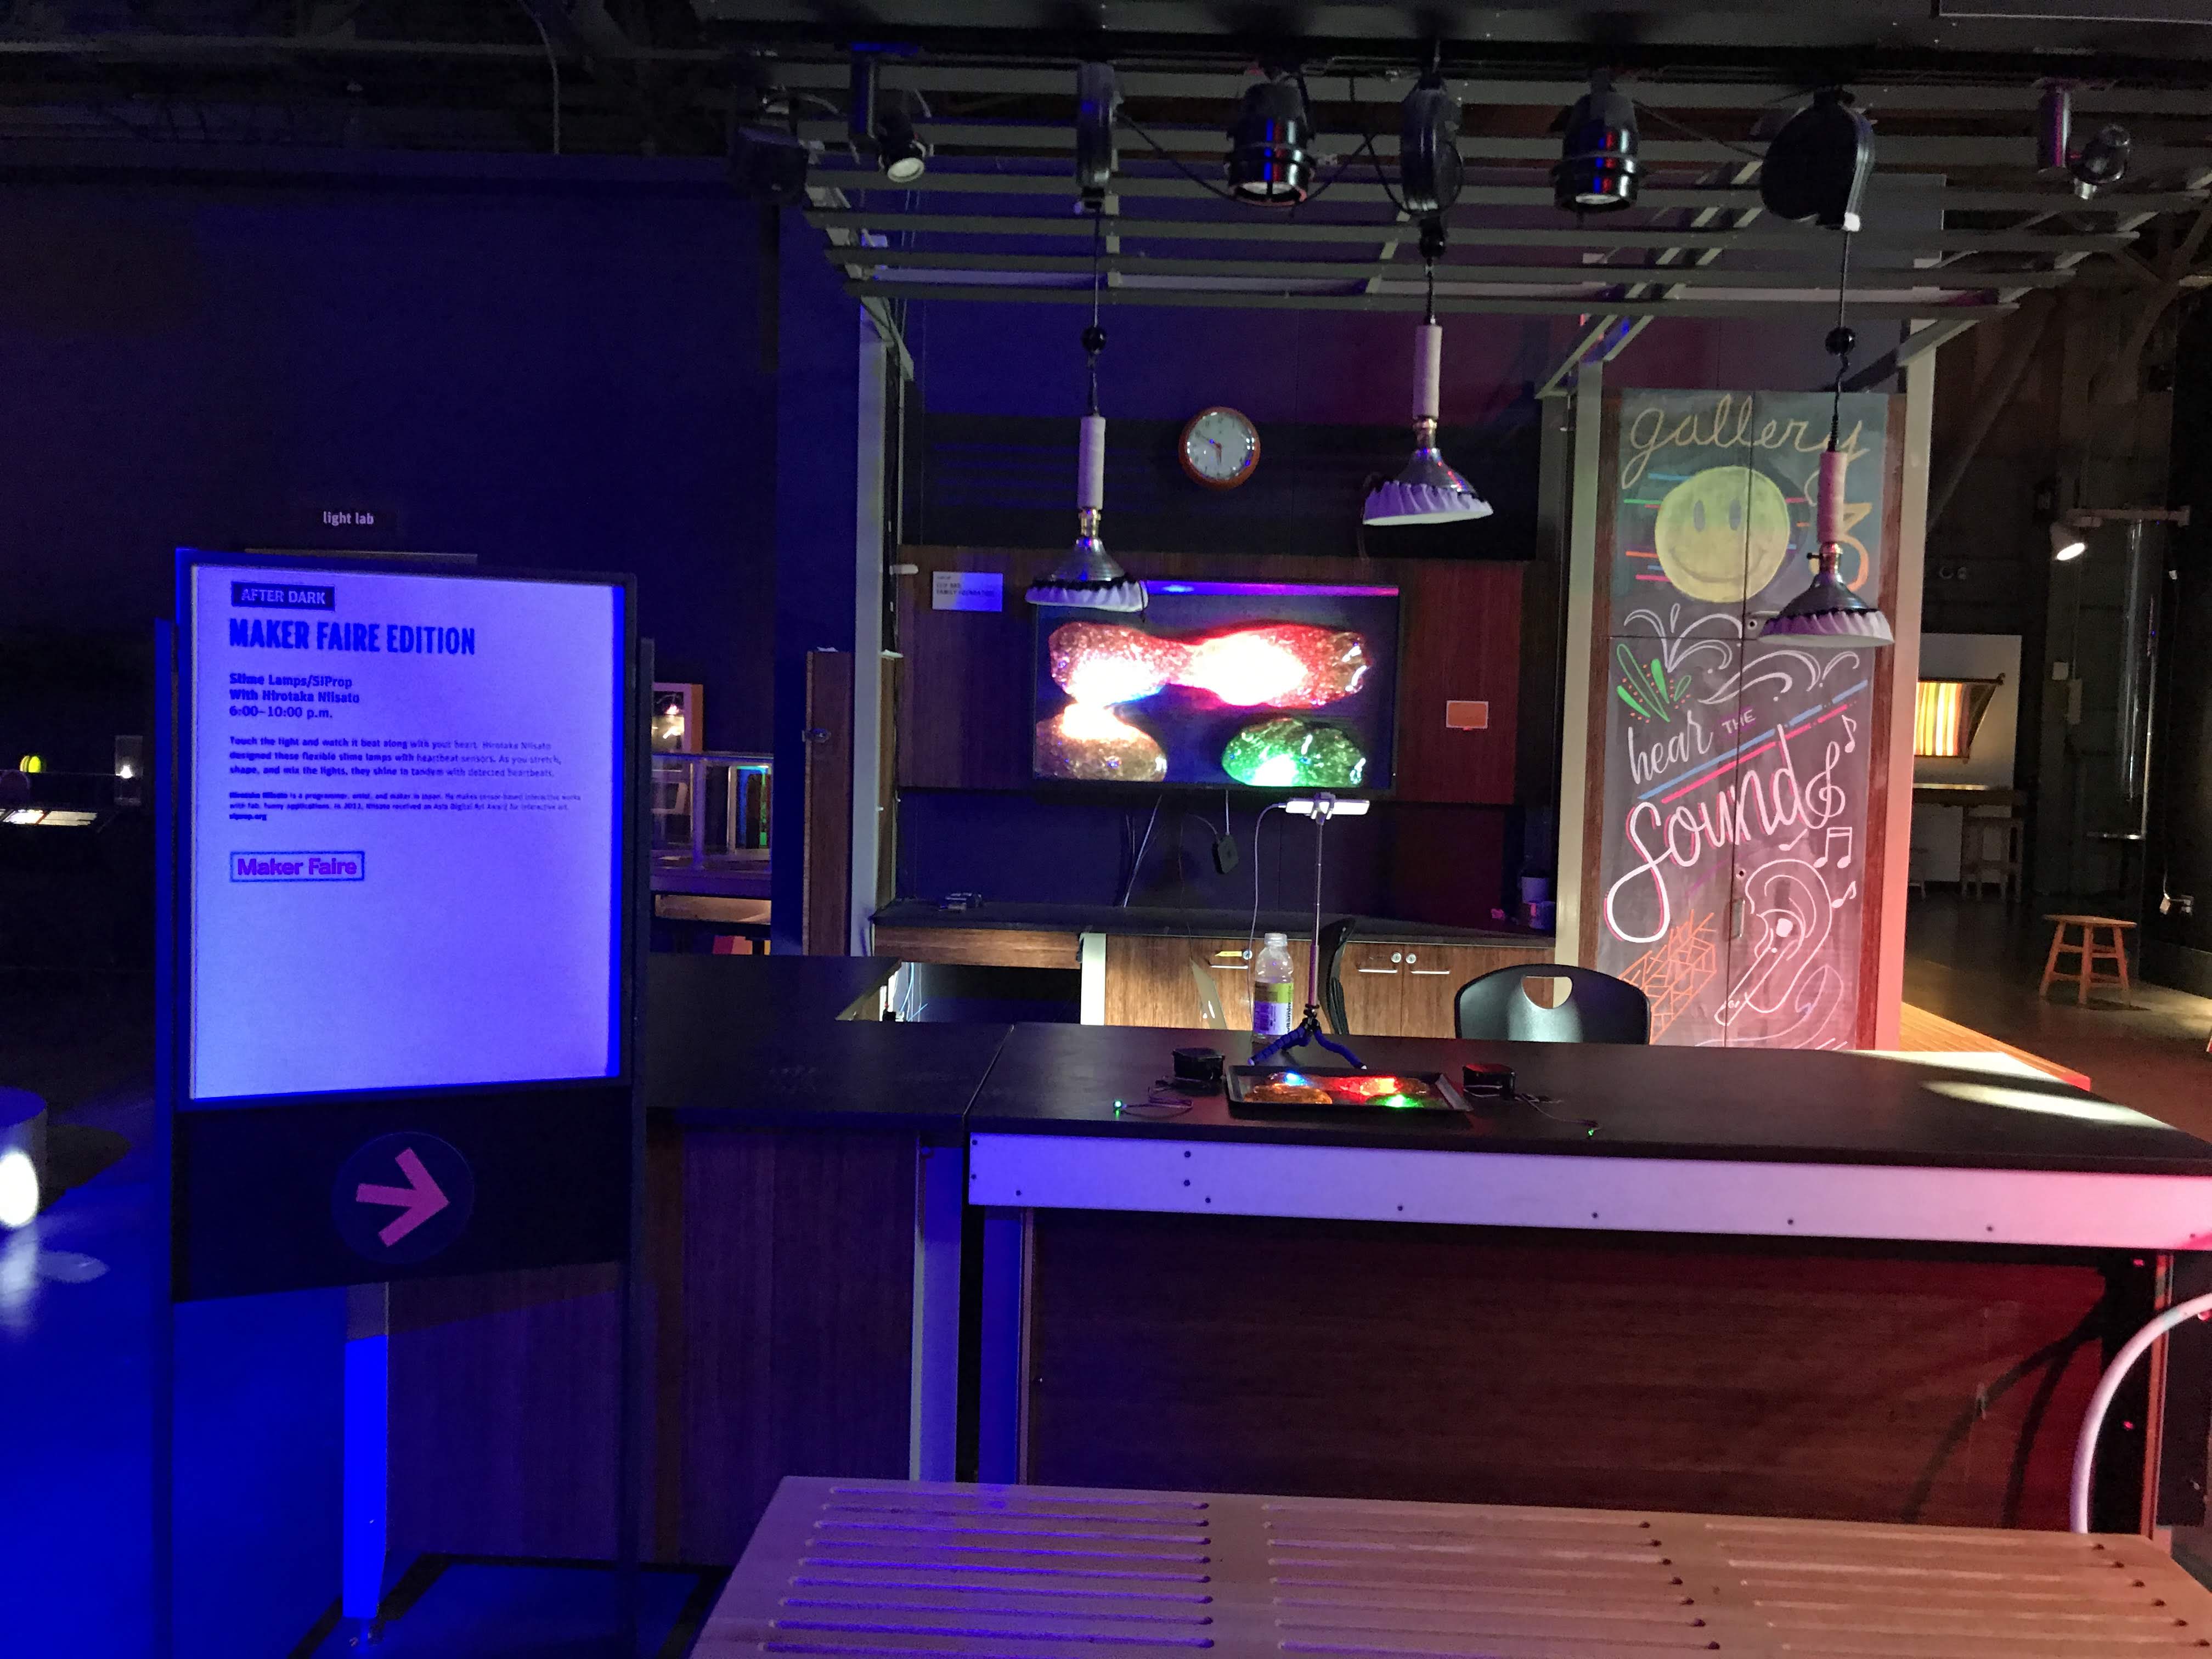
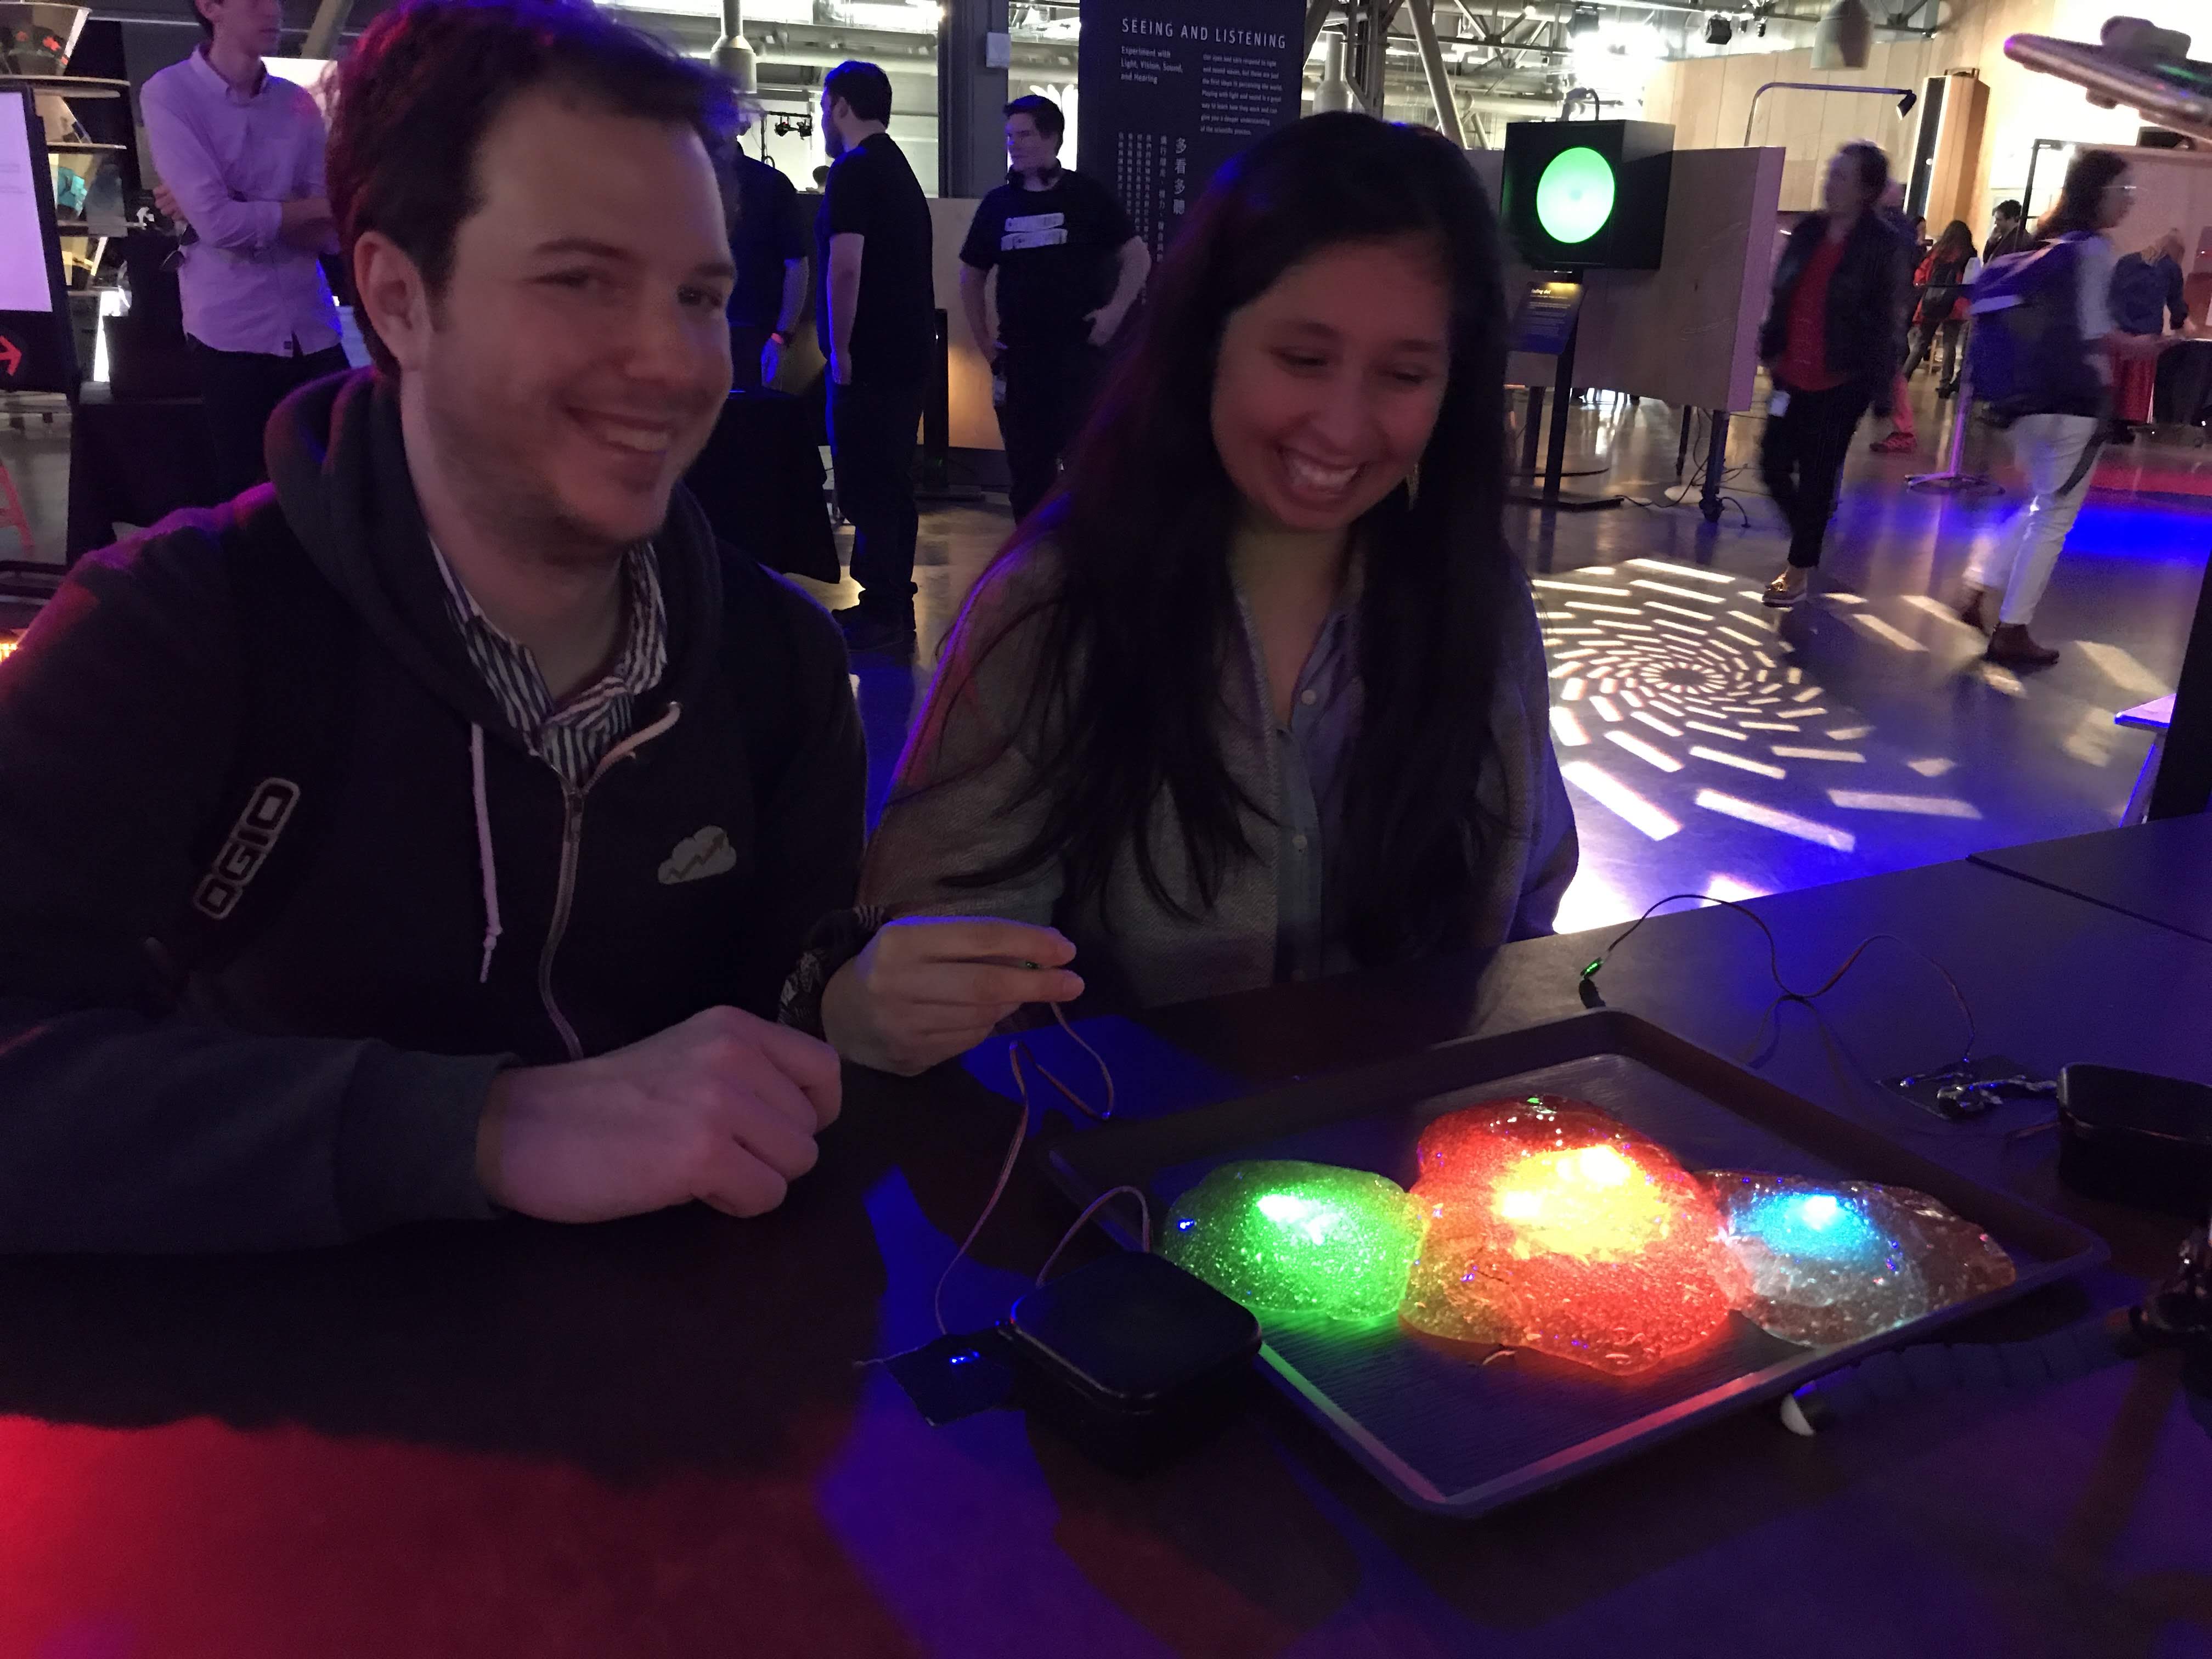
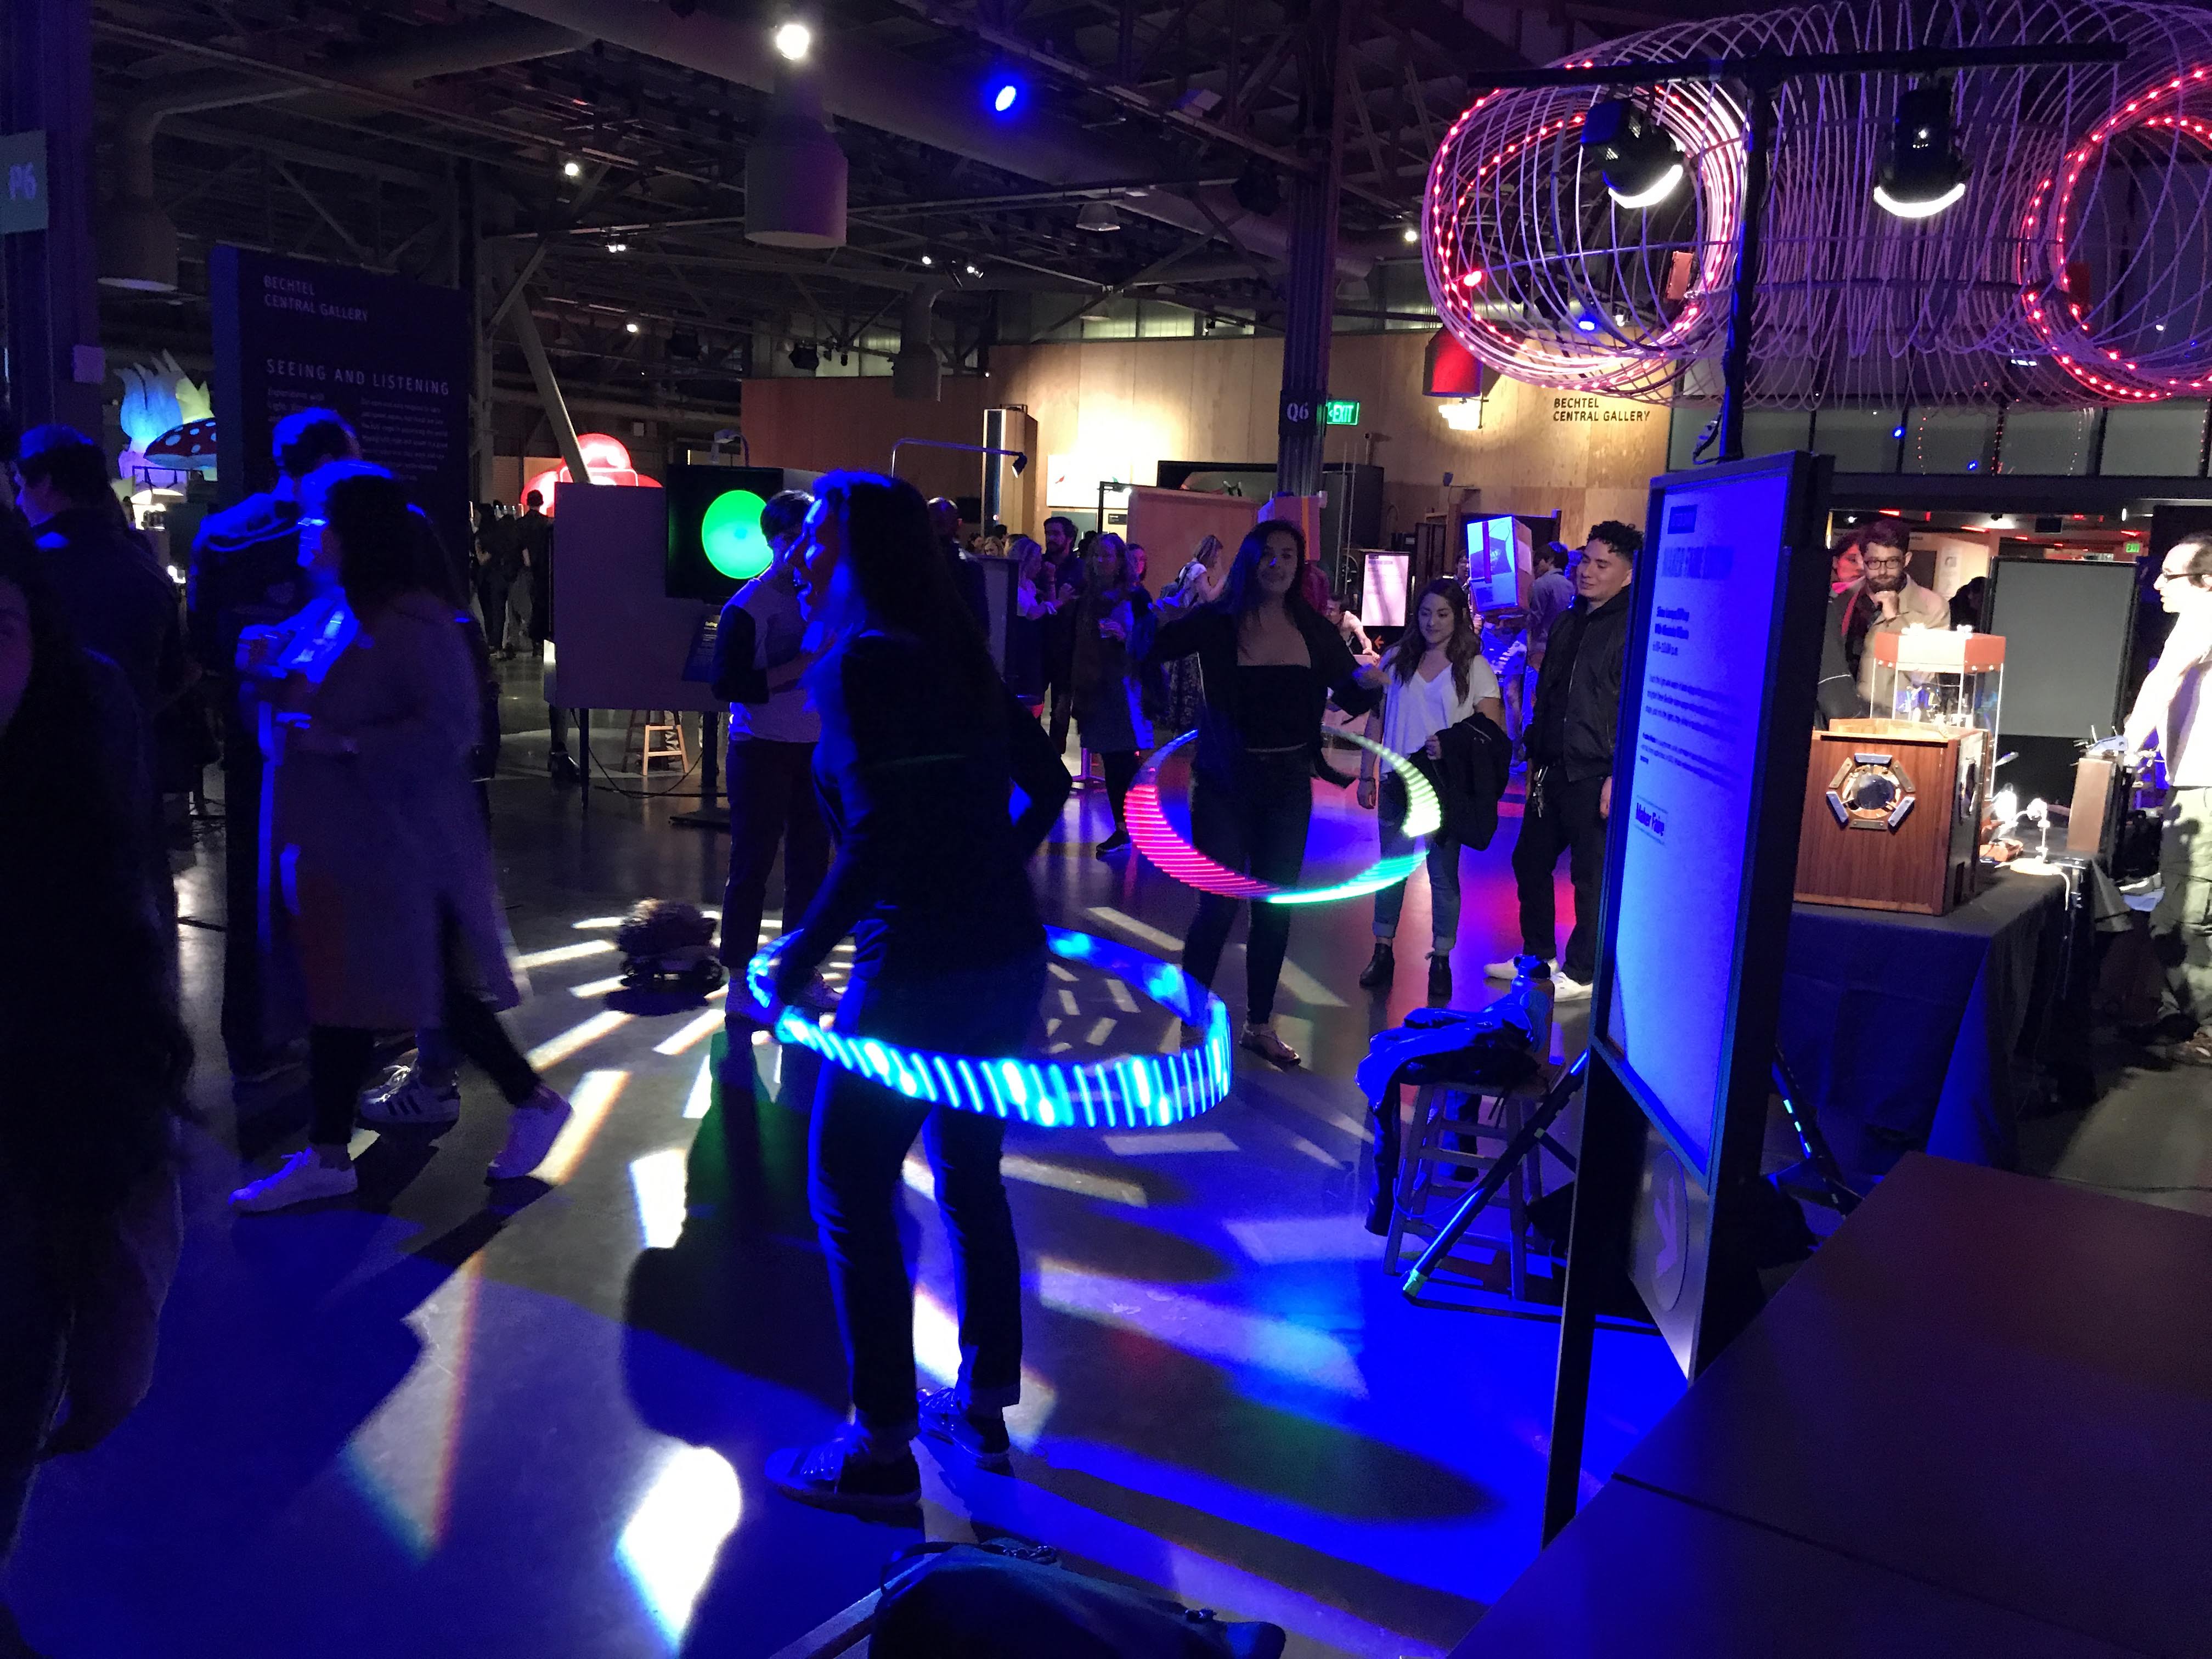
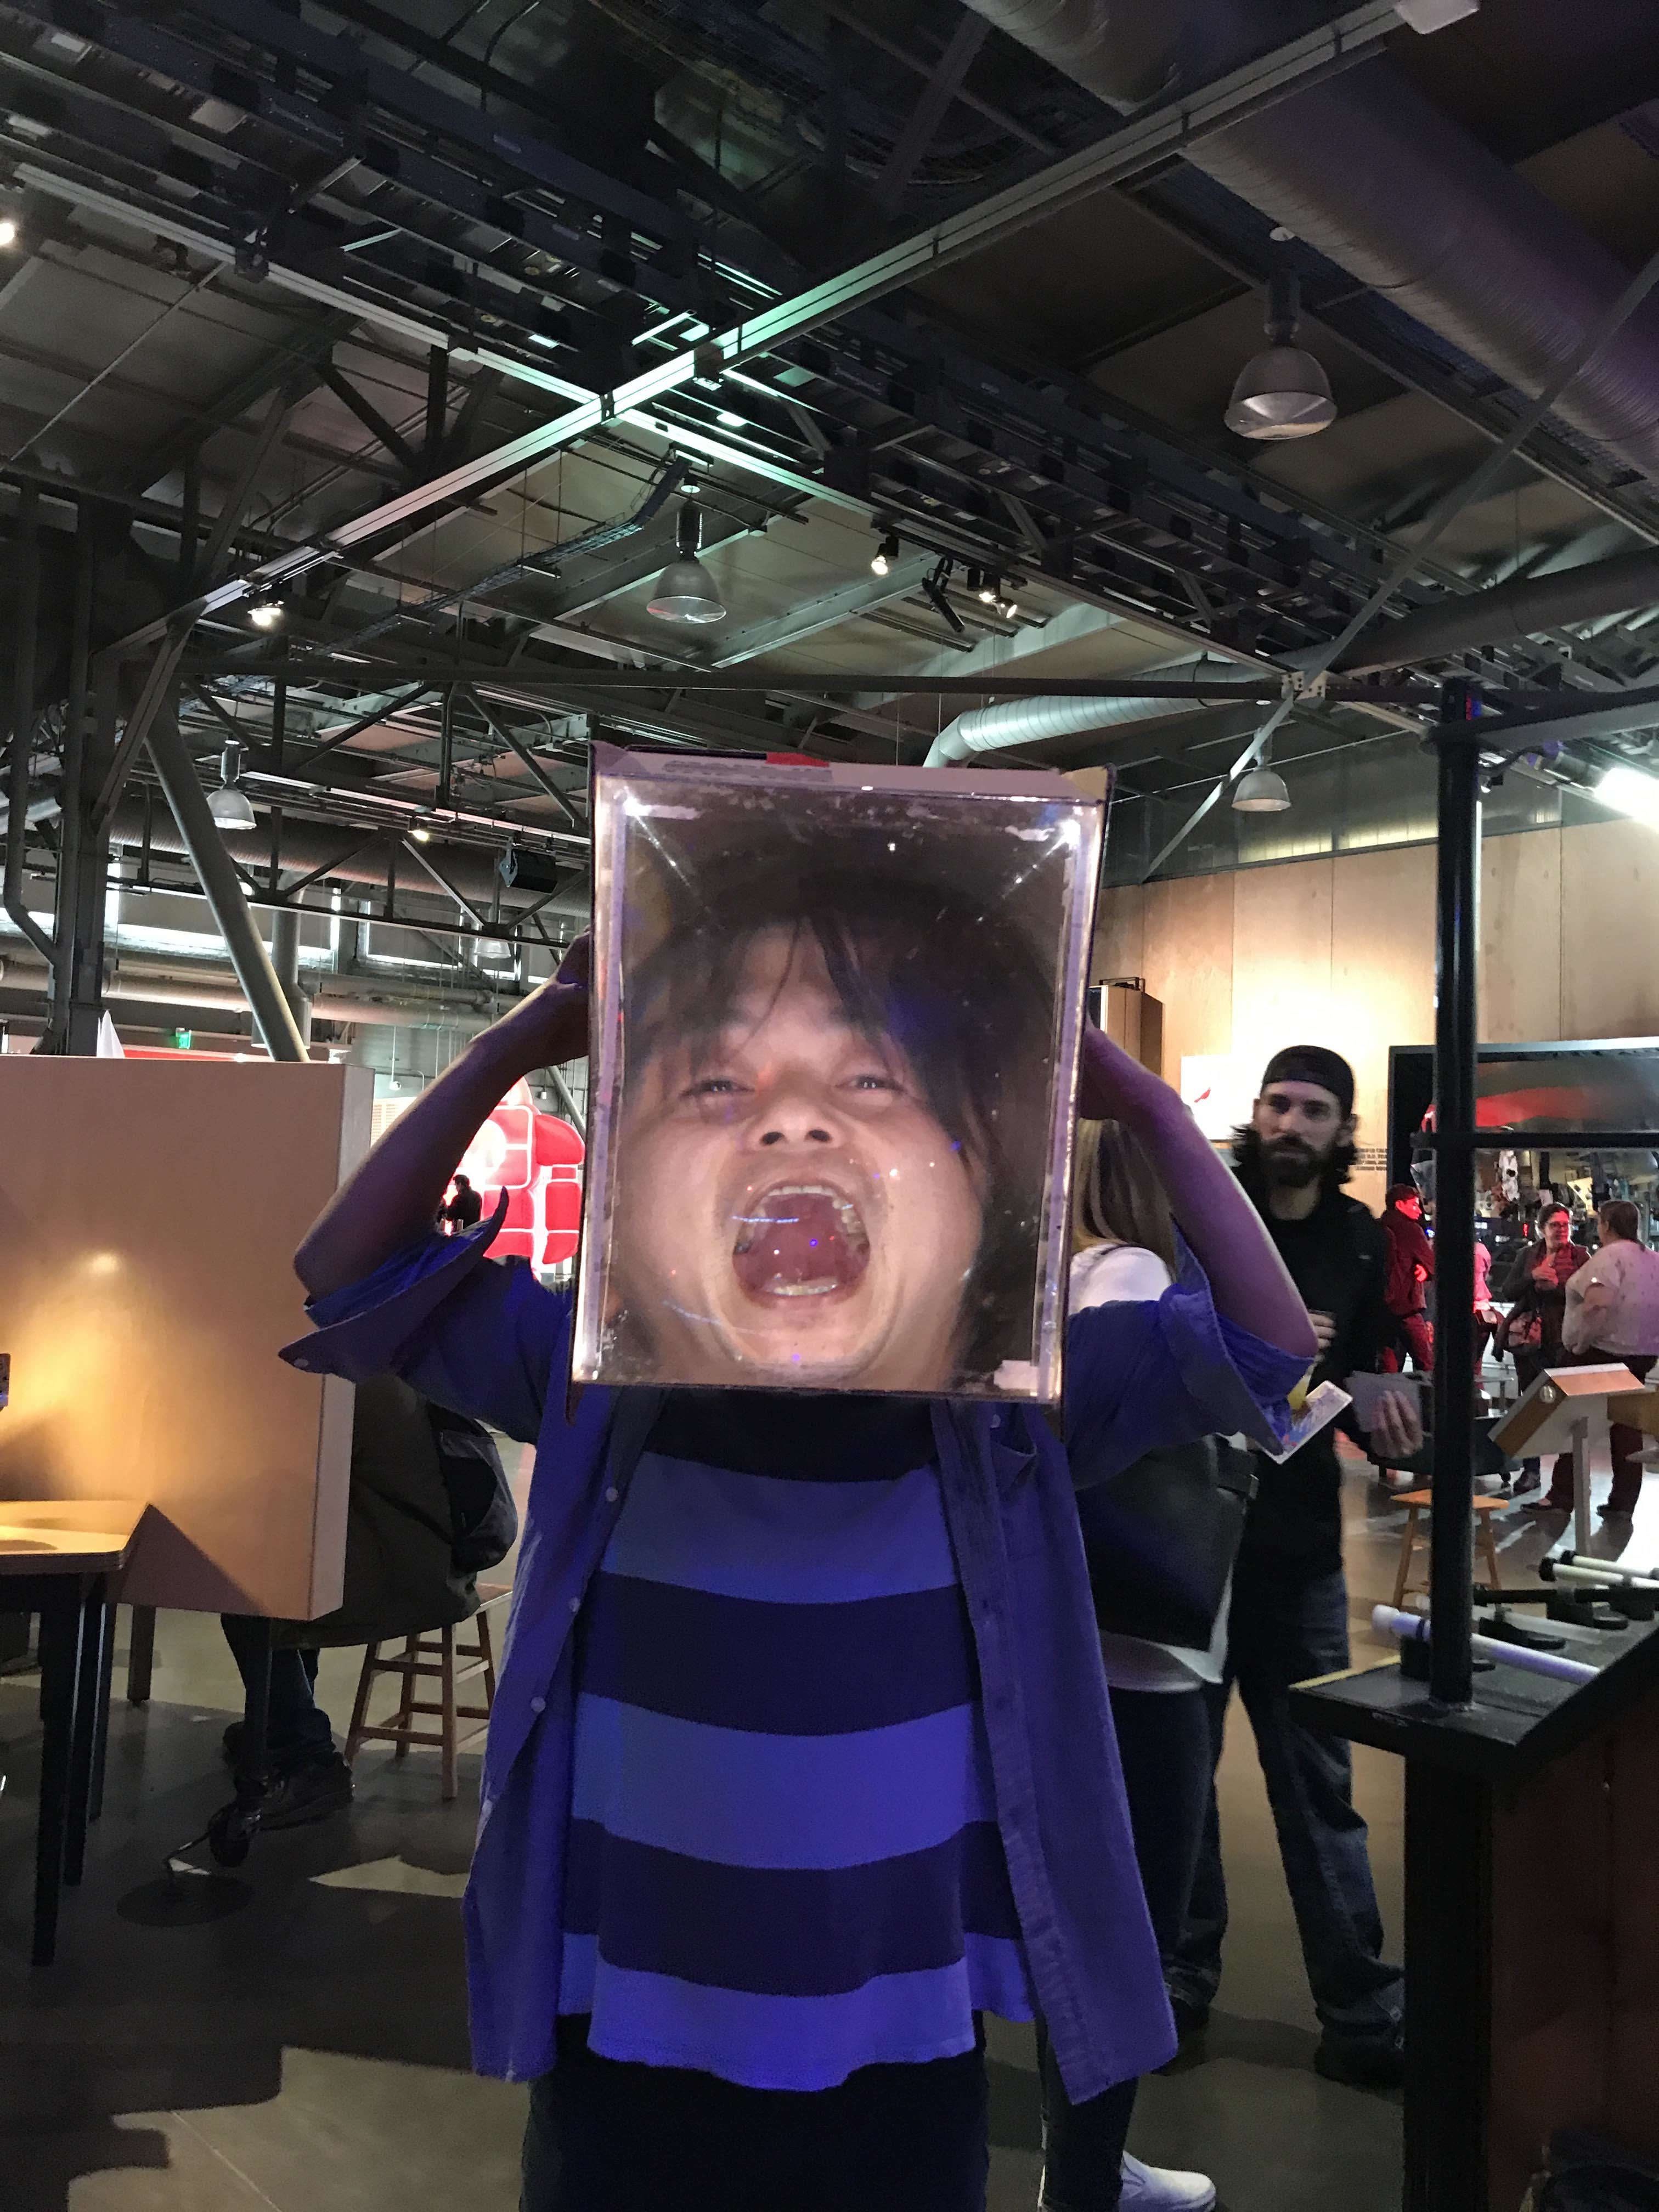
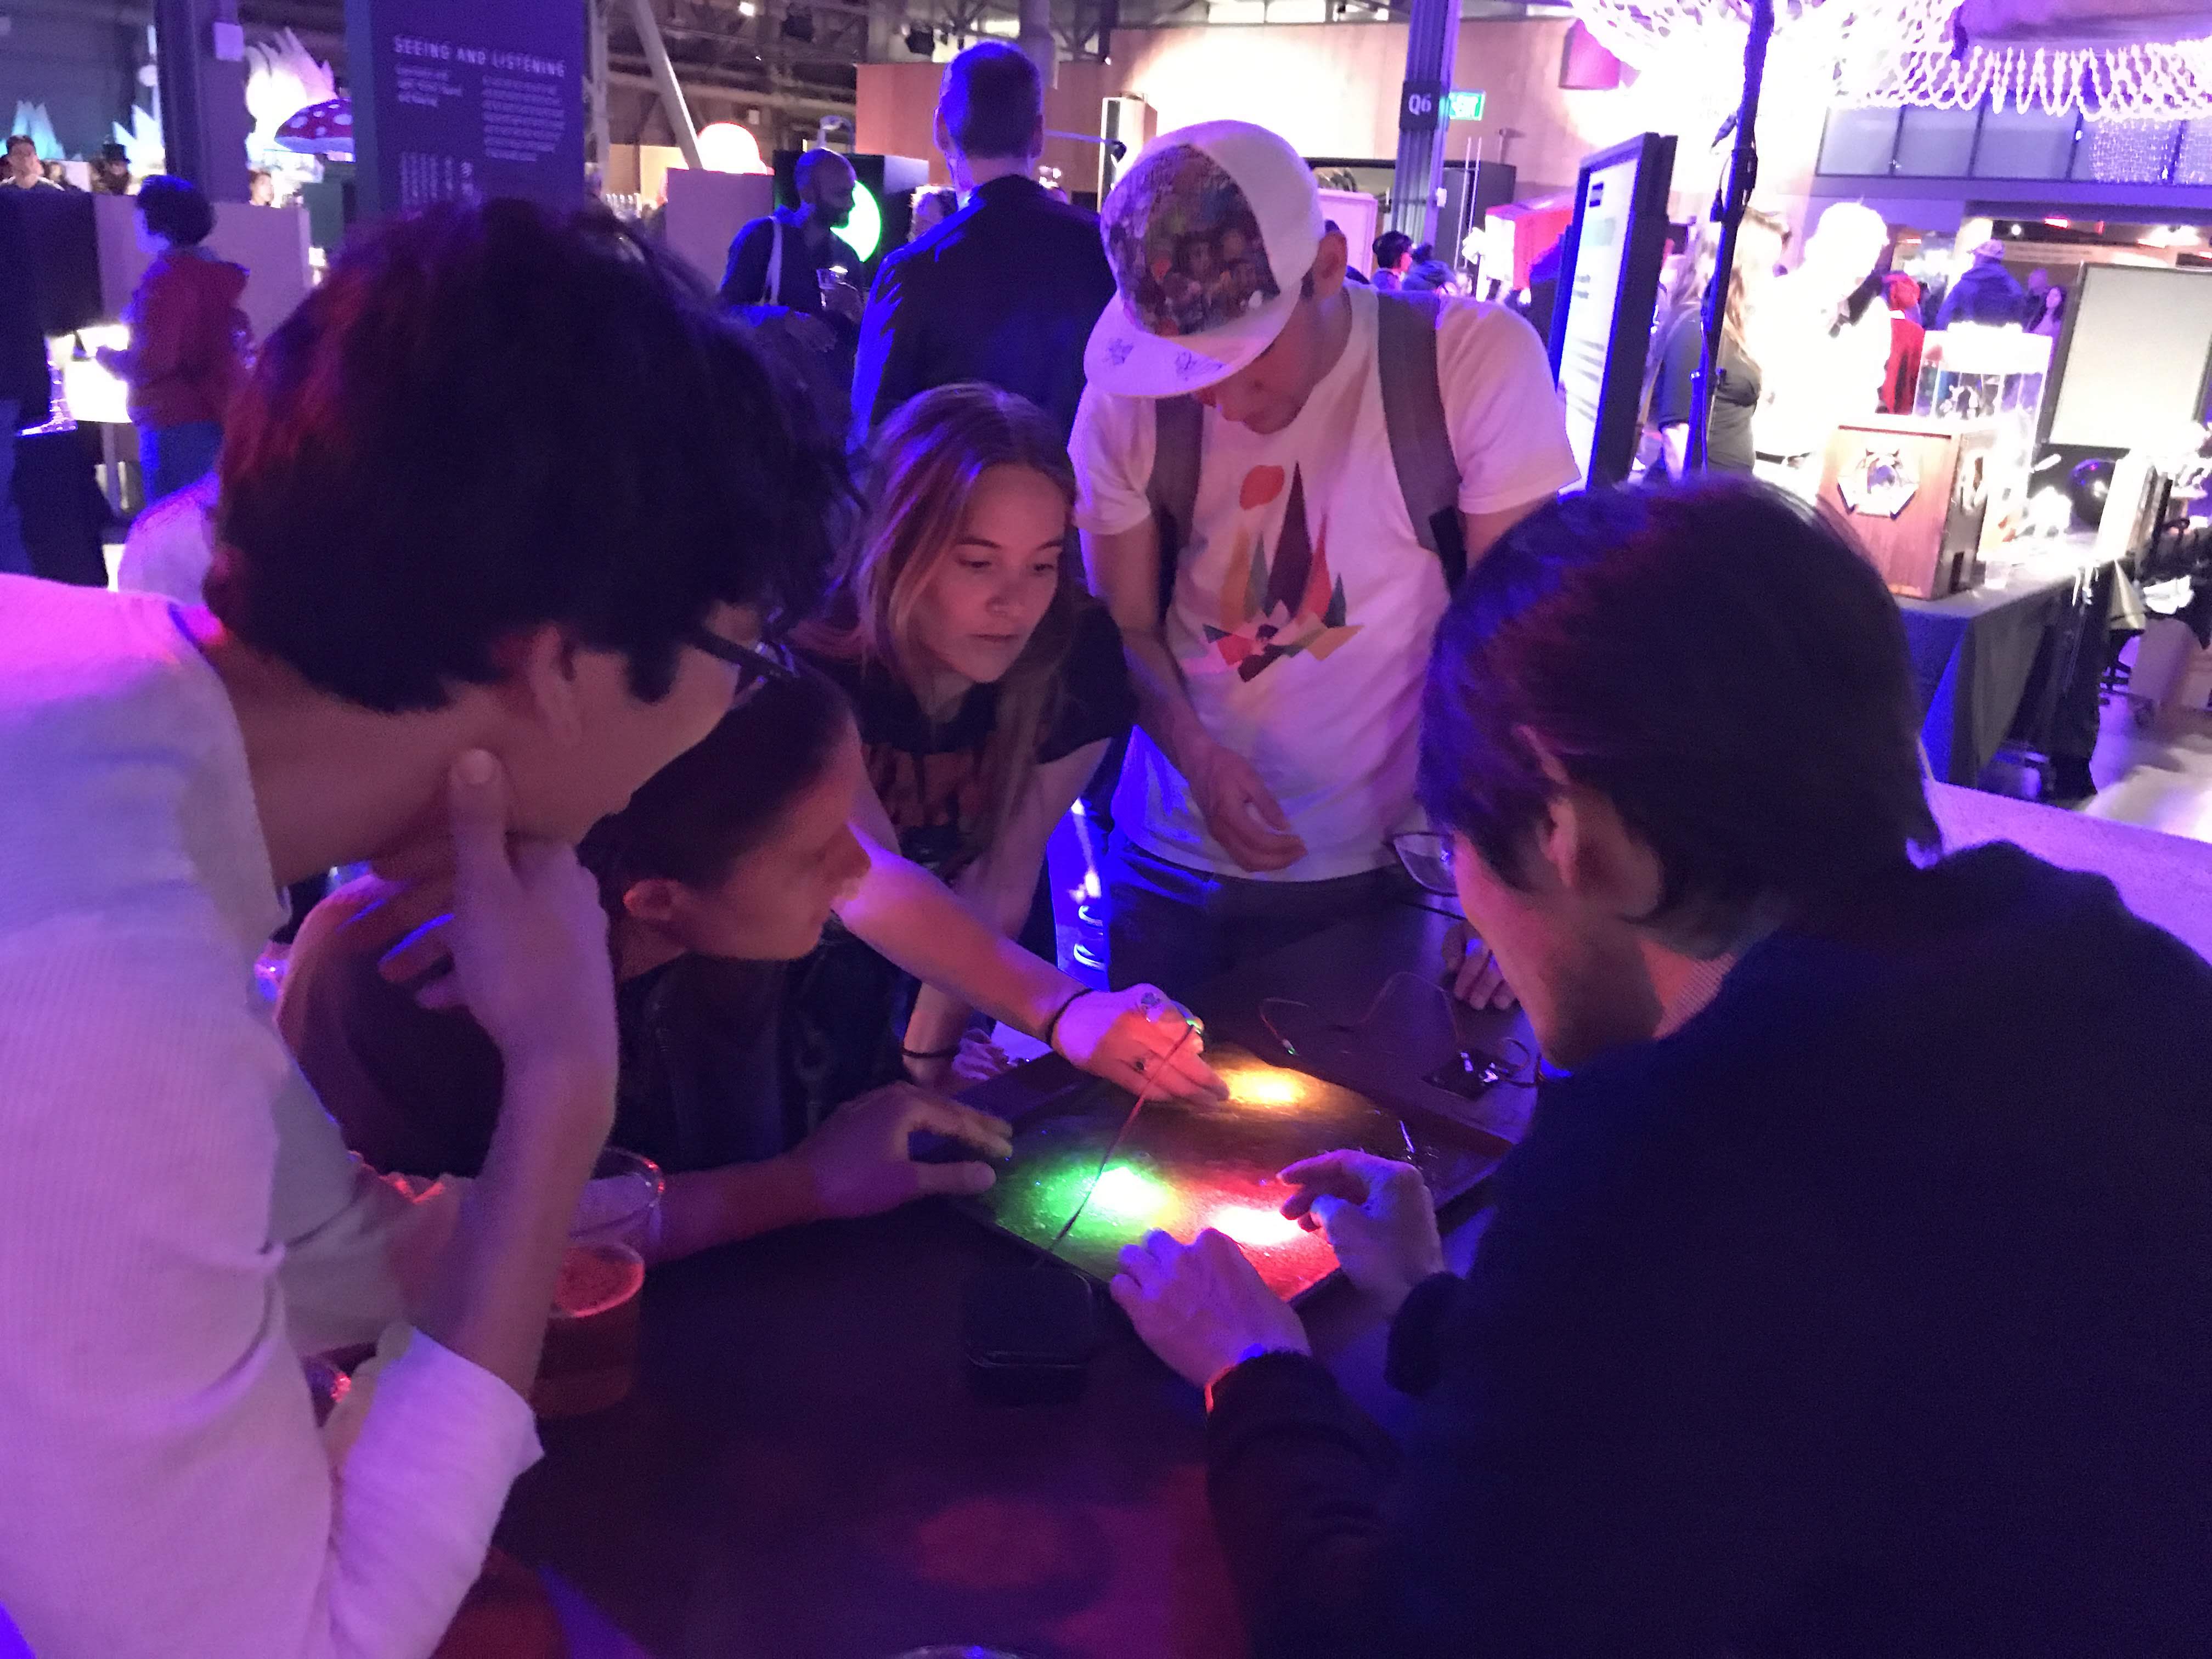
5/17:Exploratorium After Dark
5/18-20:Maker Faire Bay Area 2018
5/21-22:LAでぶらり
5/23-24:帰国
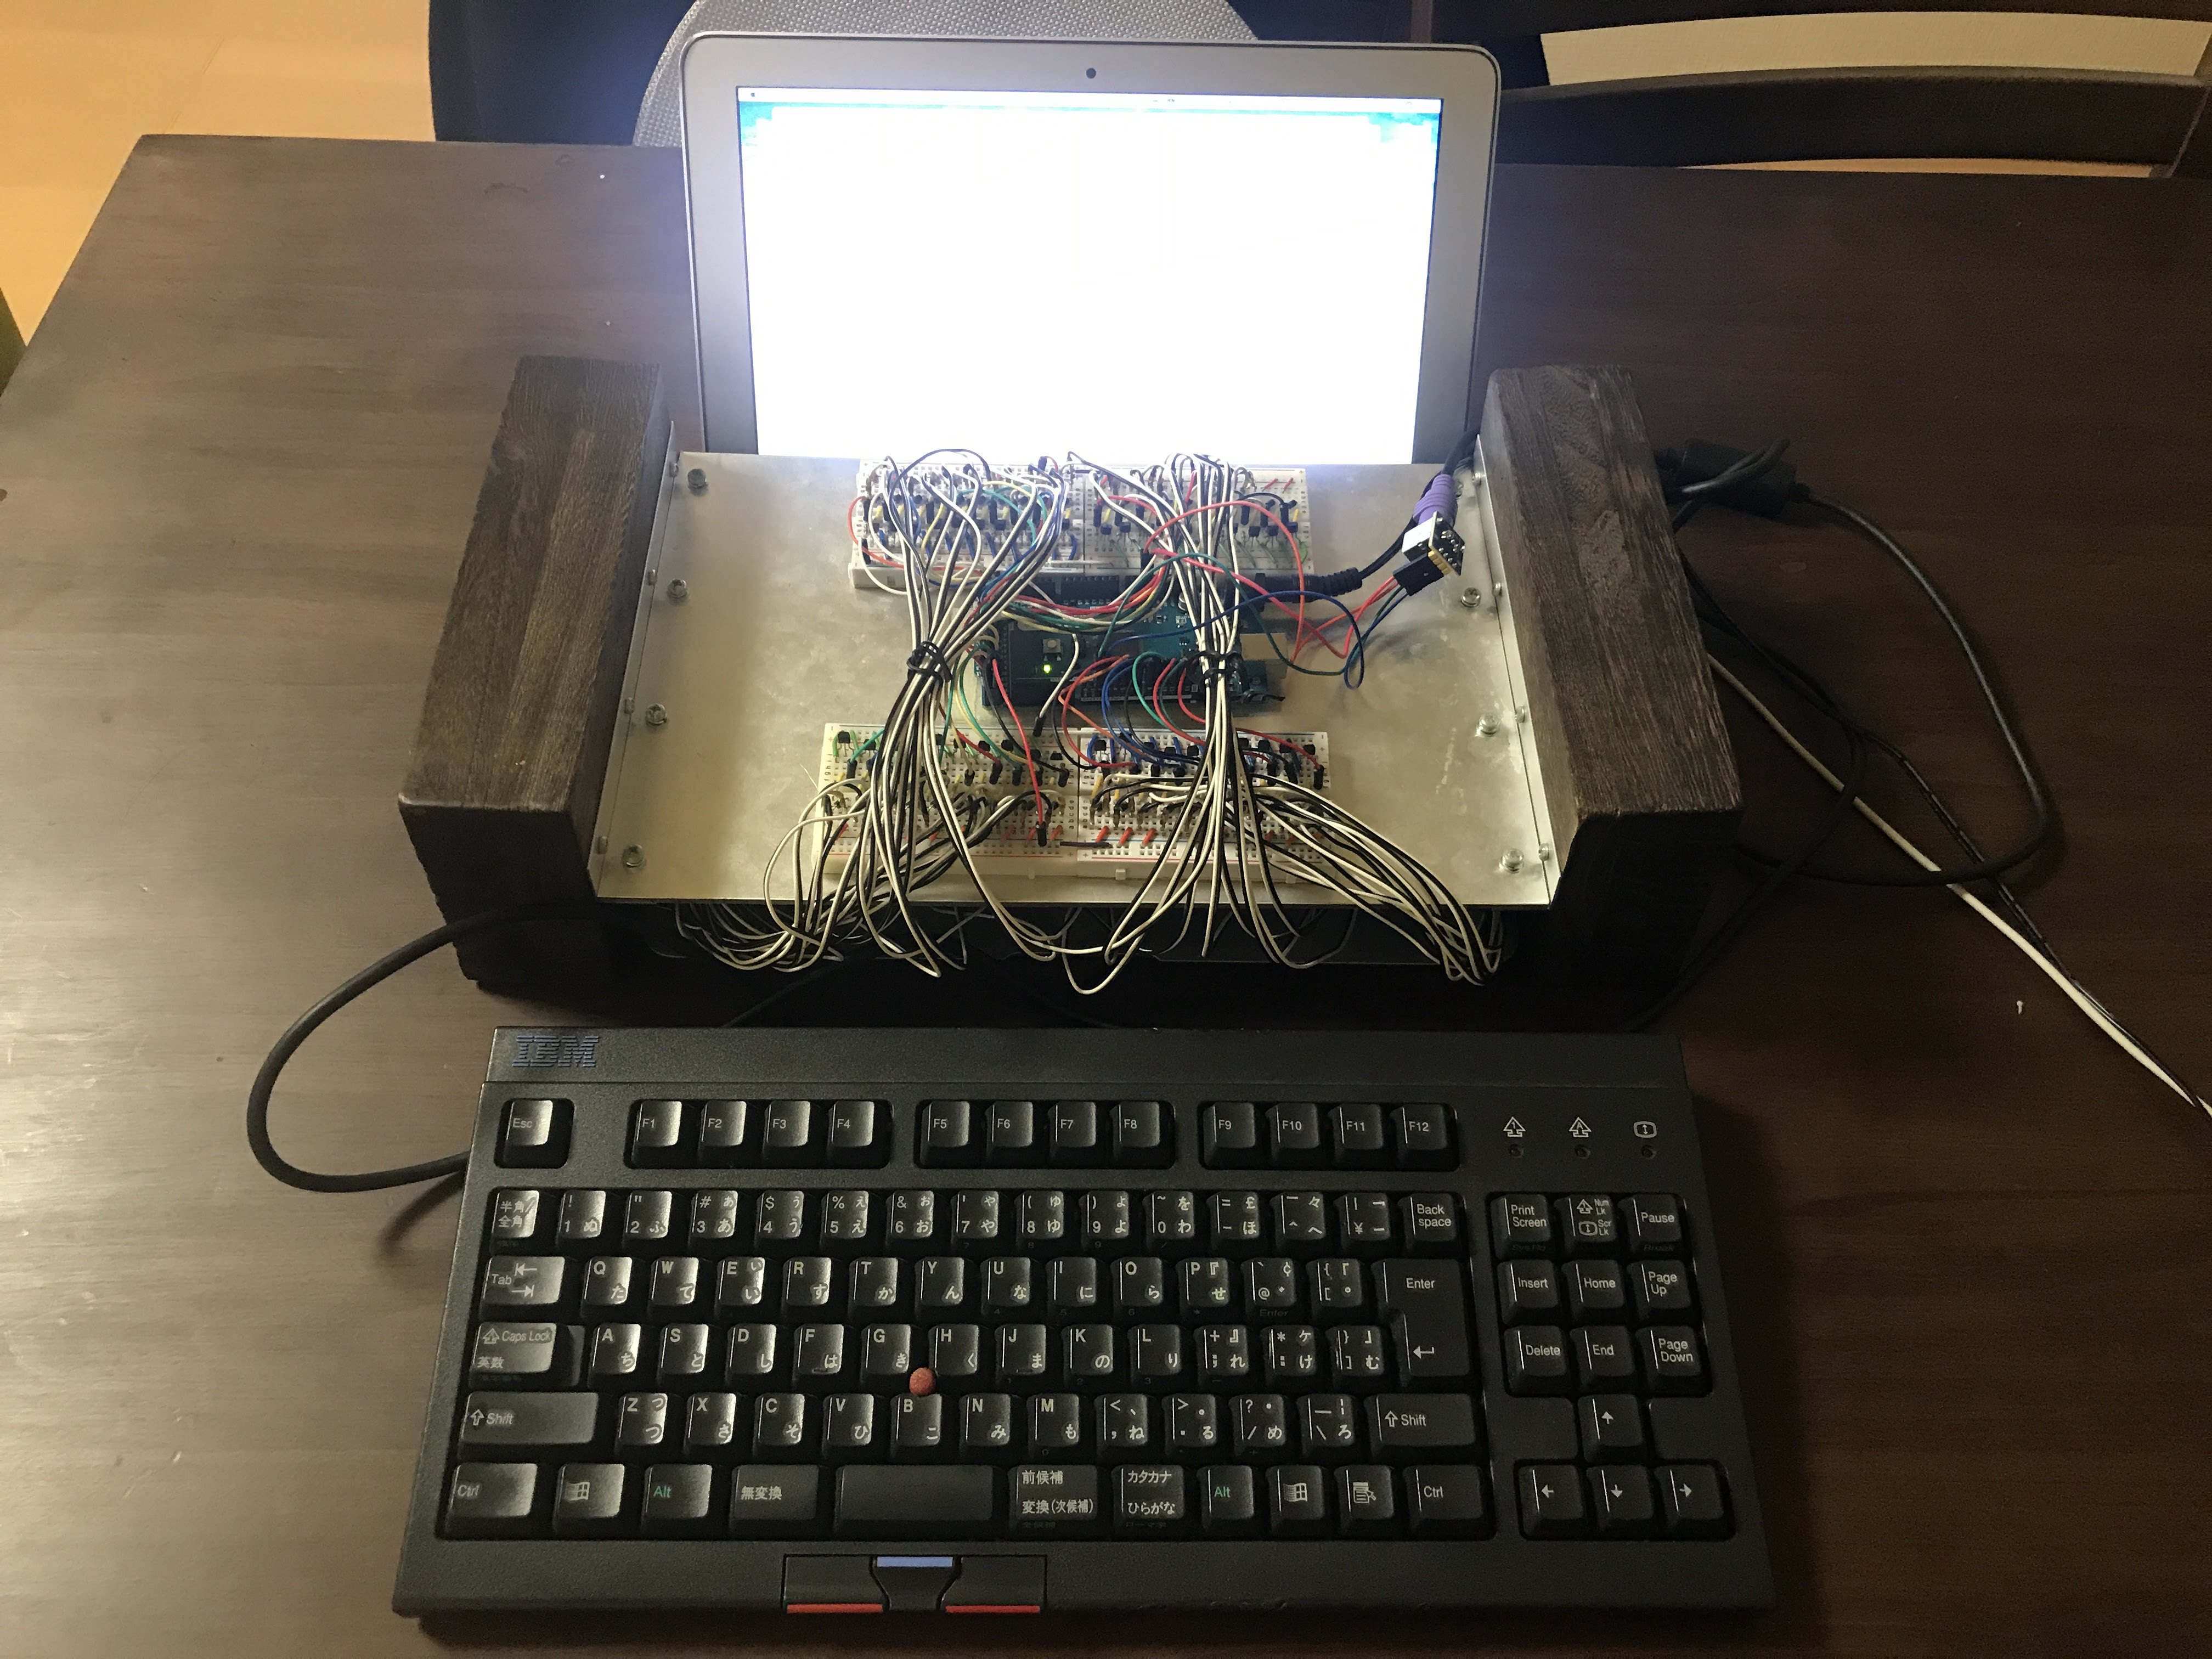
Solenoid Keyboard(Typing Machine) is funny item. I would describe how to make the this works.
– Typing Board(solenoid typing machine)
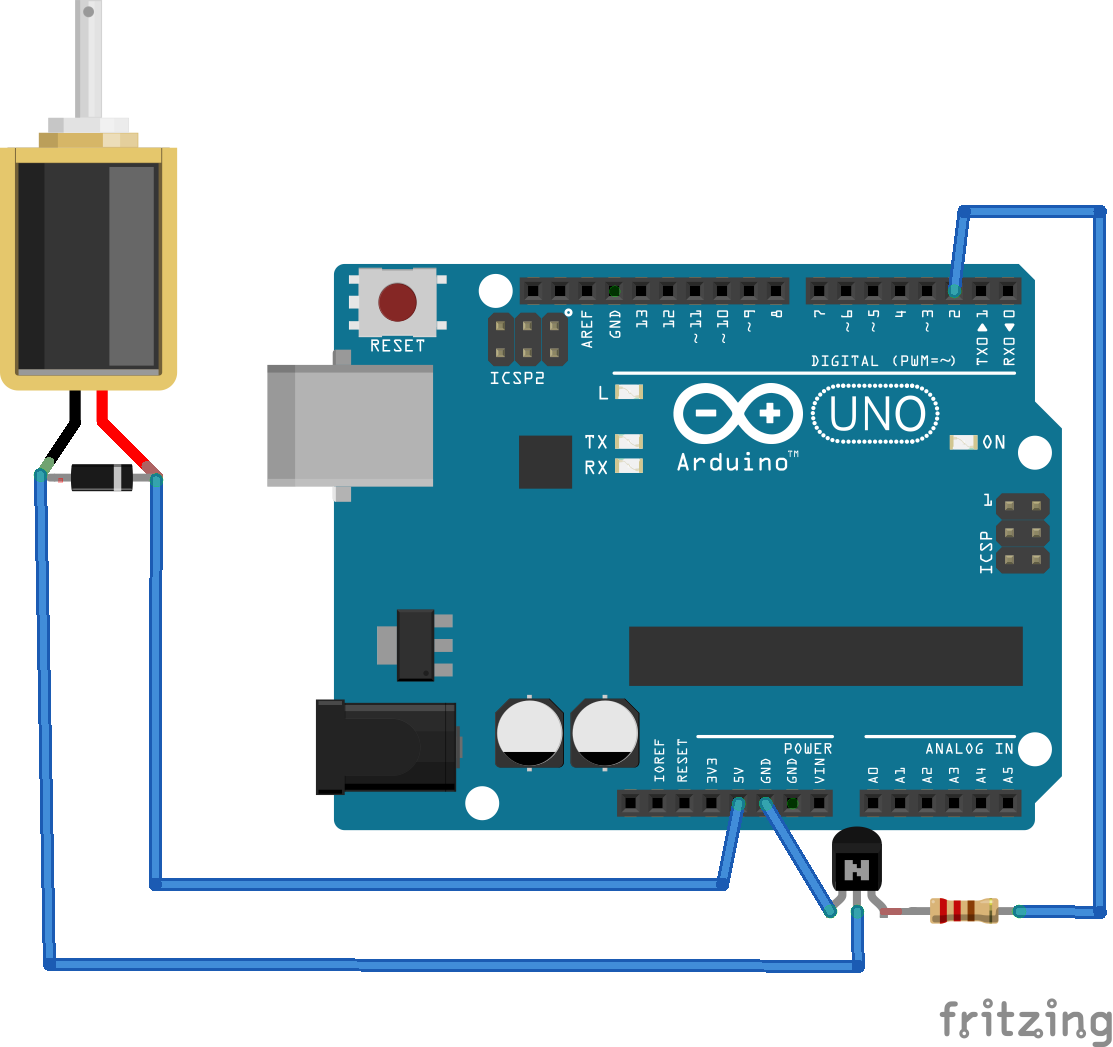
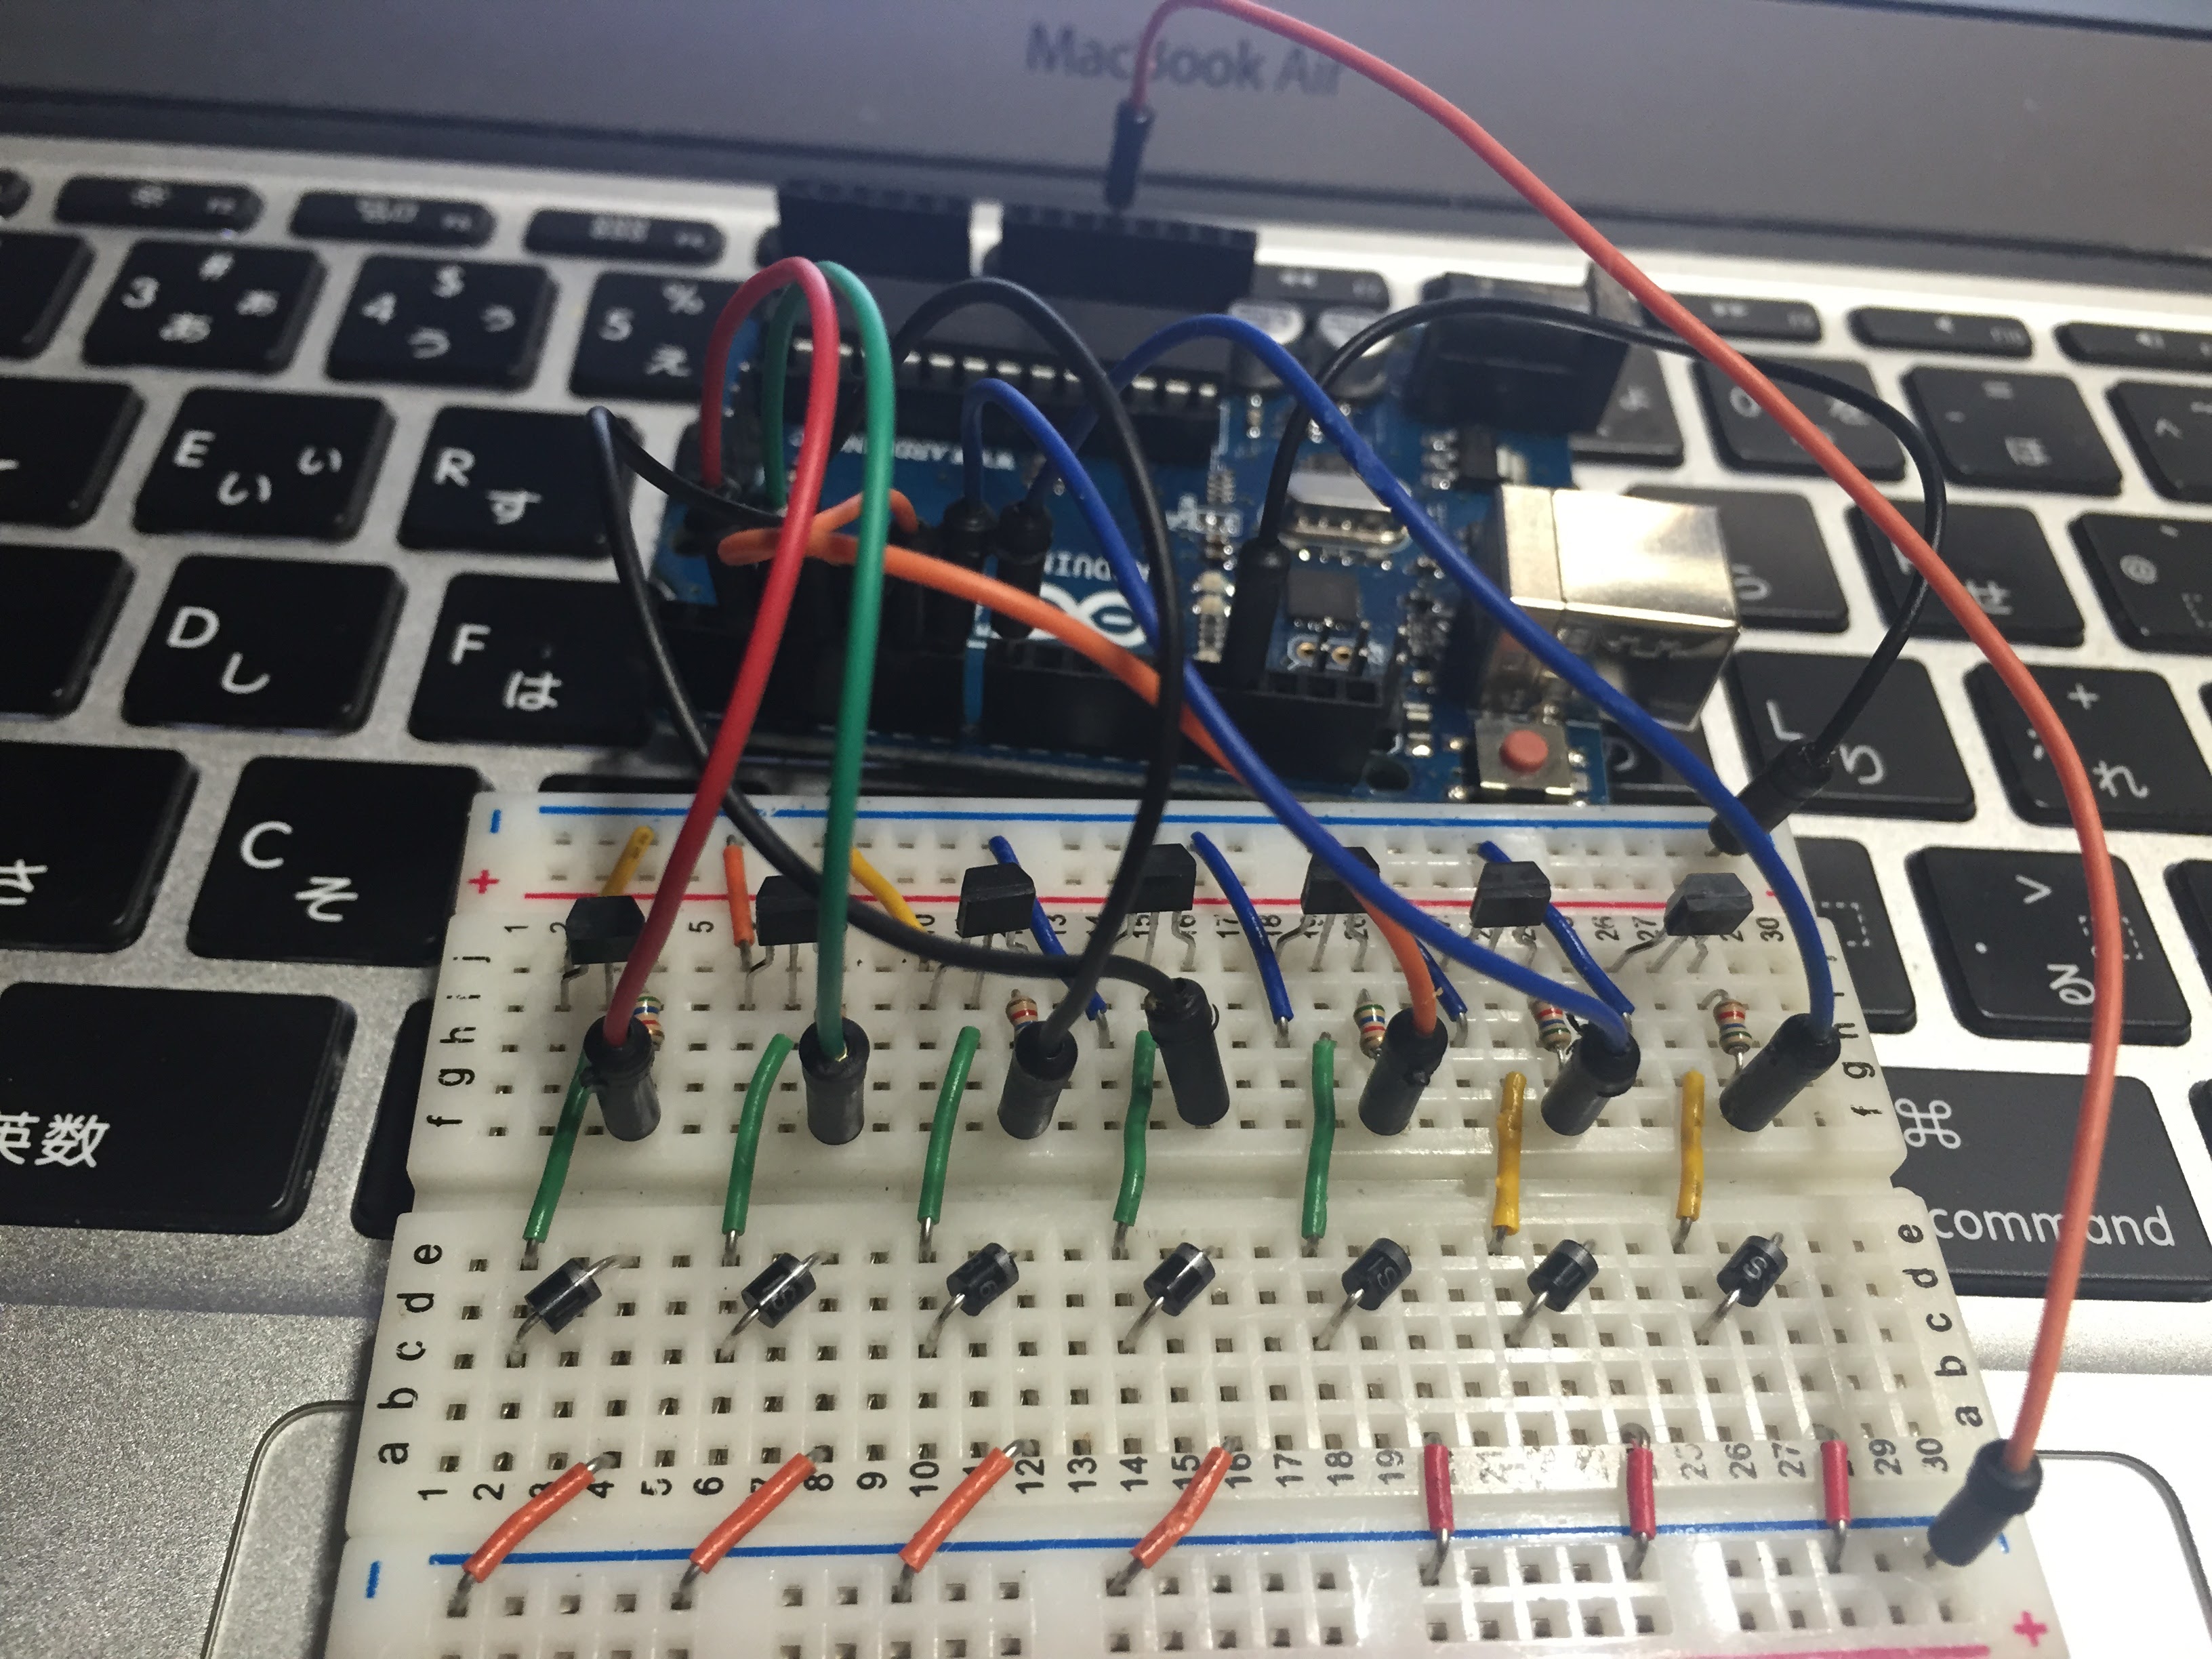
1. Simple solenoid test with Arduino Uno
First of all, it have to control the solenoid from Arduino. Here is just 1 solenoid version fritzing circuit. (note)This push type solenoid have 8gf power on 5V from datasheets.
– Parts list.
1. Arduino Uno or Mega
2. 5V solenoid ROB-11015
3. Panjit 1S3 Schottky Barrier Rectifier Diode
4. NPN Transistor 2SC3558-Y
5. 5.6K carbon resistor
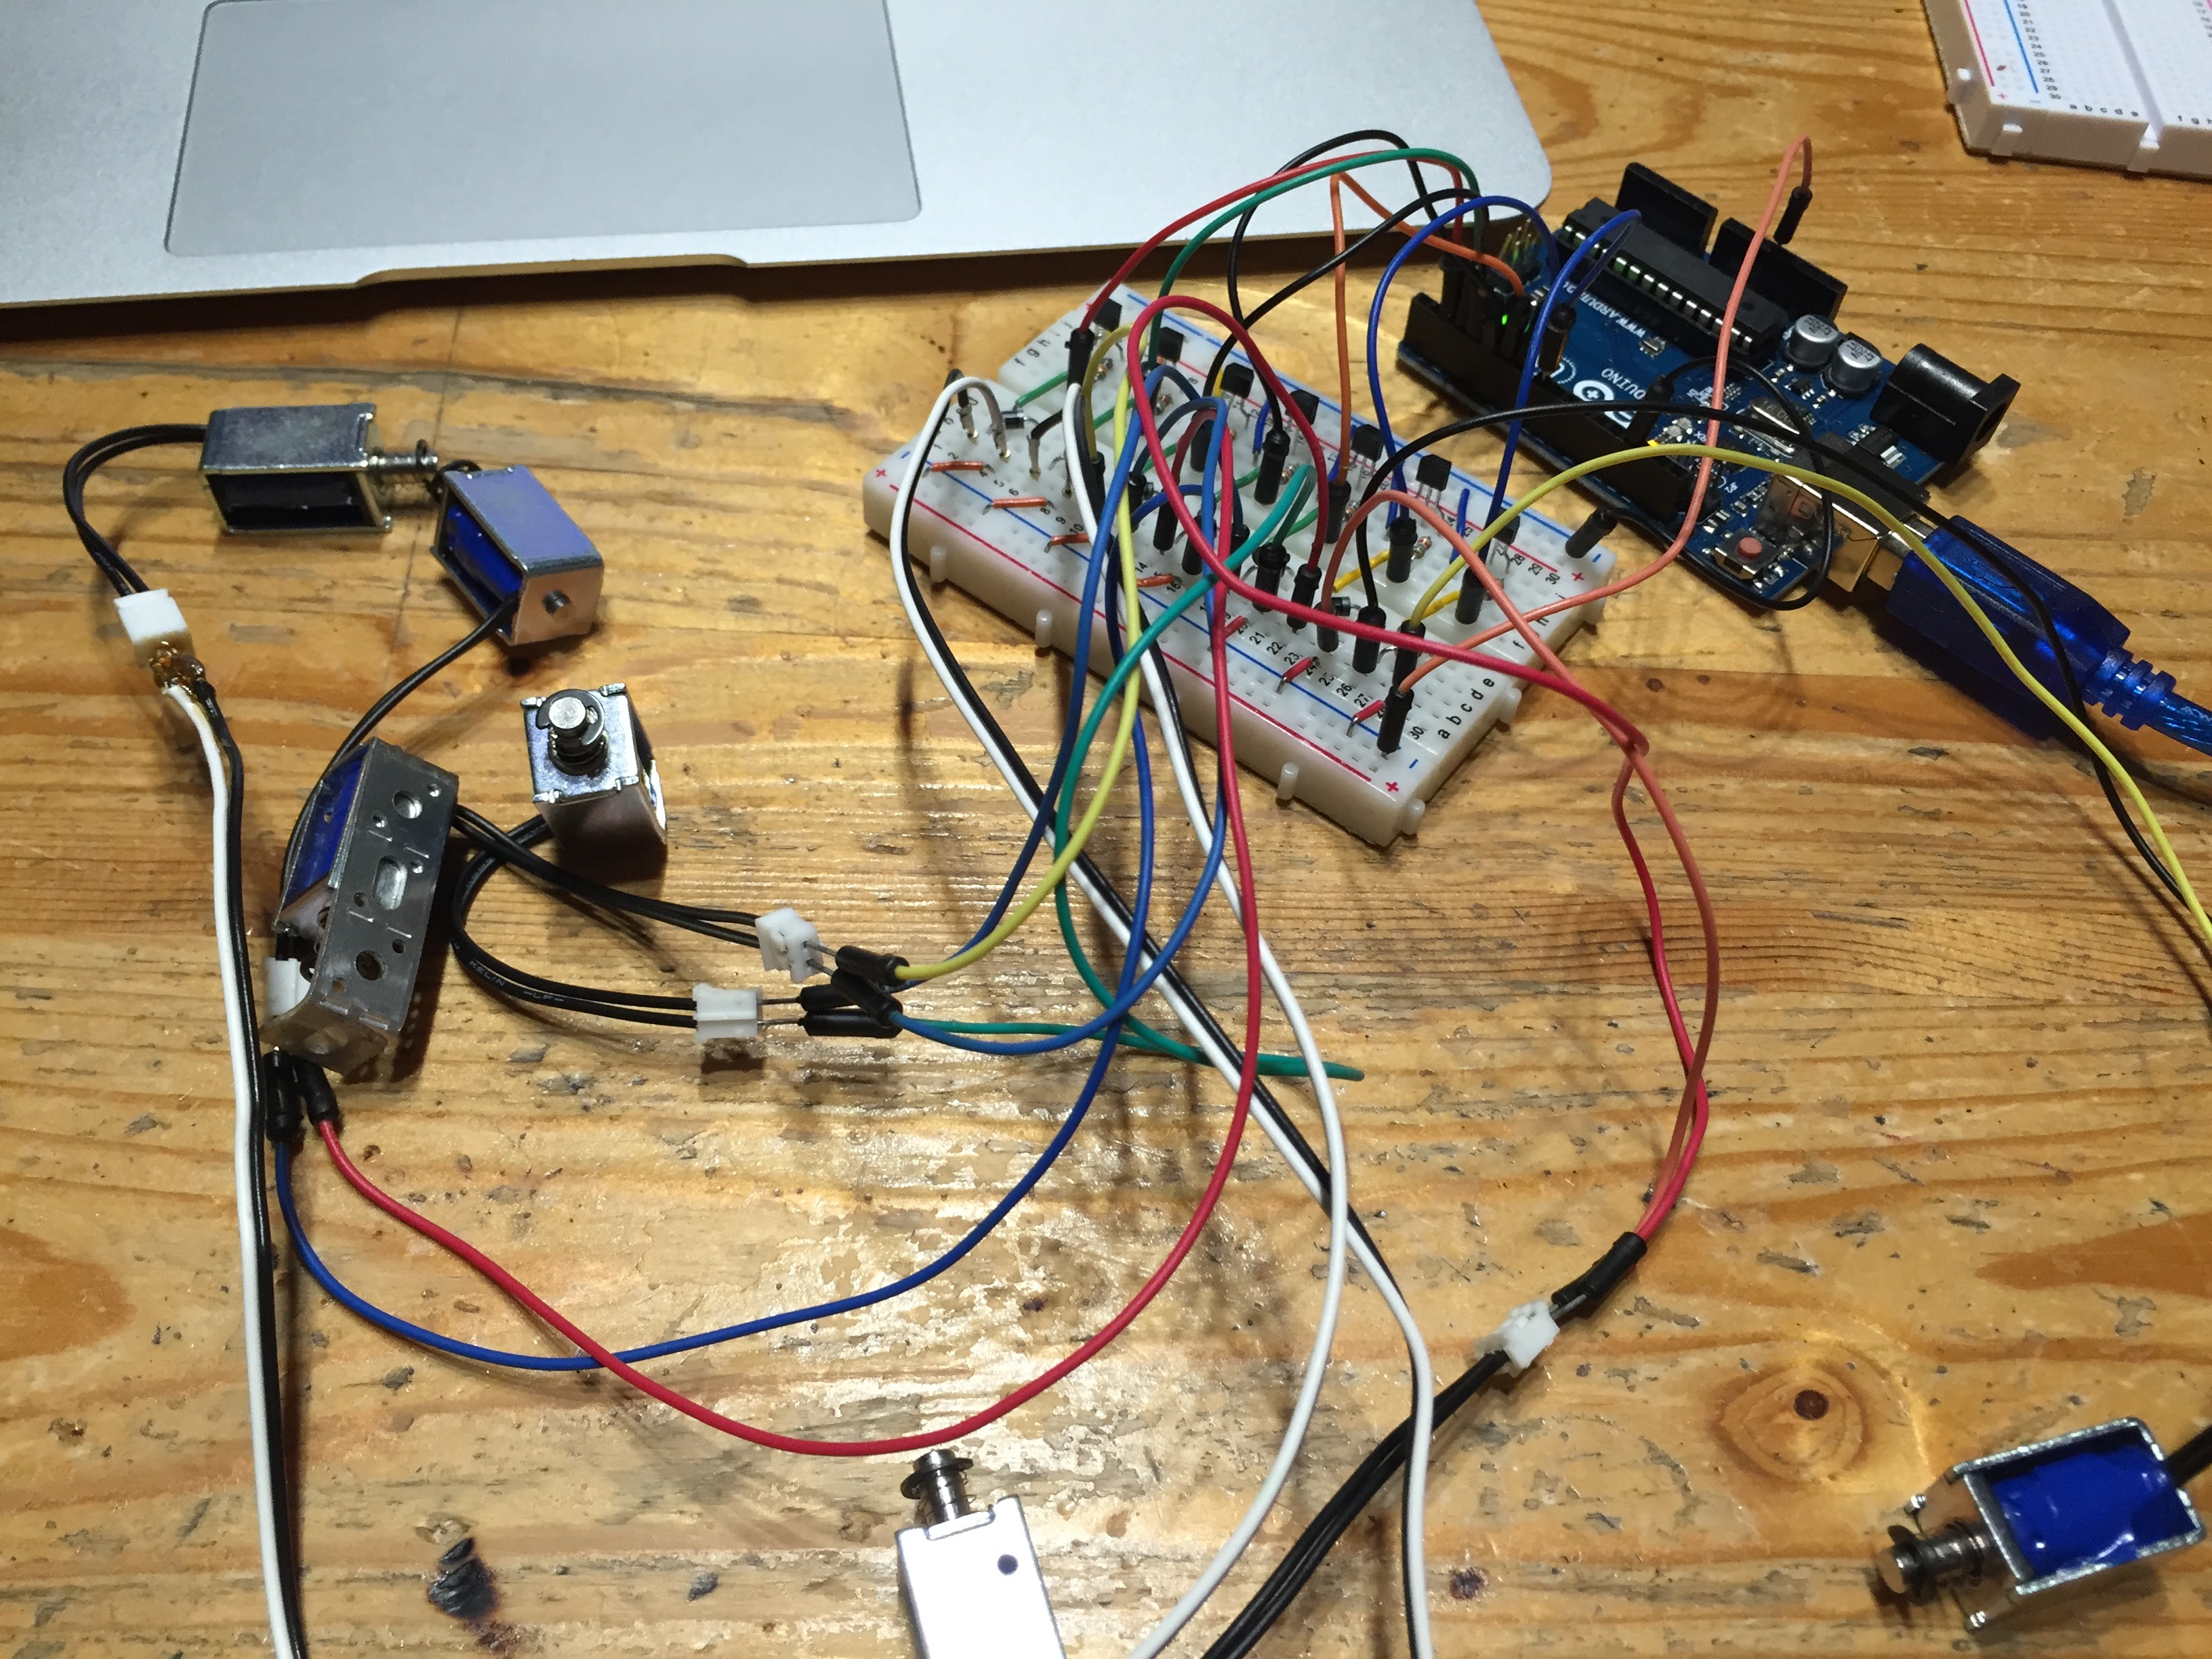
2. set on the keyboard
Test the many solenoid with same circuit. Modify Arduino sketch for many solenoid pin out control.
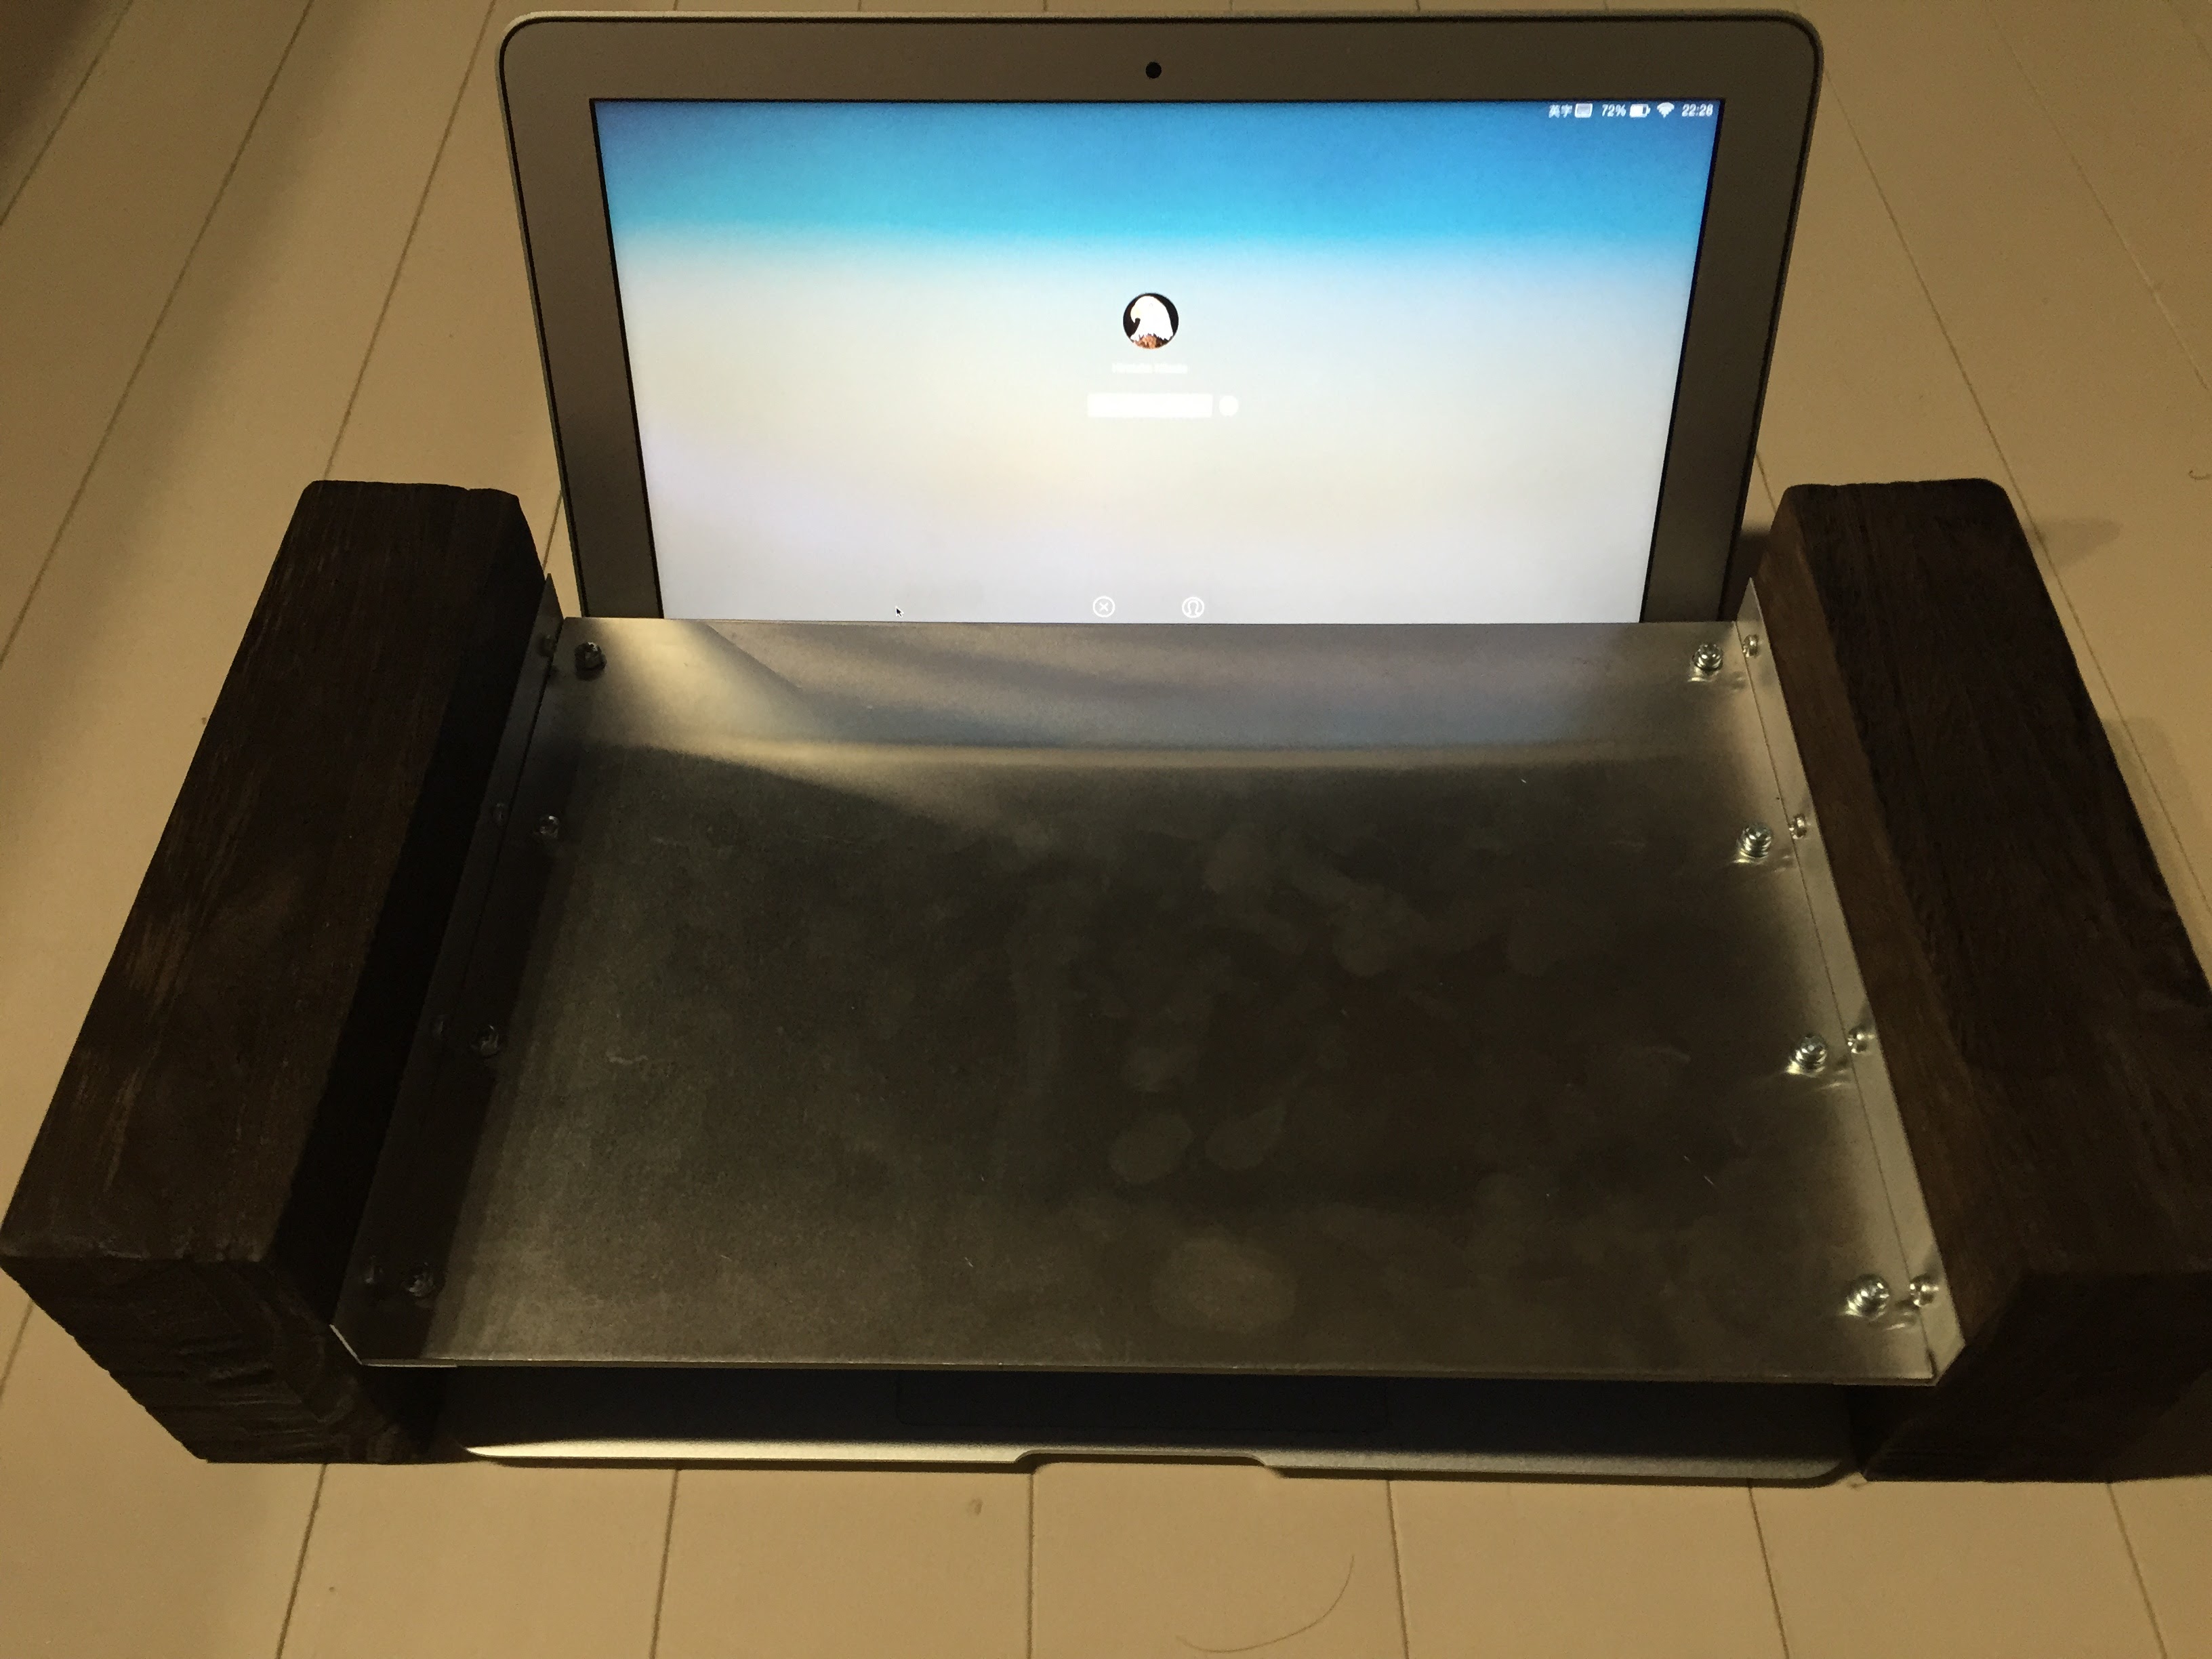
Next, make the base board for up-setting on the keyboard and solenoid. It have to be checked the Macbook Air keyboard size and solenoid pushing height before make the base-board. Then I used the 2-wood/alminium board/some screw.
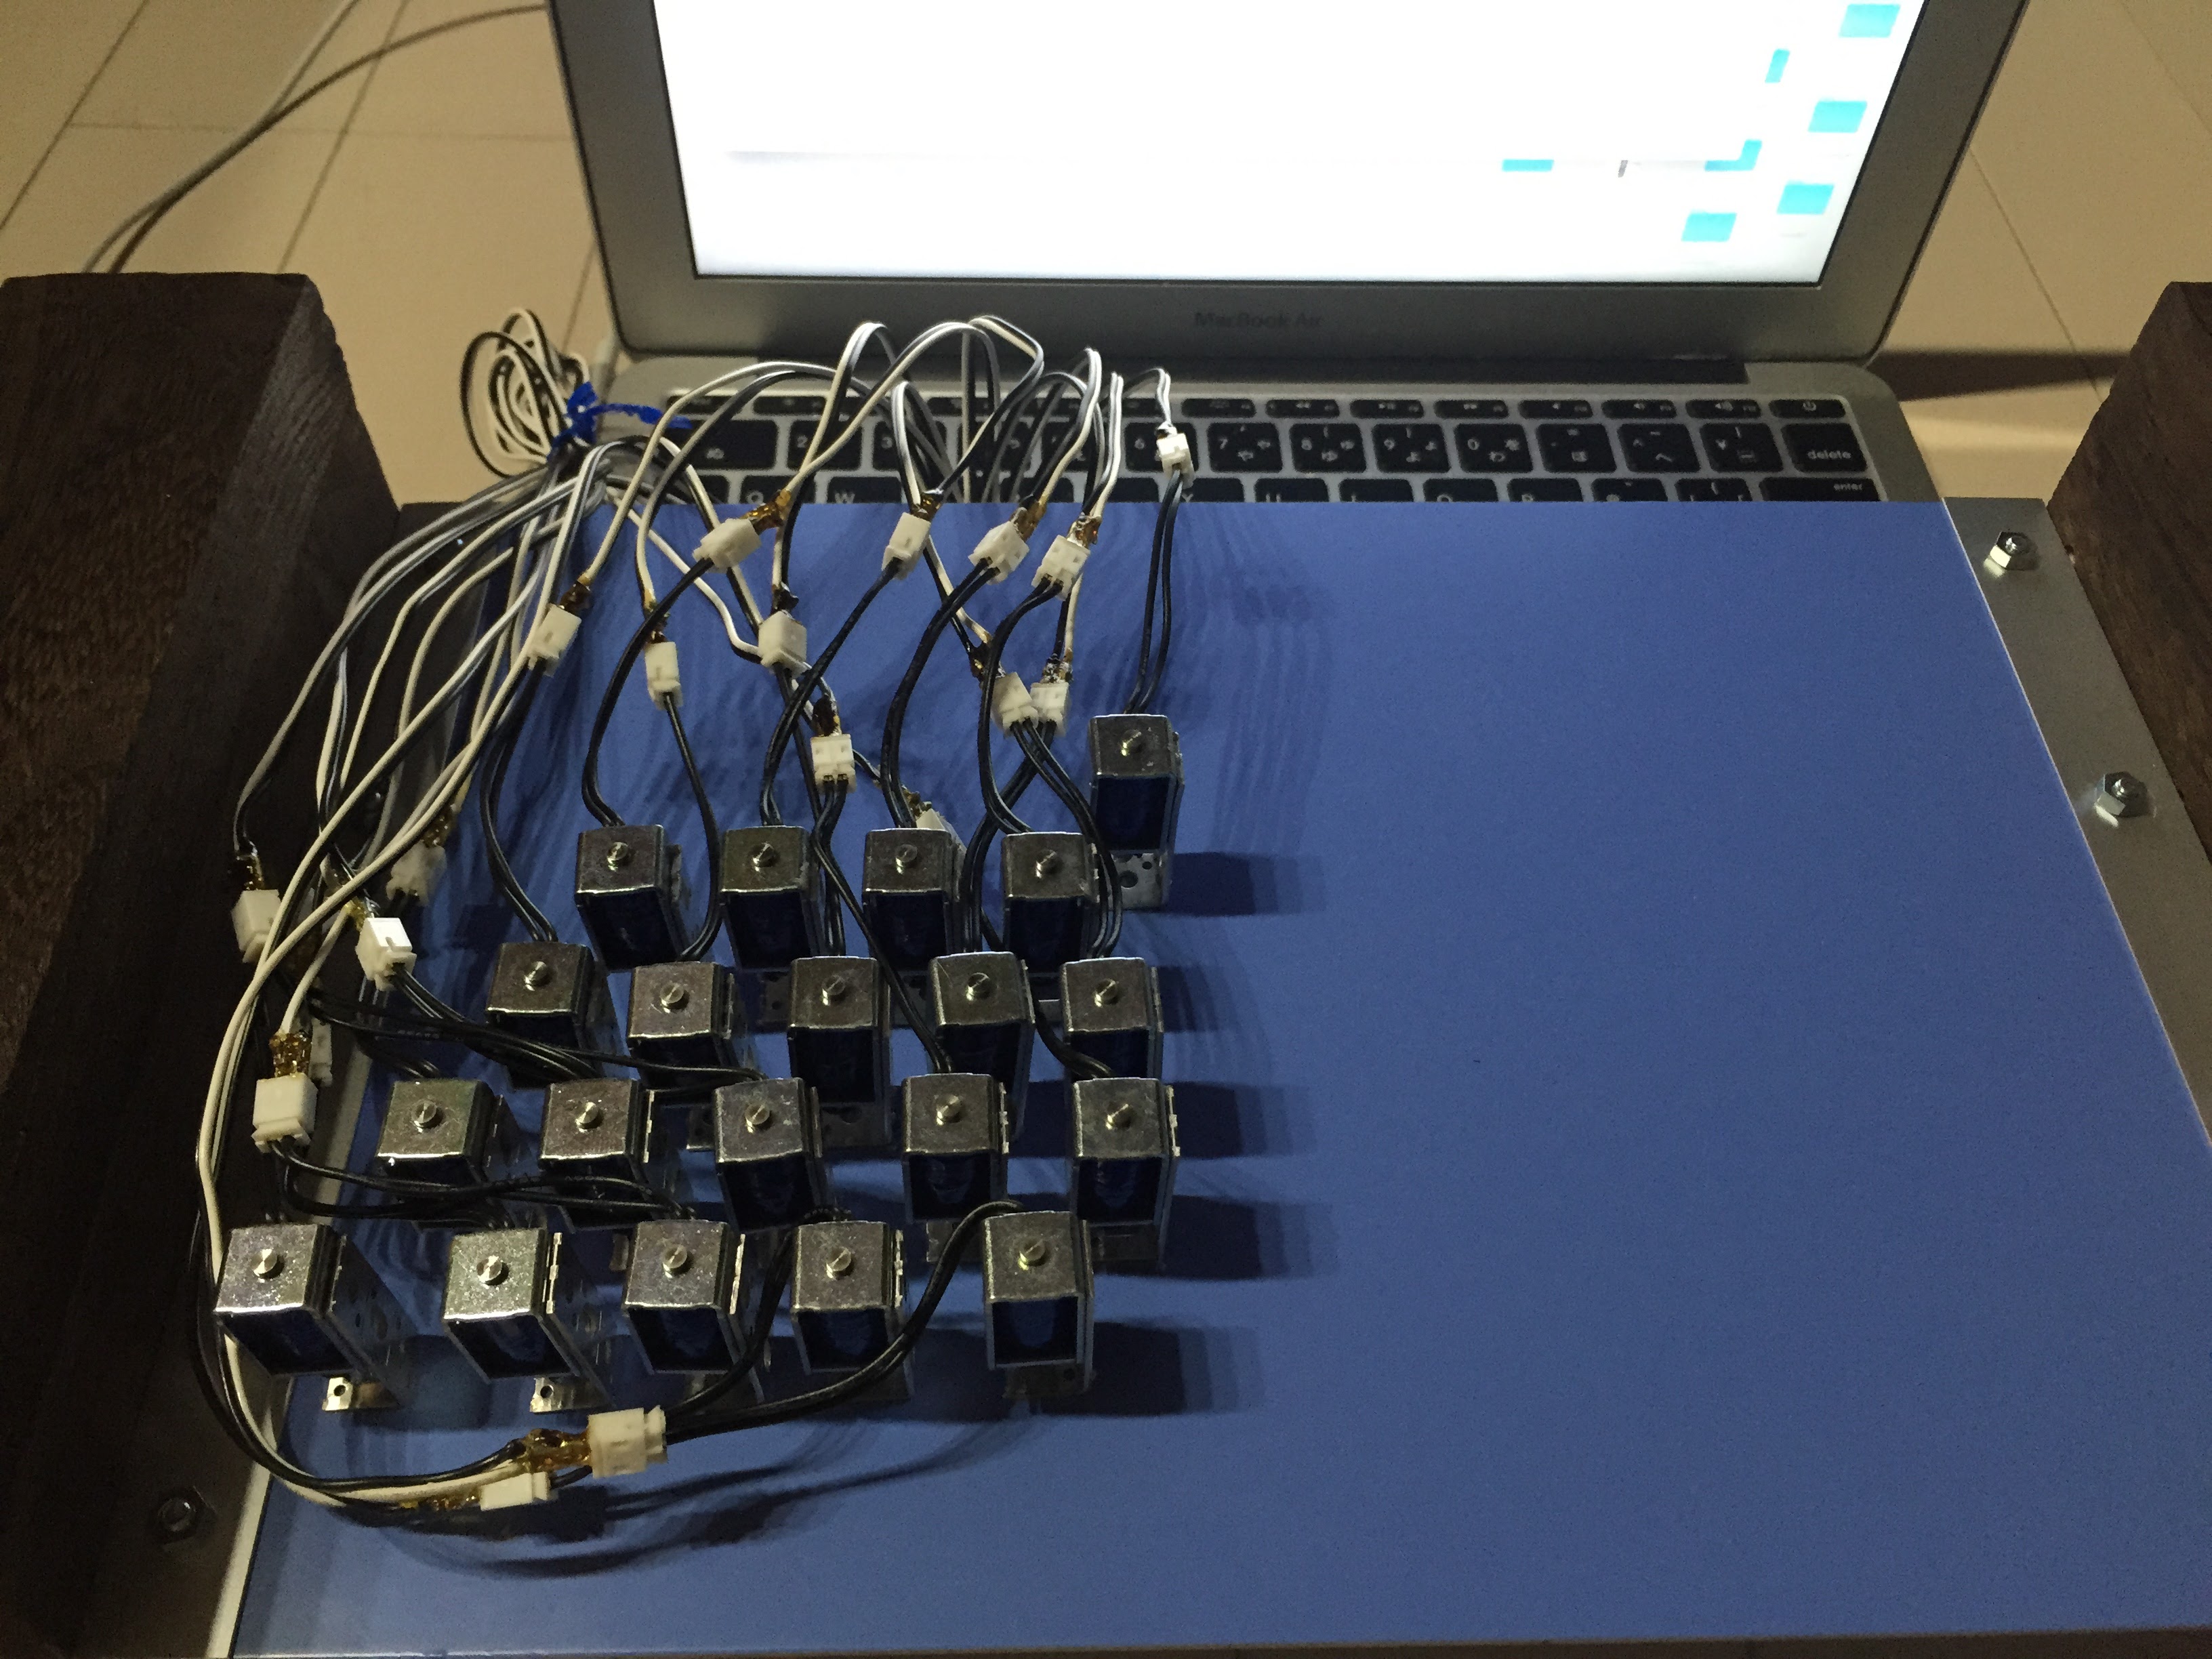
Set the solenoid on the base board. I use the 10x100mm Aluminum Frame for solenoid and base board connectivity, bend the Aluminum Frame 90 degree and cut(checking the solenoid length).
When this work, it’s very important checking the keyboard/solenoid setting position and solenoid push length before the setting the solenoid on the base board. This solenoid push power is only 8gf with 5V. Therefore if top of the solenoid position is too near or far to the keyboard, solenoid could not type the keyboard. Solenoid position setting is point of the this typing machine.
Arduino source code is here.
#define SOLENOID_1_PIN_START 2
#define SOLENOID_1_PIN_END 11

#define SOLENOID_2_PIN_START 22
#define SOLENOID_2_PIN_END 51

#define KEYBORAD_5_KEY    22
#define KEYBORAD_4_KEY    23
#define KEYBORAD_3_KEY    24
#define KEYBORAD_2_KEY    25
#define KEYBORAD_1_KEY    26

#define KEYBORAD_Q_KEY    27
#define KEYBORAD_W_KEY    28
#define KEYBORAD_E_KEY    29
#define KEYBORAD_R_KEY    30
#define KEYBORAD_T_KEY    31

#define KEYBORAD_A_KEY    51
#define KEYBORAD_S_KEY    50
#define KEYBORAD_D_KEY    49
#define KEYBORAD_F_KEY    48
#define KEYBORAD_G_KEY    47

#define KEYBORAD_Z_KEY    46
#define KEYBORAD_X_KEY    45
#define KEYBORAD_C_KEY    44
#define KEYBORAD_V_KEY    43
#define KEYBORAD_SPACE_KEY    42

#define KEYBORAD_6_KEY    11
#define KEYBORAD_7_KEY    10
#define KEYBORAD_8_KEY    9
#define KEYBORAD_9_KEY    8
#define KEYBORAD_0_KEY    7

#define KEYBORAD_Y_KEY    6
#define KEYBORAD_U_KEY    5
#define KEYBORAD_I_KEY    4
#define KEYBORAD_O_KEY    3
#define KEYBORAD_P_KEY    2

#define KEYBORAD_H_KEY    41
#define KEYBORAD_J_KEY    40
#define KEYBORAD_K_KEY    39
#define KEYBORAD_L_KEY    38

#define KEYBORAD_B_KEY    37
#define KEYBORAD_N_KEY    36
#define KEYBORAD_M_KEY    35
#define KEYBORAD_ENTER_KEY    34


void setup() {
  for (int i = SOLENOID_1_PIN_START; i <= SOLENOID_1_PIN_END; i++) {
    pinMode(i, OUTPUT);
  }

  for (int i = SOLENOID_2_PIN_START; i <= SOLENOID_2_PIN_END; i++) {
    pinMode(i, OUTPUT);
  }

  Serial.begin(9600);
}

void keyput(int key) {
  digitalWrite(key, LOW);
  delay(100);
  digitalWrite(key, HIGH);
  delay(50);
  digitalWrite(key, LOW);
}

void loop() {
  int input = Serial.read();
  if(input != -1 ){
    if (input == '5')  keyput(KEYBORAD_5_KEY);
    if (input == '4')  keyput(KEYBORAD_4_KEY);
    if (input == '3')  keyput(KEYBORAD_3_KEY);
    if (input == '2')  keyput(KEYBORAD_2_KEY);
    if (input == '1')  keyput(KEYBORAD_1_KEY);
    if (input == 'q')  keyput(KEYBORAD_Q_KEY);
    if (input == 'w')  keyput(KEYBORAD_W_KEY);
    if (input == 'e')  keyput(KEYBORAD_E_KEY);
    if (input == 'r')  keyput(KEYBORAD_R_KEY);
    if (input == 't')  keyput(KEYBORAD_T_KEY);
    if (input == 'a')  keyput(KEYBORAD_A_KEY);
    if (input == 's')  keyput(KEYBORAD_S_KEY);
    if (input == 'd')  keyput(KEYBORAD_D_KEY);
    if (input == 'f')  keyput(KEYBORAD_F_KEY);
    if (input == 'g')  keyput(KEYBORAD_G_KEY);
    if (input == 'z')  keyput(KEYBORAD_Z_KEY);
    if (input == 'x')  keyput(KEYBORAD_X_KEY);
    if (input == 'c')  keyput(KEYBORAD_C_KEY);
    if (input == 'v')  keyput(KEYBORAD_V_KEY);
    if (input == ' ')  keyput(KEYBORAD_SPACE_KEY);
    if (input == '6')  keyput(KEYBORAD_6_KEY);
    if (input == '7')  keyput(KEYBORAD_7_KEY);
    if (input == '8')  keyput(KEYBORAD_8_KEY);
    if (input == '9')  keyput(KEYBORAD_9_KEY);
    if (input == '0')  keyput(KEYBORAD_0_KEY);
    if (input == 'y')  keyput(KEYBORAD_Y_KEY);
    if (input == 'u')  keyput(KEYBORAD_U_KEY);
    if (input == 'i')  keyput(KEYBORAD_I_KEY);
    if (input == 'o')  keyput(KEYBORAD_O_KEY);
    if (input == 'p')  keyput(KEYBORAD_P_KEY);

    if (input == 'h')  keyput(KEYBORAD_H_KEY);
    if (input == 'j')  keyput(KEYBORAD_J_KEY);
    if (input == 'k')  keyput(KEYBORAD_K_KEY);
    if (input == 'l')  keyput(KEYBORAD_L_KEY);

    if (input == 'b')  keyput(KEYBORAD_B_KEY);
    if (input == 'n')  keyput(KEYBORAD_N_KEY);
    if (input == 'm')  keyput(KEYBORAD_M_KEY);
    if (input == '\n')  keyput(KEYBORAD_ENTER_KEY);
  }
}